


Article: 4 Simple Steps to Make a Microfiber Rug
4 Simple Steps to Make a Microfiber Rug
What if you could craft a plush, cloud-soft floor covering that rivals store-bought luxury—for a fraction of the cost? Imagine transforming basic materials into a custom home accent that feels like stepping onto velvet. This hands-on DIY project isn’t just about saving money—it’s about designing something uniquely yours.

Creating your own rug lets you choose colors and textures that fit your space perfectly. No more settling for generic designs or overpriced options. With four easy stages, you’ll build a durable, stylish piece that adds warmth to any room. The process includes preparing a sturdy base, cutting materials precisely, weaving layers securely, and finishing edges for a polished look.
Even if you’ve never tried a craft like this, the steps are straightforward. All you need is patience and everyday tools. By the end, you’ll have a cozy centerpiece that sparks pride every time you see it. Ready to turn spare time into a masterpiece?
Key Takeaways
- Customize size, color, and texture to match your decor
- Save significantly compared to retail rug prices
- Requires basic supplies and no advanced skills
- Process involves weaving, securing, and edge finishing
- Results in a soft, long-lasting household accent
Introduction to DIY Microfiber Rugs
Custom floor coverings let you express personal style while solving decor challenges. DIY projects using synthetic fabrics like microfiber transform ordinary spaces with tailored comfort. This material’s ultra-fine polyester fibers create a velvety surface that feels luxurious underfoot.
Store-bought options often lack the exact dimensions or hues your room demands. Crafting your own piece eliminates compromises. You’ll save up to 70% compared to premium retail rugs while achieving perfect color matching.
Key benefits include:
- Total design control: Adjust thickness for high-traffic areas
- Budget-friendly materials costing under $50
- Durable construction lasting 3-5 years
The process blends basic weaving methods with modern textiles. Unlike traditional wool rugs, microfiber resists stains and fading. Its flexibility makes cutting and shaping simpler for first-time crafters.
This project serves as a gateway to textile arts. Complete it during weekend downtime while enjoying entertainment. When finished, you’ll have a functional artwork that reflects your taste.
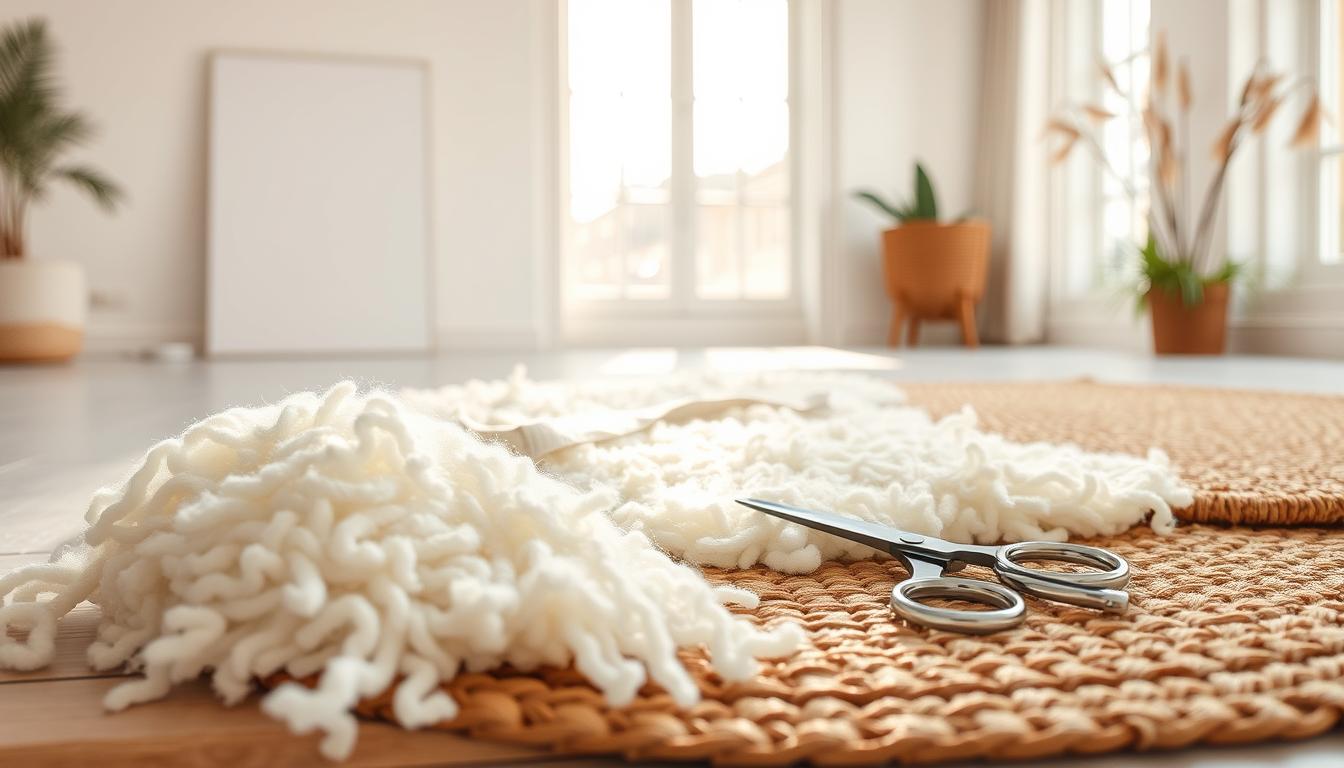
Understanding the Materials and Supplies
Selecting quality components transforms this project from tedious to thrilling. Four elements work together to create your custom floor covering's structure and comfort. Each serves a distinct purpose, ensuring durability and that cloud-like softness underfoot.
Cotton Piping: Your Texture Architect
Cotton piping forms the rug's plush surface. Available in 1/4-inch to 1-inch+ thicknesses, wider options reduce assembly time by 40%. Craft stores and Amazon carry color varieties matching any decor scheme.
Cut piping into uniform 6-inch pieces for consistency. Thinner strands create dense textures, while bulkier ones offer quicker coverage. This versatile fabric adapts to your preferred density and footfeel.
Netting: The Invisible Framework
Multi-use netting acts as your foundation. Its grid pattern dictates the rug's final dimensions and shape. Choose hole sizes that align with your piping thickness for secure fastening.
Small rubber bands—often found in beauty supply aisles—lock each cotton piece into the net. Pair them with sharp scissors for precise cuts. These tools ensure tight, even placement across every square inch.
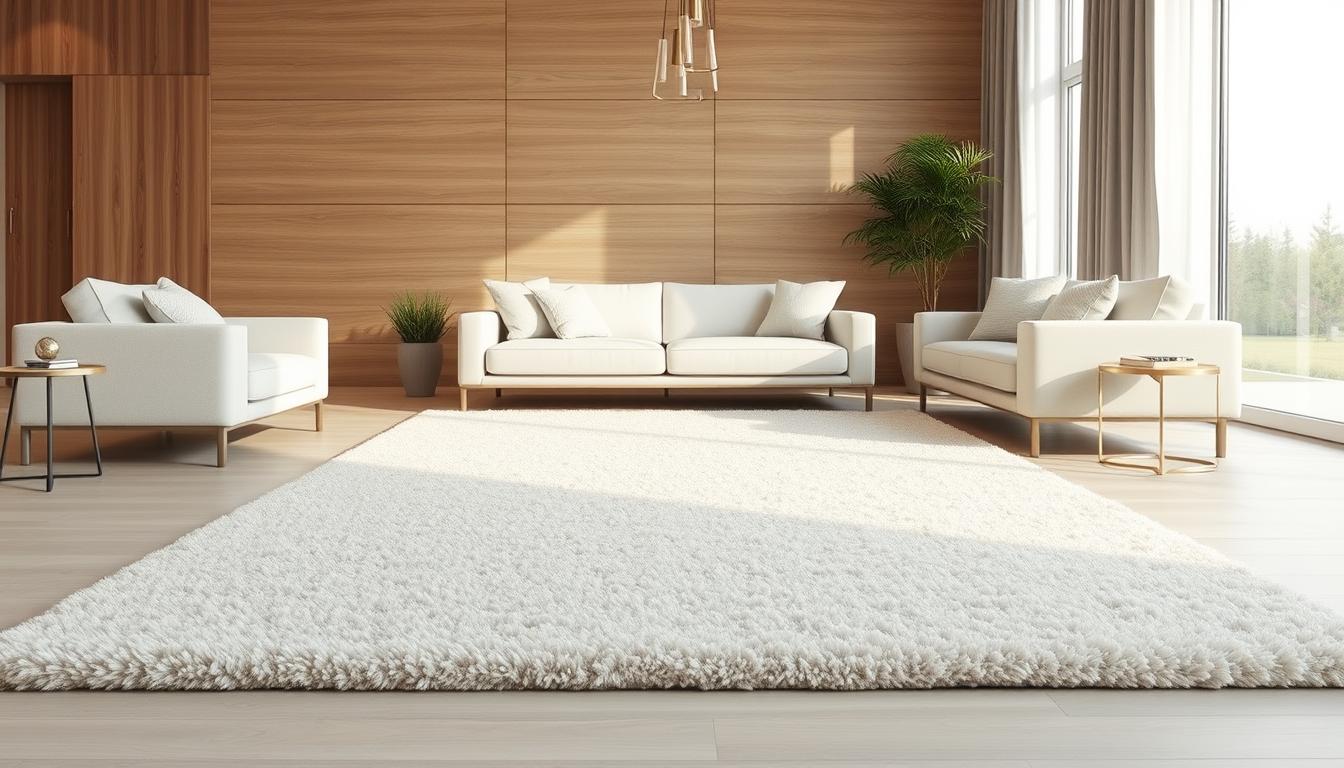
Advantages of Using Microfiber for Your Rug
Why settle for ordinary when your floor covering can offer both luxury and practicality? This innovative textile brings professional-grade performance to homemade creations. Let’s explore why crafters nationwide choose this material for lasting comfort.

Durability and Softness
Microfiber’s split fibers create a surface that handles daily footfalls without flattening. Unlike wool or cotton, this synthetic marvel maintains its plushness for 5+ years with proper care. Spills bead up instead of soaking in—perfect for busy entryways or playrooms.
| Fabric Type | Durability Rating | Maintenance Difficulty | Ideal For |
|---|---|---|---|
| Microfiber | 9/10 | Easy | High-traffic areas |
| Wool | 7/10 | Moderate | Low-use spaces |
| Cotton | 5/10 | High | Decorative accents |
Easy Maintenance and Cleaning
Vacuuming weekly keeps your piece looking fresh. For deeper cleans, most versions survive washing machines—just use cold water. Pet owners appreciate how stains lift easily without harsh chemicals.
The lightweight fabric simplifies seasonal rearrangements. Rotate your design monthly to ensure even wear. With minimal effort, your creation stays vibrant through countless cleanings.
Essential Tools for a Successful DIY Project
Crafting your dream floor covering starts with gathering the right tools. You’ll need just four primary items to complete this DIY project, all affordable and easy to find. No specialty stores or complicated equipment required—these basics work for first-timers and seasoned crafters alike.
Multi-use netting forms your foundation. Its grid pattern holds everything together while allowing creative sizing. Pair it with cotton piping—the star ingredient that creates that lush, velvety texture underfoot. Cut piping into equal pieces using sharp fabric scissors for clean edges that prevent fraying.
Small rubber bands become your secret weapon. These tiny connectors secure each fabric strand to the netting without messy knots. A flat workspace lets you spread materials out, ensuring even placement across the entire rug surface.
- Fabric scissors: Achieve precision cuts in seconds
- Color-matched piping: Choose hues that pop or blend
- Flexible netting: Supports any shape from circles to rectangles
Optional measuring tools help perfectionists maintain uniform spacing. Most crafters complete their project in one weekend using these essentials. With everything laid out, you’re ready to transform simple supplies into a showstopping home accent.
Step-by-Step Guide: How to Make Microfiber Rug
Discover the organized phases that turn simple materials into a luxurious home accent. This systematic approach ensures consistent results while letting you work at your preferred pace. Break down the project into manageable chunks to avoid feeling overwhelmed.
Blueprint for Success
Four core stages form your roadmap:
- Foundation setup: Measure your space and cut netting to match
- Material prep: Create hundreds of identical fabric segments
- Texture building: Secure each piece using tiny connectors
- Final polish: Combine sections and refine edges
Begin by calculating your desired dimensions. Precise measurements prevent material waste. Cutting the netting first establishes clear boundaries for your work area.
Next, focus on creating uniform fabric segments. Consistency here determines the rug's final appearance. Use sharp scissors to ensure clean edges on every piece.
The weaving phase demands patience but delivers stunning texture. Attach each strand systematically across the grid pattern. This methodical process builds density gradually.
Final assembly transforms individual sections into a cohesive whole. Secure connections between netting panels create seamless transitions. Trim excess materials for polished edges that elevate your design.
Step One: Preparing Your Rug Base
A flawless foundation sets the stage for rug-making success. Before diving into creative details, focus on precise measurements and clean cuts. This phase determines your project's proportions and material efficiency.
Determining the Right Rug Size
Start by measuring your floor space with a tape measure. Account for furniture placement and walking paths. For a standard 5x8 design, you'll need three 8-foot netting sections. Standard 2-foot-wide material leaves 1 foot extra per piece—trim this later.
Cutting the Netting Precisely
Use fabric scissors with micro-serrated blades for crisp edges. Unroll netting on a flat surface, marking lines with chalk. Follow these guidelines:
- Double-check measurements before slicing
- Maintain 90-degree angles at corners
- Save scraps for test knots or repairs
Sharp tools prevent frayed edges that weaken the structure. Completed base pieces should align perfectly when laid side-by-side. This attention to detail ensures your final creation fits like a glove in its designated space.
Step Two: Cutting and Measuring Materials
Precision transforms raw materials into artisanal quality. This phase demands focus—each snip shapes your creation's final character. Proper preparation here prevents frustration during assembly and guarantees uniform texture.
Mastering Fabric Dimensions
Cut cotton piping into four-inch segments using sharp scissors. Allow slight length variations—up to ¼ inch—for organic texture. For standard 5x8 designs, prepare 200+ yards of material. This equals roughly 1,200 individual pieces.
| Cutting Length | Time Required | Texture Density | Yards Needed (5x8) |
|---|---|---|---|
| 4 inches | 3 hours | Plush | 220 |
| 6 inches | 2 hours | Medium | 180 |
Group cut pieces by color in labeled containers. Bulk purchases reduce costs by 30% compared to buying small batches. Maintain consistent size across segments—irregular lengths create uneven surfaces.
Develop a cutting rhythm: measure-mark-cut-repeat. Test scissors on scrap fabric first. Dull blades fray edges, weakening the material's grip on netting. Sharp tools ensure clean lines and professional results.
Remember: slight imperfections add handmade charm. Focus on overall uniformity rather than millimeter precision. Your goal is balanced coverage that feels cohesive underfoot.
Step Three: Weaving and Securing the Piping
Transform loose strands into a cohesive masterpiece through methodical weaving techniques. Thread each cotton piece through the netting grid, pulling upward until taut. This stage builds your rug's signature texture while anchoring materials firmly.
Rubber Bands vs. String: Which to Use?
Small rubber bands accelerate assembly, letting you secure fabric in seconds. Their stretch accommodates varying thicknesses while maintaining tension. For time-conscious crafters, this method cuts labor by 50% compared to traditional knots.
Elastic string offers enhanced durability for high-traffic areas. Though requiring meticulous double knots, this approach prevents loosening over years of use. Consider these factors when choosing:
| Method | Speed | Longevity | Skill Level |
|---|---|---|---|
| Rubber Bands | 3 minutes per square foot | 2-3 years | Beginner |
| String | 8 minutes per square foot | 5+ years | Intermediate |
Fluff each secured piece outward using your fingers. This action creates the plush pom-pom effect that defines luxury rugs. Alternate colors if desired, ensuring consistent spacing between cotton strands.
Whichever method you pick, maintain even pressure when tightening. Check every fifth row for alignment. Minor adjustments now prevent uneven surfaces later. Your patience here directly impacts the rug's professional finish.
Step Four: Assembling and Finishing the Rug
The final phase transforms separate components into a unified masterpiece. Working from one corner to the opposite, connect netting panels using the same weaving method applied earlier. This bridges gaps between sections while maintaining consistent texture.

Seamless Joining Techniques
Secure adjoining edges by threading pieces through both netting layers. Double-loop rubber bands at connection points for extra stability. Focus on alignment—mismatched seams create visible lines that detract from the finished look.
| Tool | Cut Precision | Speed | Best For |
|---|---|---|---|
| Fabric Shears | High | Moderate | Final edge work |
| Rotary Cutter | Medium | Fast | Bulk trimming |
| Embroidery Snips | Ultra-Fine | Slow | Detail adjustments |
Fluff connected strands outward to blend joined areas with the main body. Inspect each seam under bright light—tighten any loose bands before proceeding. This prevents future unraveling at stress points.
Complete the assembly by repeating these steps along all edges. Rotate the project frequently to spot inconsistencies. Patience here elevates homemade charm to boutique-quality craftsmanship.
Polishing the Perimeter
Trim excess material using angled cuts that follow the rug’s shape. Hold scissors parallel to the floor for uniform results. Remove any interior strands protruding beyond the surface plane.
Allow a ½-inch buffer zone during initial cutting. Refine gradually through multiple passes. Sharp blades prevent frayed ends that compromise durability. Your creation now boasts clean lines rivaling professional designs.
Customizing Your Rug Design with Colors and Textures
Your floor becomes a canvas when combining hues and tactile elements. Cotton piping’s versatility lets you craft visual rhythms through strategic color placement. Alternate shades in checkerboard sequences or blend analogous tones for subtle gradients.
- Striped patterns using three complementary colors
- Ombré effects fading from dark to light variants
- Geometric shapes formed by clustered different colors
Texture variation adds depth beyond chromatic choices. Mix piping widths from ¼-inch to 1-inch within the same piece. Thicker strands create raised sections that guide bare feet, while slender ones offer smooth transitions.
| Pattern Type | Color Count | Texture Mix | Visual Impact |
|---|---|---|---|
| Monochromatic | 1-2 shades | Single thickness | Subtle elegance |
| Bold Contrast | 4+ hues | Multiple sizes | Playful energy |
Sketch your design on graph paper before cutting materials. Calculate yardage per color to avoid shortages—add 15% extra for adjustments. Store unused piping in labeled jars for future touch-ups.
Experiment freely once the base structure is secure. Rotate sections during assembly to preview combinations. This hands-on process turns functional crafting into personalized artistry that reflects your space’s character.
Troubleshooting Common DIY Challenges
Every craft journey hits bumps—yours just became smoother. While creating custom floor art, two frequent hurdles emerge: marathon sessions and imperfect patterns. Both solutions start with smart pacing and strategic fixes.
Overcoming Time-Consuming Steps
Break your project into 30-minute daily chunks. Set a timer during evening TV hours—those hours add up fast. Like knitting, repetitive tying becomes meditative. Work in 12x12-inch zones for visible progress.
Store materials in a portable tray for couch-side crafting. Alternate between cutting and attaching tasks to avoid fatigue. Completed sections double as motivation.
Fixing Uneven Stitching
Spot irregular loops? Slide scissors under tight bands for gentle loosening. Re-stretch loose strands using a crochet hook. Check tension every fifth row—consistency matters more than speed.
Color-code problem areas with washable markers. Adjust pressure when securing materials. Most flaws blend once fluffed. Remember: imperfections add character to handmade pieces.
This DIY endeavor rewards patience. Celebrate small wins, and watch challenges transform into skills. Your persistence crafts more than decor—it weaves accomplishment into every fiber.
FAQ
What’s the best fabric for a durable shag rug?
Microfiber offers softness and resilience, ideal for high-traffic areas. Cotton piping adds structure, while synthetic blends resist wear. Pair these with multi-use netting for a sturdy base.
Can I use a rotary cutter for precise material cuts?
Yes! A rotary cutter ensures clean edges on netting and fabric strips. Pair it with a self-healing mat to maintain blade sharpness and achieve consistent widths, like 1/2-inch strips.
How long does assembling a DIY rug typically take?
Time varies depending on size and complexity. Smaller rugs (24x36 inches) may take 4-6 hours, while larger designs require 10+ hours. Weaving and securing stitches are the most time-consuming steps.
How do I prevent uneven stitching in my project?
Use a locking stitch at each row’s end and maintain even tension. For cotton piping, mark grid lines on the netting to align strips perfectly. Adjust as you go to avoid gaps.
Can I mix different colors or textures in one rug?
Absolutely! Layer complementary yarns or fabric strips for depth. Brands like Bernat or Lion Brand offer variegated options. Test combinations on a small swatch first to visualize the final look.
What’s better for securing piping: rubber bands or string?
Rubber bands speed up temporary holds during weaving, while upholstery thread provides lasting strength. For rugs needing frequent cleaning, opt for waxed thread to prevent fraying.
How do I clean a finished microfiber shag rug?
Shake out debris or use a handheld vacuum on low suction. Spot-clean stains with mild detergent and cold water. Avoid soaking, as excess moisture can weaken adhesive bonds in the base.
Can I adjust the rug size after starting the project?
Plan dimensions carefully upfront, as resizing mid-process risks uneven edges. If needed, trim excess netting before weaving and add border stitches to secure loose ends.