


Article: 5 Sleek DIY Steps for a Modern Rug
5 Sleek DIY Steps for a Modern Rug
What if you could craft a high-end rug for a fraction of its retail price—without sacrificing style or quality? Imagine transforming basic materials into a custom-designed centerpiece that elevates your space while costing less than $350. This isn’t just another generic craft project. It’s a chance to blend creativity with practicality.

Store-bought contemporary rugs often cost thousands, but you’ll learn how to create a personalized version using accessible tools like cotton piping and netting. The process is surprisingly simple, even if you’ve never tried similar projects. Unlike mass-produced options, your handmade piece will match your exact color preferences, size needs, and aesthetic vision.
This method combines time-tested knotting techniques with minimalist design principles. You’ll work with small rubber bands and scissors, turning raw materials into a functional work of art. Best of all, it’s designed for busy schedules—think of it as a relaxing evening activity that slowly builds into something tangible.
Key Takeaways
- Build a custom-designed piece for 80% less than luxury store prices
- Adapt colors, patterns, and sizes to fit your exact space requirements
- Use beginner-friendly tools like scissors and rubber bands
- Complete the project in short sessions over days or weeks
- Merge traditional craftsmanship with contemporary style
Introduction to DIY Rug Projects
Handcrafted floor coverings are surging in popularity as people seek personalized home accents. Unlike factory-made options, these creations let you infuse spaces with character while offering a satisfying creative outlet.
The Appeal of Handmade Rugs
Custom pieces provide textures and color blends machines can’t replicate. The process itself becomes therapeutic—many crafters describe the rhythmic motions of knotting or weaving as calming. You’ll find endless design flexibility, whether aiming for bold geometrics or subtle organic shapes.
Overview of DIY Techniques
Four primary methods dominate the craft:
- Braiding: Ideal for beginners using fabric scraps
- Weaving: Offers precise pattern control with looms
- Tufting methods: Create plush surfaces quickly with specialized tools
- Cotton piping: Requires just scissors and netting for grid-based designs
Time investment varies significantly between techniques. Simple braiding projects might take an afternoon, while intricate tufted patterns could span weeks. Choose based on your schedule and desired complexity.
Choosing the Right Materials
Selecting quality components determines your project's success and final appearance. Four core elements form the foundation of this design approach: multi-use netting, cotton piping, small rubber bands, and sharp scissors. Each plays a distinct role in achieving durability and visual harmony.
Essential Supplies for Your Project
Cotton piping acts as the primary structural element, available in thicknesses from 1/4" to 1". Thicker options (like 1/2" or 11/16") create bolder textures but require more time to weave. Pair it with heavy-duty netting—this grid base ensures consistent spacing between piping segments.
Small rubber bands secure intersections without bulk, while fabric scissors cleanly trim excess material. Source these items from craft retailers like JoAnn’s or online marketplaces for competitive pricing. For a standard 5x8 piece, plan to acquire 200+ yards of piping.
Budget-Friendly Options
Investing $300-$350 in supplies yields a custom creation rivaling $2,000+ store-bought alternatives. Consider these cost-saving strategies:
- Purchase piping in bulk rolls for per-yard discounts
- Use coupon apps when buying from craft stores
- Test smaller piping samples before committing to full quantities
Adjust material amounts based on your desired dimensions—larger sizes need proportionally more netting and piping. This scalability lets you control expenses while maintaining design integrity.
Understanding Netting and Cotton Piping
The foundation of any standout floor piece lies in its base materials. Proper preparation of netting and piping ensures structural integrity while simplifying the creation process. Let’s break down how these components work together.
Preparing the Netting
Start by measuring your desired dimensions. Standard netting comes in 2-foot widths, so larger projects require joining multiple sections. Overlap edges by 3 inches and secure them with fabric glue for seamless connections.

Calculate total yardage by multiplying length by width. For example, a 6x9 piece needs three 2-foot panels stitched horizontally. Always cut netting 10% larger than your final size to account for adjustments.
Choosing the Best Cotton Piping Sizes
Thicker piping speeds up assembly but limits intricate patterns. Compare popular options:
| Thickness | Yardage Needed | Time Efficiency | Best For |
|---|---|---|---|
| 1/4" | 300+ yards | Low | Detailed designs |
| 1/2" | 180 yards | High | Bold textures |
| 11/16" | 150 yards | Highest | Quick projects |
Mid-range sizes like 1/2" balance speed and versatility. Thinner options work for small accent pieces but extend timelines. Match your selection to both skill level and available time.
Step-by-Step Guide to Creating Your Rug
Transform raw materials into a textured masterpiece with precise yet approachable techniques. This hands-on approach lets you control every detail, from material density to surface patterns. Let’s break down the core methods that turn simple supplies into a functional art piece.
Mastering Material Preparation
Start by cutting cotton piping into 4-inch segments. Use sharp scissors to ensure clean edges. Slight length variations (3.9"-4.1") add organic charm while maintaining structural consistency.
| Step | Tool | Key Tip |
|---|---|---|
| Cutting | Fabric scissors | Rotate piping while cutting to prevent fraying |
| Weaving | Netting grid | Work outward from the center for balanced tension |
| Securing | Rubber bands | Double-loop bands at stress points |
| Shaping | Hands | Fluff pieces upward for uniform height |
Thread each piece through the netting’s squares, pulling upward until snug. Secure the base with rubber bands—this creates the foundation for plush pom-pom textures. Rotate the netting frequently to check for gaps or uneven sections.
Complete one square foot at a time to maintain focus. If joining multiple panels later, leave 2-inch borders uncovered. This simplifies assembly while ensuring seamless connections between sections.
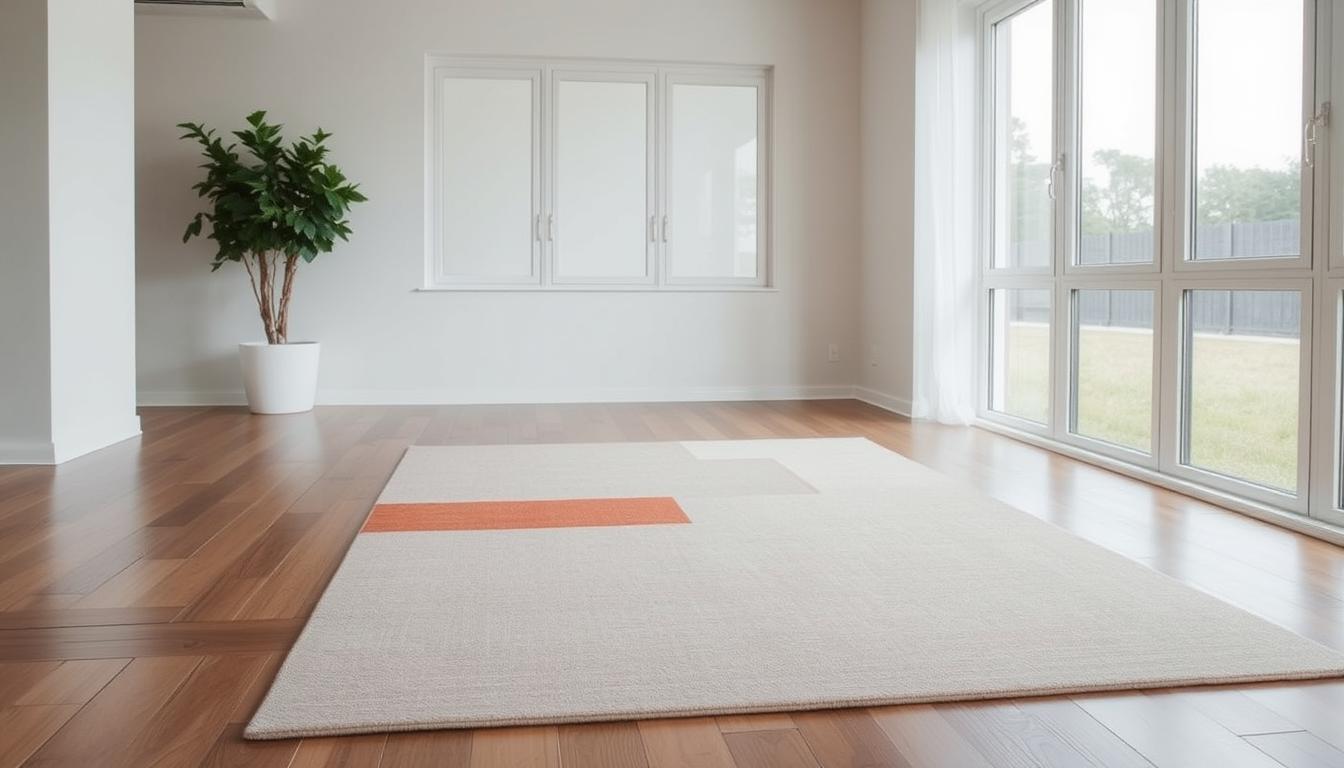
DIY Modern Rug: diy Modern rug
The plush texture underfoot transforms any room into a cozy retreat. This approach blends tactile comfort with crisp visual lines, making it ideal for today’s streamlined interiors. Each looped segment creates dimension while maintaining a unified surface that complements neutral palettes or vibrant accents.
Adapt the technique to match your space’s personality. Choose monochromatic schemes for understated elegance or mix hues for dynamic focal points. The grid-based structure ensures geometric precision, whether crafting angular patterns or free-form arrangements.
| Design Approach | Characteristics | Room Fit |
|---|---|---|
| Minimalist | Single-color piping, uniform spacing | Living areas, offices |
| Geometric | Contrasting colors, sharp angles | Entryways, dining spaces |
| Organic | Earthy tones, irregular shapes | Bedrooms, sunrooms |
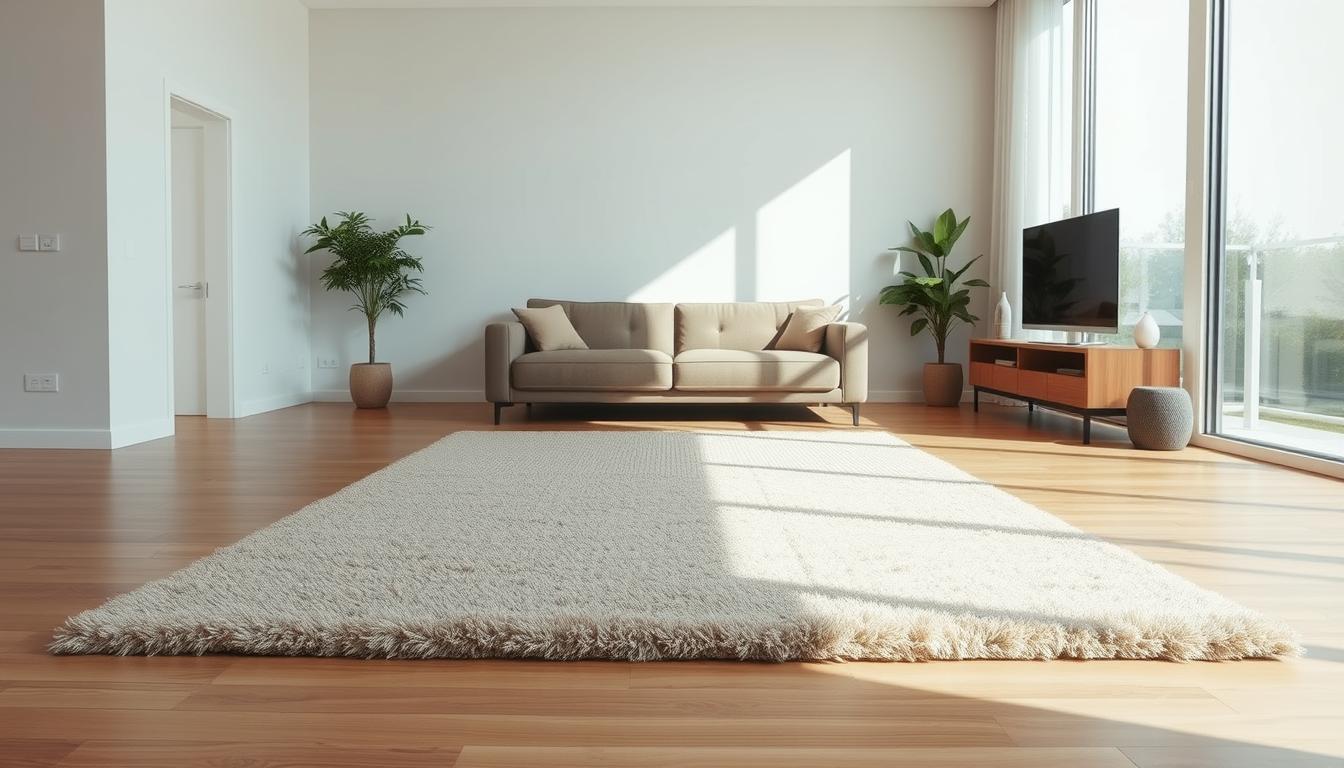
Smaller pieces work well in high-traffic zones like kitchens, where comfort meets practicality. For larger areas, scale up the pattern without losing definition. The hand-tied construction lets you adjust density—tight clusters for firm support or looser loops for cloud-like softness.
This method turns functional flooring into conversation-starting art. Unlike mass-produced alternatives, every knot reflects your creative vision while delivering lasting comfort. Experiment with piping colors and netting sizes to invent a look that’s uniquely yours.
Tips for Achieving a Sleek, Modern Look
Your design choices transform functional pieces into artistic statements. Sharp edges and intentional color pairings elevate projects from basic to gallery-worthy. Start by trimming uneven sections with fabric scissors—this creates crisp lines that define the piece’s shape.

Design and Color Trends
Neutral palettes dominate current interiors, but bold accents add personality. Pair soft grays with terracotta tones for warmth, or use navy piping against ivory netting for contrast. Geometric patterns thrive in minimalist spaces—think staggered squares or overlapping diamonds.
Color blocking simplifies complex designs. Divide your creation into zones using complementary shades. For example:
| Design Element | Recommended Colors | Effect |
|---|---|---|
| Monochromatic | Charcoal, slate, pearl | Unifies open-concept rooms |
| Earthy Tones | Sage, ochre, clay | Softens angular furniture |
| Contrasting Hues | Mustard, indigo, blush | Highlights architectural features |
Balance texture with simplicity. Fluff piping upward for depth while maintaining clean lines. For bath mats or smaller pieces, limit patterns to three repeating shapes. This prevents visual clutter in compact spaces.
Final touches matter. Secure loose ends with discreet knots and trim excess netting. A well-finished edge frames your work like a canvas, emphasizing its intentional design. Projects adapt effortlessly—complete a 2x3 mat during naptime or expand patterns across larger areas over weekends.
Utilizing Spray Adhesive Effectively
Securing your handmade creation requires precision and the right bonding techniques. Spray adhesive creates professional-grade durability when attaching backing materials. Brands like Roberts Multi Bond offer contact formulas designed for fabric-to-fabric adhesion without stiffening textures.
Safety comes first. Always work outdoors or in well-ventilated spaces. Wear nitrile gloves and a respirator mask to avoid inhaling fumes. Lay down protective sheeting to catch overspray.
Apply adhesive to both surfaces for maximum hold. Hold the can 8-12 inches from the material. Use sweeping motions from the center outward. This prevents pooling and ensures even coverage.
| Step | Time Window | Key Action |
|---|---|---|
| Prep Surfaces | Before spraying | Clean dust with lint roller |
| Apply Adhesive | 0-3 minutes | Spiral outward from center |
| Join Materials | 3-5 minutes | Press firmly with roller |
Work in manageable sections if tackling large pieces. Adhesive becomes tacky within 5-7 minutes—align fabrics before this stage. Smooth air bubbles with a seam roller, applying pressure from the middle toward edges.
Notice gaps or loose corners? Reactivate dried adhesive with heat from a hairdryer. Press the area again for 30 seconds. For residue removal, use citrus-based cleaners on dried spills.
Advanced Techniques for DIY Rug Projects
Expanding your floor piece beyond standard sizes requires precision in connecting materials while maintaining visual flow. Seamless joins prevent tripping hazards and ensure patterns align perfectly across sections. This approach transforms multiple smaller panels into cohesive large-scale designs.
Professional Joining and Edge Refinement
Begin by overlapping netting edges by three squares. Thread piping through both layers, creating double knots with rubber bands at connection points. Fluff each segment upward to blend textures between panels.
Follow this sequence for invisible seams:
- Align patterns using safety pins before securing
- Weave matching piping colors across the joint line
- Trim excess netting with pinking shears to prevent fraying
For curved shapes, cut netting into trapezoids rather than rectangles. This allows smoother transitions when connecting angled sections. Test your technique first on scrap materials using this guide to larger floor coverings.
| Common Issue | Solution | Tool |
|---|---|---|
| Visible seam lines | Rotate piping direction at joints | Crochet hook |
| Loose edges | Apply fabric glue under knots | Fine-tip applicator |
| Pattern mismatch | Mark grid lines with washable pen | T-square ruler |
Finish perimeter edges by wrapping piping around the outermost netting squares twice. This creates a reinforced border that withstands frequent vacuuming. For high-traffic areas, add non-slip backing after completing the main assembly.
Time Management and Project Planning
Balancing creative projects with daily life demands smart scheduling strategies. Break your work into 30-60 minute sessions—ideal for evenings or weekends. Many crafters complete smaller pieces (like 2x3 bath mats) in one afternoon, while larger designs unfold over weeks.
| Dimensions | Average Time | Recommended Pace |
|---|---|---|
| 2x3 ft | 4-6 hours | Single weekend |
| 5x8 ft | 40-50 hours | 1 hour daily for 6 weeks |
Set up a dedicated workspace with organized supplies. Use trays for piping segments and clips to mark your stopping point. This lets you pause mid-row without losing progress.
Track advancement with simple tools—mark completed netting squares with washable markers or tally sheets. "Seeing visible progress each session keeps motivation high," notes a frequent crafter.
Prioritize consistency over speed. Rushing knotting steps risks uneven textures. For complex patterns, dedicate extra time to quality checks after each foot of progress. Balance detailed work with occasional quick sessions to maintain momentum.
Incorporating Rug Tufting Methods
Textured surfaces gain new dimensions through specialized tools that reshape yarn into artistic patterns. Tufting offers distinct advantages for projects needing varied heights and densities. This approach lets you layer colors and create intricate motifs faster than hand-knotting.
Tool Overview and Safety Tips
Two primary gun types define this method. Cut pile tools slice yarn loops for velvet-like finishes, while loop pile models preserve circular shapes for raised textures. Essential materials include:
- Backing fabric (monk’s cloth or burlap)
- Acrylic or wool yarn
- Non-slip adhesive like BOND AAT1132
Always wear cut-resistant gloves and safety goggles. Keep fingers clear of the needle path, and unplug tools when adjusting yarn tension. Store guns in dry areas to prevent electrical issues.
Process and Workflow Adjustments
Tufting demands a sturdy frame to stretch backing fabric taut. Start by sketching designs directly onto the material with washable markers. Feed yarn through the gun’s guide system, maintaining consistent pressure for even pile heights.
| Aspect | Tufting Method | Cotton Piping |
|---|---|---|
| Speed | 3 sq ft/hour | 1 sq ft/hour |
| Texture Options | High contrast | Uniform |
| Skill Level | Intermediate | Beginner |
Combine techniques by tufting focal points onto woven bases. Finish edges with folded backing fabric secured with spray adhesive. This hybrid approach merges speed with handcrafted details.
Exploring Alternative Rug Making Methods
Your creative journey doesn’t end with one technique—countless pathways exist to craft unique floor art. Beyond the grid-based approach, other methods transform everyday materials into functional designs. Old t-shirts become coiled spirals when cut into strips. Fabric scraps gain new life through braiding or loom weaving.
Denim jeans offer rugged texture for high-traffic areas. Cut worn pairs into ribbons and twist them into durable spirals. For softer surfaces, try crochet projects using thick yarn and oversized hooks. Each method suits different skill levels and time commitments.
Consider these ways to expand your skills:
- Rag weaving with fabric strips on simple frames
- Hand-twisted braids secured with fabric glue
- Knotted designs using recycled cotton sheets
These approaches let you experiment with color blending and texture mixing. Upcycled fabrics reduce costs while adding personal history to your creations. A denim piece might incorporate childhood jeans, while a quilt-scrap design tells visual stories.
Choose projects matching your available tools and space. No loom? Try finger-weaving thick yarns. Limited time? Braided rugs grow gradually during TV breaks. Every method shares one truth: personalized floor art starts with your vision and grows through patient hands.
FAQ
How do I choose the right netting for my project?
Opt for durable, tightly woven netting that matches your rug’s thickness. For low-pile designs, lightweight options like cotton or polyester work well. Reinforce edges with fusible interfacing to prevent fraying.
Can spray adhesive replace traditional rug-binding methods?
Yes—high-hold spray adhesives like 3M Super 77 create strong bonds between fabric and backing. Apply in thin, even layers and press materials immediately for a seamless finish. Test on scraps first to avoid residue.
What’s the fastest way to join fabric pieces for large rugs?
Overlap edges by ½ inch and secure with double-sided fabric tape or a zigzag stitch. For a no-sew approach, use iron-on hemming web and a pressing cloth to fuse layers smoothly.
How do I maintain color consistency in multicolored designs?
Pre-wash fabrics to prevent bleeding, and group materials by dye lots. For synthetic fibers, use color-catching sheets during washing. Trim uneven sections with sharp scissors to keep patterns aligned.
Can I repurpose old carpets for DIY projects?
Absolutely! Cut carpet remnants into geometric shapes and attach them to a non-slip backing using spray adhesive. Seal edges with latex-based sealant to prevent unraveling.
What safety gear is essential for rug tufting?
Wear cut-resistant gloves, safety goggles, and a respirator mask when handling adhesives or sharp tools. Keep a first-aid kit nearby and work in a well-ventilated area to avoid fume buildup.
How do I prevent slippage on hardwood floors?
Attach a silicone or rubber grip pad to the rug’s underside. For larger rugs, use double-sided carpet tape along the perimeter or invest in a non-slip rug underlay.
What’s the best way to store leftover materials?
Roll fabric scraps or netting around cardboard tubes to avoid creases. Store adhesives upright in a cool, dry place and check expiration dates before reuse.