


6 Easy DIY Steps for a Cotton Rug
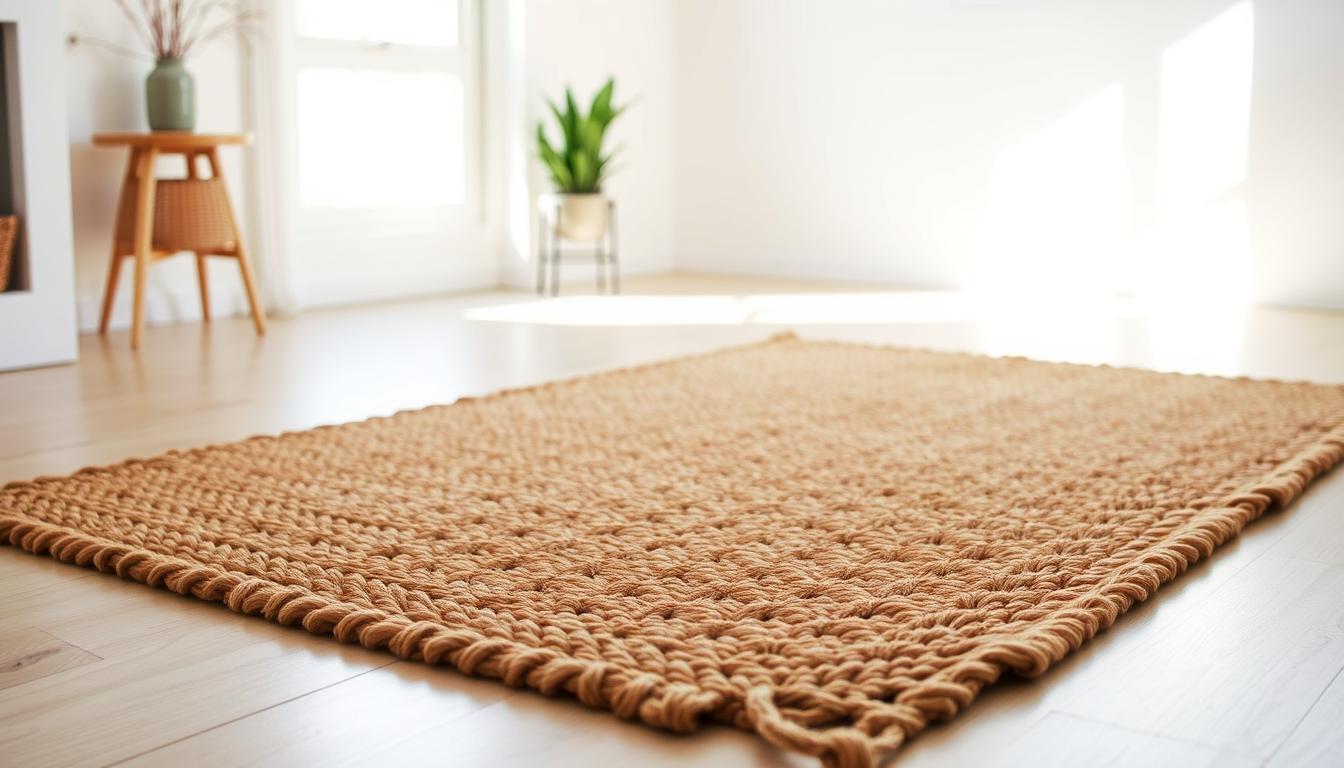
What if you could craft a luxurious floor covering that rivals high-end store designs—without emptying your wallet? Imagine transforming basic materials into a soft, cloud-like centerpiece that elevates your space in just a few evenings.

This hands-on project uses affordable piping and netting to create a custom piece tailored to your home. Whether you’re aiming for a kitchen mat or a living room statement, the technique adapts effortlessly. Best of all, materials for a 5x8 size cost under $350—a fraction of the $1,000+ price tag for similar handmade designs.
No expertise? No problem. The process feels like knitting: repetitive, calming, and deeply satisfying. You’ll control every detail, from color choices to dimensions, ensuring it complements your decor perfectly.
Key Takeaways
- Save hundreds by making a plush floor covering instead of buying retail
- Customize sizes and styles to match any room’s needs
- Master the craft with simple tools, even as a beginner
- Turn the project into a relaxing evening ritual
- Complete most designs in under 10 hours
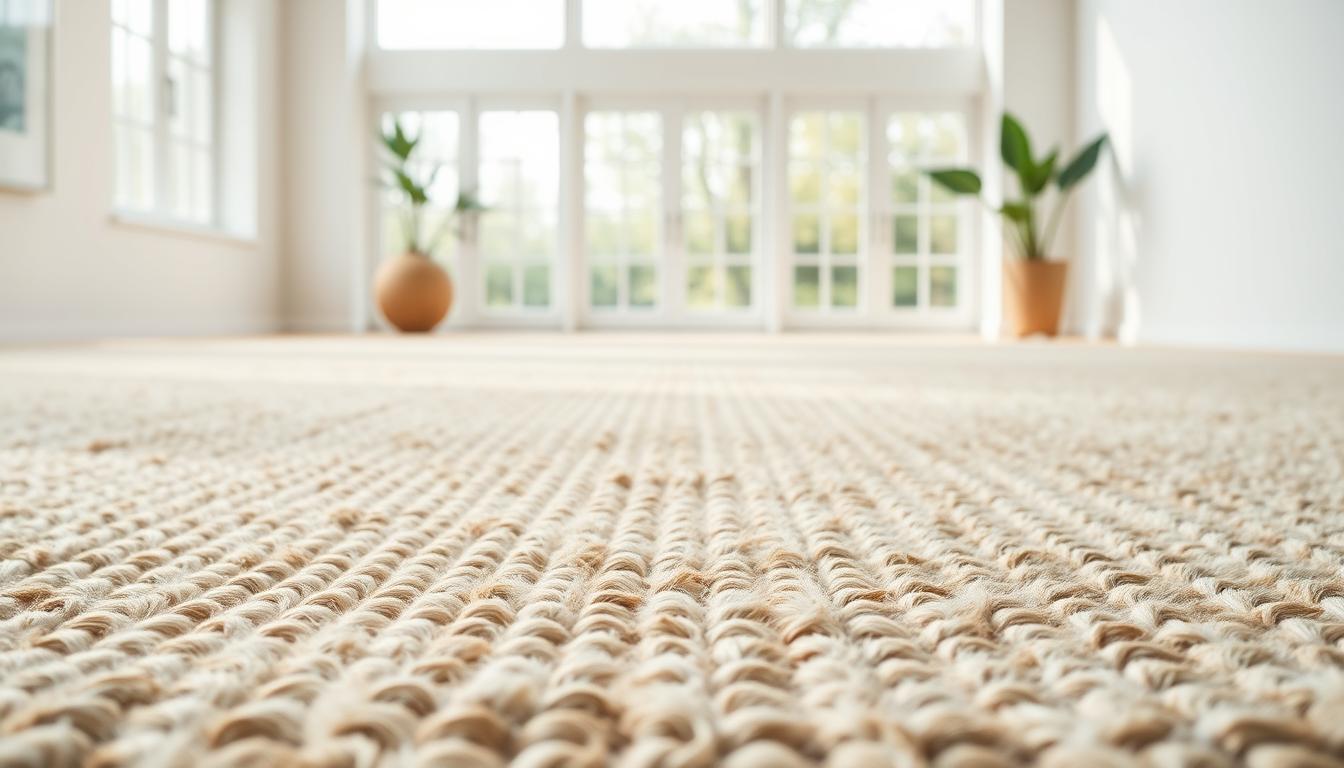
Introduction to Your DIY Cotton Rug Journey
Ever stared at store-bought options, torn between quality and cost? Many discover that designer pieces often exceed budgets, while affordable choices lack personality. This dilemma sparked my own quest to craft a plush, cloud-soft centerpiece for less than $350.
Creating your own floor decoration solves two problems at once: financial constraints and design specificity. "It became my nightly wind-down ritual," I realized while looping piping through netting. Though requiring 8-10 hours total, the process feels therapeutic—like crocheting while binge-watching your favorite series.
You’ll gain full control over dimensions and color schemes. Want a blush-toned runner for your hallway? Prefer charcoal accents for a modern living room? Your creation adapts effortlessly. Guests often ask where I found such a unique piece, unaware it’s handmade.
"Definitely a labor of love, but every stitch feels worth it when you step onto that first fluffy morning."
This project rewards patience with unmatched customization. Unlike mass-produced items, your finished work reflects personal style while offering professional-grade softness. Best of all, you’ll master skills usable for future home upgrades.
Materials and Tools Essentials
The foundation of any great project lies in its components. For this craft, you’ll need four key items: flexible netting, soft piping, mini rubber bands, and sharp scissors. These elements work together to create a durable yet plush texture that lasts for years.
Gathering Supplies and Equipment
Start with multi-purpose netting—its grid pattern creates the base structure. Choose piping sold at fabric stores or online retailers, prioritizing softness over stiffness. Small rubber bands (like those used for hair braids) secure each piece without slipping. Sharp fabric scissors ensure clean cuts through thick materials.
Choosing the Right Cotton Piping and Netting
Piping thickness directly impacts your project’s timeline and texture. Thicker options (½ inch or 11/16 inch) reduce total yardage needs by 30% compared to slender varieties. One crafter noted, “Using wider piping shaved three hours off my completion time.” Pair it with tightly woven netting to prevent sagging—this combination balances speed and durability.
Calculate material quantities using a simple formula: multiply your desired length by width, then add 15% for adjustments. Check craft store clearance sections for discounted piping, or subscribe to retailer newsletters for flash sales. Organize supplies in labeled bins to maintain workflow efficiency during assembly.
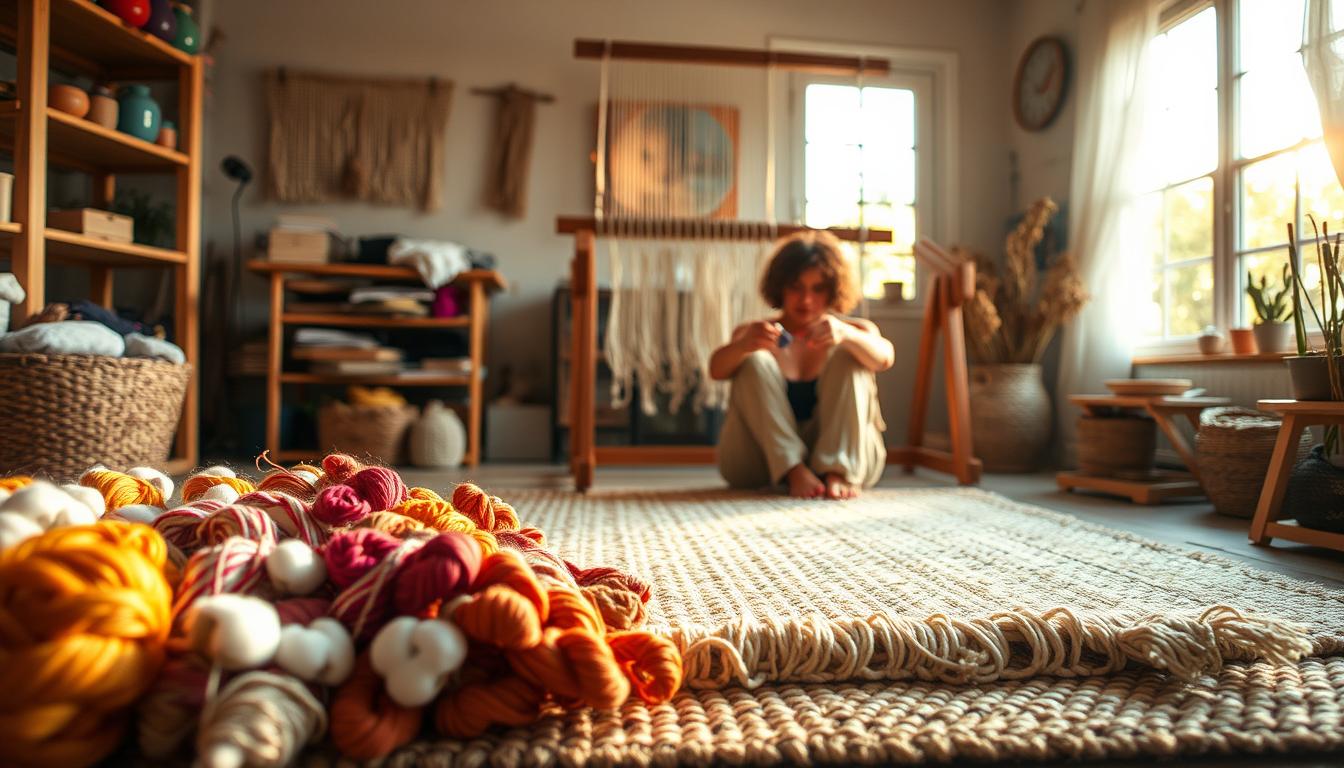
Understanding the DIY Process
Creating a plush floor piece doesn’t require expertise—just patience and a few nightly hours. This tutorial simplifies textile artistry into repetitive motions anyone can master. Think of it as knitting’s laid-back cousin: you’ll loop materials through netting while watching shows or chatting with family.

The step-by-step workflow unfolds in three phases. First, you’ll prepare materials by cutting netting to size. Next, secure piping strands using basic fasteners. Finally, weave rows until the pattern emerges. Each stage builds logically, letting you pause and resume without losing progress.
| Feature | This Method | Latch Hook | Knitting |
|---|---|---|---|
| Tools Needed | Scissors only | Special hook | Needles |
| Knots Required | No | Yes | Yes |
| Portability | High | Medium | High |
What makes this method stand out? Unlike traditional techniques, there’s no counting stitches or untangling yarn. One crafter described it as “meditation with measurable results.” Complete a section during commercials or while waiting for dinner to bake.
Most projects take 8-10 total hours spread over evenings. Set weekly goals like finishing two rows per night. Celebrate milestones—when half the netting fills in, treat yourself to a coffee break. Before you know it, you’ll have a custom piece that rivals boutique designs.
Determining Rug Size and Cutting the Netting
Accurate measurements form the backbone of any successful textile project. Before touching your scissors, sketch your ideal dimensions on paper using a tape measure and grid paper. This planning phase prevents costly mistakes and ensures every inch of material serves your vision.
Calculating Measurements for Your Creation
Standard netting rolls typically measure 24 inches wide. To create a 5x8 piece, you’ll need three 8-foot sections. Here’s why: 24-inch width x 3 panels = 72 inches (6 feet) total width. Trim excess length after securing panels together. Use this formula:
- Desired width ÷ netting width = number of panels
- Desired length + 6 inches = cutting length per panel
| Target Size | Panels Needed | Cut Length |
|---|---|---|
| 4x6 ft | 2 | 6.5 ft |
| 5x8 ft | 3 | 8.5 ft |
| 8x10 ft | 5 | 10.5 ft |
Techniques for Neatly Cutting Netting
Lay your material on a clean, flat surface. Use sharp fabric scissors - dull blades cause frayed edges. One crafter shared: “Rotate the netting, not your hand, for straighter cuts.” Apply moderate tension while slicing through the grid lines.
For larger designs exceeding standard widths, consider sectional furniture arrangements that complement extended floor pieces. Always cut panels longer than needed - you can trim excess later, but can’t add missing inches.
Preparing and Cutting the Cotton Piping
Mastering material preparation transforms overwhelming tasks into manageable steps. Start by cutting piping into 4-inch strips using sharp fabric scissors. Aim for consistency but embrace slight variations—pieces ranging from 3.5" to 4.5" create organic texture that mass-produced items lack.
For a standard 5x8 floor covering, you’ll need approximately 215 yards of material. This equals 1,935 individual strips—a number that surprises many first-time crafters. Use this sizing guide:
| Covering Size | Total Piping | Pieces Required |
|---|---|---|
| 3x5 ft | 85 yards | 765 |
| 5x8 ft | 215 yards | 1,935 |
| 8x10 ft | 480 yards | 4,320 |
Boost efficiency with a rotary cutter and self-healing mat. One creator noted: “Cutting 50 strips at once reduced my prep time by half.” Rotate between cutting sessions and organizing batches to prevent hand strain.
Store strips in labeled bins sorted by color or length. This system prevents tangling during assembly. For textured edges, alternate between straight and slightly angled cuts within your 4-inch range.
Remember—longer strips create loftier piles, while shorter pieces yield denser surfaces. Adjust proportions based on your desired plushness. Keep workspace clear with designated areas for raw materials, tools, and completed bundles.
Weaving Your diy Cotton rug: Step-by-Step Process
Discover how strategic loops create lasting comfort underfoot. Begin by threading material strips upward through the netting grid. Each upward pull forms the base of your textile piece's signature cloud-like surface.
Anchor Choices: Speed vs Longevity
Small elastic bands offer quick securing—simply wrap them around grouped strands. For heirloom-quality projects, consider stretchable nylon thread. One creator shared: "Thread takes longer, but my first piece still looks new after three years of daily use."
| Method | Speed | Durability |
|---|---|---|
| Rubber bands | 5 min/row | 2-4 years |
| Elastic thread | 12 min/row | 7+ years |
Fluffing Techniques for Plush Results
After securing, gently tease strands outward using your fingers. Rotate each cluster to expose hidden fibers. For uniform fullness, comb through sections with a wide-tooth brush. Maintain even spacing by checking every fifth row with a ruler.
Adjust tension as you work—too tight creates flat spots, while loose loops sag. If mistakes occur, simply snip the fastener and re-loop the affected area. This forgiving process lets you perfect each section without restarting.
Assembling Multiple Rug Sections
Expanding your textile project requires precision and smart assembly techniques. When creating larger floor pieces, connecting separate mesh panels becomes essential for a unified look. The key lies in invisible seams that maintain both visual flow and structural integrity.
Mastering the Pom-Pom Connection
Begin by aligning two netting edges with a ½-inch overlap. Thread piping strips through both layers using a figure-eight pattern, creating clusters that hide the seam. Secure every six inches with small rubber bands. "This method masks connection points completely—like magic!" notes a seasoned creator.
| Joining Method | Time per Foot | Durability |
|---|---|---|
| Rubber Bands | 8 minutes | 3-5 years |
| Nylon Thread | 18 minutes | 8+ years |
| Elastic Cord | 12 minutes | 6+ years |
Make sure sections lie flat before connecting them. Use binder clips to hold pieces in place while working. Rotate your project frequently to check alignment from all angles.
Test each joined area by gently tugging. Reinforce loose spots with additional loops through adjacent grid holes. Once secure, fluff the clusters outward to blend sections into one cohesive surface.
Trimming and Perfecting the Edges
Transform raw edges into polished perfection with strategic finishing techniques. Sharp scissors become your best ally here, slicing through excess material to create crisp lines that mimic professional craftsmanship. Start by walking around your creation, identifying strands that extend beyond the uniform border.
Use a comb to lift clusters upward, revealing uneven ends. Trim in small increments—you can always cut more, but you can’t undo a drastic snip. One creator swears by this method: "Rotate the piece 90 degrees after each cut to maintain balanced proportions."
For interior adjustments, target strands that disrupt the surface harmony. Pinch overly long pieces between your fingers and trim them to match surrounding heights. This preserves texture while eliminating visual distractions.
| Technique | Time | Result |
|---|---|---|
| Rotate & Cut | 2 min/ft | Even edges |
| Layered Trimming | 4 min/ft | Voluminous finish |
| Spot Correction | 1 min/area | Uniform surface |
Complete your project with a quality check. Run your palm across the surface, feeling for inconsistencies. Address stubborn uneven spots using trimming techniques that maintain structural integrity. Sharp blades prevent fraying, ensuring each cut enhances durability.
Remember—final adjustments elevate handmade pieces from "homemade" to "high-end." As one textile artist notes: "The last trim separates good enough from gallery-worthy." Store your scissors vertically in a jar between uses to preserve their edge.
Adding a Personalized Touch to Your Rug
Your floor covering becomes a signature element when infused with intentional design choices. Start by sketching color palettes that harmonize with your space’s existing furniture and wall tones. Earthy neutrals blend seamlessly in minimalist rooms, while jewel tones make bold statements in eclectic settings.

Customizing Colors and Textures
Plan patterns using painter’s tape on your floor to visualize layouts. Striped designs work well in hallways, guiding the eye through narrow spaces. For living areas, try clustered geometric shapes that anchor seating arrangements. One designer suggests: “Layer three complementary hues in 60-30-10 ratios for professional-looking results.”
| Color Strategy | Room Type | Maintenance |
|---|---|---|
| Monochromatic | Bedrooms | Low |
| High-Contrast | Playrooms | Medium |
| Gradient | Dining Areas | High |
Rotate seasonal accents by swapping 20% of your strips. Use burnt orange clusters for fall entries or icy blues in winter sitting areas. In high-traffic zones, prioritize tightly secured loops over loose, flowing textures.
Mix piping thicknesses within the same piece for tactile interest. Combine ½-inch and ¾-inch strands in alternating rows. This technique adds depth while maintaining structural integrity. Always test new patterns on small swatches before committing to full-scale projects.
Creative Ways to Customize Your Rug
Breathe new life into forgotten textiles by reimagining their purpose underfoot. While piping works beautifully, household materials like old band shirts or vintage linens add unexpected character. This approach lets you preserve sentimental fabrics while reducing waste.
Exploring Unique Material Alternatives
Transform 10-12 cotton tees into a cozy 3x5 surface by cutting them into 2-inch continuous loops. For larger projects, two queen sheets yield enough strips for a 2x3 design. Knit fabrics work best—they curl naturally when cut, creating fuller textures.
Use sharp scissors to slice materials into 1-3 inch strips. Wider cuts create chunkier piles, while slender pieces offer refined detailing. Mix colors intentionally: pair faded denim scraps with crisp white sheets for coastal vibes, or blend floral patterns for bohemian flair.
Secure strips using the same netting technique as piping projects. This method works particularly well with stretchy fabrics that grip the mesh tightly. Rotate directional patterns every few rows to add visual movement to your textile creation.
FAQ
What’s the best fabric for creating a durable texture?
Opt for tightly woven cotton or repurposed materials like old T-shirts. These hold shape well during weaving and maintain softness over time. Avoid stretchy fabrics, as they can warp the final design.
How do I ensure my netting stays aligned while cutting?
Use sharp scissors and mark guidelines with chalk or a washable pen. Secure the netting flat on a table to prevent shifting. Trim slowly, keeping edges straight for consistent loops.
Can I combine different colors without unraveling?
Yes! Intertwine strands of varying hues during the weaving phase. Knot ends securely and tuck them under adjacent loops. This blends shades seamlessly while maintaining structural integrity.
What’s the ideal way to join multiple sections?
Overlap netting pieces by 1–2 inches and weave piping through both layers. Secure with double knots or fabric glue for extra hold. This method hides seams and strengthens the overall piece.
How do I prevent fraying along the edges?
Apply a thin line of fabric glue or use a zigzag stitch with a sewing machine. For a rustic look, leave strips slightly uneven but trim loose threads regularly to maintain cleanliness.
Can recycled clothing work for piping?
Absolutely. Cut old shirts, sheets, or denim into 1-inch-wide strips. Stretch them slightly before weaving to reduce curling. Mix textures for a unique, eco-friendly finish.
What tools simplify the pom-pom texture creation?
A latch hook or crochet needle speeds up pulling strips through netting. For bulk projects, try a non-slip rug gripper to hold materials steady while working on intricate patterns.