


Article: 5 Soft Steps to Make a Cotton Rug at Home
5 Soft Steps to Make a Cotton Rug at Home

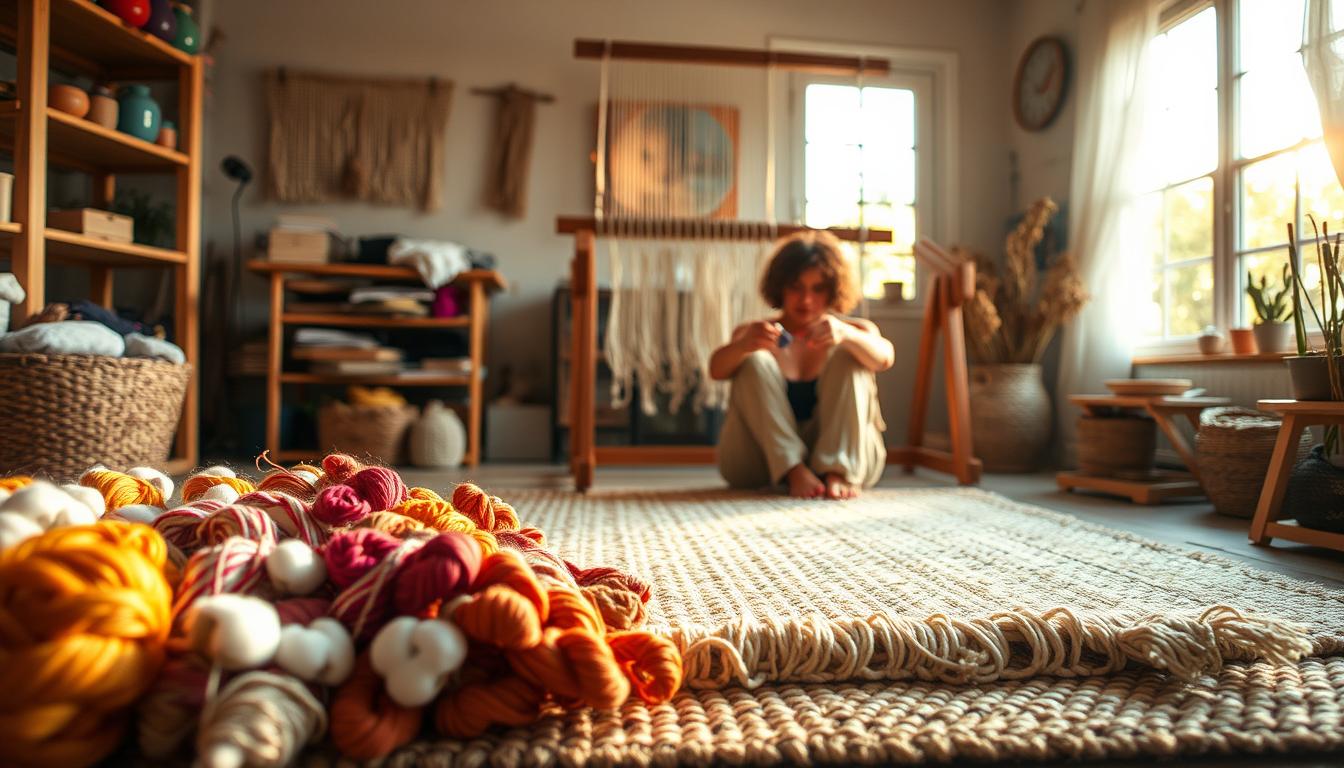
What if your next home decor masterpiece didn’t require a trip to the store or a hefty budget? Imagine transforming forgotten fabrics into a custom floor covering that reflects your personal style. This hands-on craft combines creativity with practicality, offering a satisfying way to repurpose materials while designing something uniquely yours.
Creating floor decor yourself puts size, color, and texture choices entirely in your hands. Whether using upcycled t-shirts, vintage sheets, or fresh fabric strips, each method brings distinct character to your space. The process spans roughly 6-8 hours—perfect for breaking into manageable weekend sessions.
You’ll discover three reliable techniques here: classic braided designs, contemporary jelly roll styles, and vinyl-backed options. Each approach balances durability with visual appeal, letting you match the final product to your room’s needs. With basic supplies and clear guidance, even first-time crafters can achieve professional-looking results.
Key Takeaways
- Customize dimensions and patterns to complement your interior design
- Choose from braided, rolled, or backed construction methods
- Repurpose old textiles or use new materials for varied textures
- Complete the project in two afternoon sessions
- Prepare workspace and materials beforehand for efficiency
- Select techniques based on desired durability and aesthetics
Planning Your Cotton Rug Project
Your ideal floor decor starts with selecting the right fabrics and organizing your space. Material choices determine both aesthetics and functionality, while workspace setup ensures smooth progress. Let’s break down these critical planning phases.
Understanding Your Materials and Fabric Options
Stretchy t-shirt fabric creates plush surfaces perfect for casual spaces, while structured cotton sheets handle foot traffic better. Jelly roll strips save hours of cutting—their 2.5″ width maintains consistency for geometric designs. Scraps add personality but require intentional color grouping to avoid visual clutter.
Setting Up Your Workspace for Success
Clear a table longer than your planned rug size for assembly. Bright lighting helps spot uneven braids or mismatched colors. Use labeled bins to separate fabric types—this prevents tangles and speeds up construction. Duck cloth backing? Keep scissors and adhesive within reach if using this method.
Consider traffic flow around your workspace. You’ll need easy access to ironing stations for pressing seams and storage for ongoing projects. A well-organized area lets you focus on perfecting tension and patterns without constant interruptions.
Gathering Fabrics and Essential Tools
Assembling quality materials transforms raw potential into polished results. Your toolkit determines both efficiency and the final product’s durability. Let’s explore what you’ll need to bridge imagination and execution.

Choosing the Right Cotton and Additional Fabric Options
Rotary cutters outperform standard scissors when preparing fabric strips, especially for jelly roll techniques requiring 50+ yards of uniform 2.5″ pieces. For braided styles, medium-weight cotton blends balance flexibility and structure. Pre-wash materials to prevent shrinkage surprises later.
Thread choice matters as much as fabric selection. Poly-cotton blends endure frequent cleaning better than pure cotton threads. Keep 7-8 bobbins pre-wound to avoid mid-project interruptions. Vinyl-backed designs demand spray adhesives and stiff brushes for seamless bonding.
Organize strips by color in labeled bins before starting. This prevents tangles and ensures smooth transitions between patterns. Measuring tapes and T-squares maintain consistency, whether creating geometric precision or organic shapes. Press seams flat with a hot iron—wrinkles distort dimensions during assembly.
How to make Cotton Rug: Step-by-Step Process
Transforming fabric into functional art begins with precise preparation. Proper techniques ensure your creation maintains shape while showcasing intentional design elements. Let's explore the core stages of bringing your vision to life.
Fabric Preparation and Cutting Methods
Rotary cutters excel when working with stretchy materials like t-shirts, producing uniform 1-3" strips. For woven fabrics, tear sheets after initial cuts for rustic edges. Consistent widths between 2-3 inches balance durability and flexibility.
| Material Type | Ideal Width | Cutting Tool | Edge Finish |
|---|---|---|---|
| T-Shirts | 1-2 inches | Rotary Cutter | Clean edges |
| Cotton Sheets | 2-3 inches | Scissors + Tearing | Textured edges |
| Jelly Roll Strips | 2.5 inches | Pre-cut | Factory edges |
Foundation Braiding Techniques
Secure three strip ends with machine stitching or tight knots. A 2-inch starter braid creates circular designs, while 6-inch beginnings form ovals. Maintain medium tension - too loose causes gaps, too tight warps the shape.
Expanding Your Design
Connect new strips using the overlap method: wrap fresh fabric around fading ends. For hidden joins, cut small holes in strip ends and thread new pieces through. Rotate your work frequently to check for consistent spacing.
Coil each completed braid section outward from the center. Use curved needles to weave inner strands through previous loops. This locks layers together while allowing natural flexibility underfoot.
Techniques for a Smooth, Flat, and Durable Rug
Perfecting your floor decor demands mastery of tension management and surface alignment. These skills transform lumpy fabric piles into professional-grade pieces that lie flawlessly underfoot.

Mastering Fabric Tension
Consistent pressure separates amateur projects from polished creations. Feed strips through your hands with even resistance—like pulling taffy without breaking it. Check every third coil for tightness by sliding two fingers beneath the braid.
| Technique | Tension Tip | Tool | Outcome |
|---|---|---|---|
| Braiding | Adjust grip strength | Spring clamps | Even texture |
| Machine Sewing | Guide fabric flat | Extension table | No puckering |
| Coiling | Rotate work often | Non-slip mat | Uniform shape |
Prevent curling edges by leaving extra fabric on outer curves. When using a sewing machine, keep the entire piece supported on your work surface. Heavy sections dangling off tables create uneven stitches.
Steam ironing works wonders for final adjustments. Press from the center outward in circular motions. For stubborn waves, dampen a towel and let the rug dry under weights overnight. Proper construction minimizes these fixes.
Regular quality checks save hours of rework. Lay your project on a flat surface after each foot of progress. Smooth out any ripples immediately—they compound quickly. Rotate clockwise and counterclockwise to spot hidden tension issues.
Creative Variations and Customization Ideas
Personalizing floor decor lets you blend practicality with artistic expression. Your choice of hues, shapes, and textures becomes the language of your space. Discover methods that elevate basic designs into signature pieces through strategic adjustments.
Exploring Different Color Schemes and Patterns
Coordinated fabric bundles simplify color matching for cohesive designs. Try monochromatic strips with 10% accent colors for subtle flair. Striped patterns work well in rectangular layouts, while spirals emphasize circular motion in round pieces.
| Design Element | Material Impact | Room Application |
|---|---|---|
| Bold geometrics | Defined edges with cotton canvas | Modern living areas |
| Watercolor blends | Sheer fabrics layered over solids | Bedroom accents |
| Textured neutrals | Mixed yarn weights | High-traffic zones |
Insights from Jelly Roll Rug and Vinyl Methods
Pre-cut fabric collections ensure pattern consistency across large surfaces. For wipeable surfaces, apply five thin coats of water-based sealant, drying 45 minutes between layers. Oval shapes require gradual width increases - add 2" per foot of length.
Transform basic techniques into functional art. Braided borders frame machine-sewn centers beautifully. Use leftover strips for coasters or chair pads, maintaining design continuity throughout your space.
Conclusion
Crafting your own floor decor transforms spare materials into functional art while aligning perfectly with your space’s needs. Through intentional fabric selection and methodical construction, you gain control over every detail—from vibrant patterns to exact dimensions. The process rewards patience, with 6-8 hours spread across sessions yielding pieces built to last through years of use.
Each completed project serves as both a practical accessory and a testament to your growing skills. Whether using cherished textiles or exploring new color combinations, the results reflect personal style in ways store-bought options can’t match. Durable stitching techniques ensure these creations handle daily wear while maintaining their shape and texture.
Beyond immediate results, this endeavor often sparks broader creativity. Many crafters find themselves inspired to experiment with natural fiber home accessories, building on techniques mastered here. What begins as a single weekend project frequently evolves into a fulfilling long-term hobby.
Your journey from initial concept to finished piece proves that stunning, custom designs require no special expertise—just willingness to start. Every stitch reinforces the value of handmade items in creating spaces that truly feel like home.
FAQ
What fabric options work best for durable rugs?
Cotton, linen, or cotton-blend fabrics are ideal for their strength and softness. Use scraps or repurpose old textiles like bedsheets. Avoid stretchy materials, as they may warp the final shape. Pre-wash fabrics to prevent shrinkage later.
How do you prepare fabric strips efficiently?
Cut fabric into 1–3-inch-wide strips using sharp scissors or a rotary cutter. For continuous strips, slice fabric diagonally in a spiral pattern. Join shorter pieces with a ½-inch seam allowance or by knotting ends, ensuring smooth transitions between strips.
What’s the best way to keep a rug flat during assembly?
Maintain consistent tension while braiding or sewing. Use a sewing machine for tight coils and press seams with an iron. For hand-sewn projects, pin sections to a flat surface and adjust twists as you work. Lightly misting with water can help relax stubborn curls.
Can you mix colors and patterns in one project?
Yes! Layer complementary shades or create gradients for visual depth. Follow methods like the Jelly Roll Rug technique for precise strip alignment. Test combinations under natural light before committing—bold patterns may overpower subtle designs.
How does a cotton rug differ from vinyl or rag styles?
Cotton rugs are softer and more absorbent than vinyl, making them ideal for indoor use. Unlike traditional rag rugs, modern versions often incorporate structured braiding or machine-sewn coils for stability. Cotton also holds dye better, ensuring long-lasting color.
What’s the easiest method for beginners?
Start with a simple braided design using three thick strips. Secure ends with a safety pin or clamp, then weave consistently. For coil-based rugs, use a sewing machine with a zigzag stitch to join wrapped fabric around a core rope.
How do you wash handmade cotton rugs?
Spot-clean small stains with mild detergent. For full washes, use cold water on a gentle cycle and air-dry flat. Avoid wringing twisted designs—reshape while damp. Preserve colors by washing similar shades together.
Can you use non-cotton fabrics for part of the rug?
Blend cotton with durable materials like denim or canvas for high-traffic areas. Ensure all fabrics have similar weights and shrinkage rates. Test combinations by washing a sample strip before committing to the full project.