


6 Creative DIY Steps for a Hooked Rug
Imagine transforming forgotten fabric scraps into a stunning centerpiece for your room. Could a centuries-old craft hold the key to modern, budget-friendly home décor? Rug hooking answers this question with a resounding yes—and you don’t need years of experience to master it.

This tactile art form turns recycled materials like wool sweaters or yarn remnants into durable, eye-catching floor coverings. The process? Pull fabric strips through a sturdy backing, loop by loop. No perfection required—every “mistake” becomes part of your creation’s charm.
First-timers often complete small projects in under a week. You’ll work at your own pace, using straightforward instructions that prioritize progress over precision. Best of all? Your finished piece withstands daily foot traffic while adding warmth to any space.
Key Takeaways
- Transform recycled fabrics into custom home accents through an easy-to-learn technique
- Complete your first piece in days using basic materials and adaptable methods
- Imperfections enhance character rather than detract from results
- Create durable surfaces that blend artistry with everyday functionality
- Personalize colors and patterns to match your existing décor seamlessly
Gathering Your Materials and Tools
Success in rug making hinges on the quality and suitability of your materials. Whether you're repurposing old textiles or starting fresh, every choice impacts durability and design. Let’s break down what you’ll need to transform loose fibers into a cohesive masterpiece.
Essential Tools for Precision Work
Your primary tool—the latch hook—features a spring-loaded metal tip that grips fabric strips effortlessly. Look for models with ergonomic handles; they reduce hand fatigue during long sessions. Pair this with gridded canvas, which acts as your roadmap. Choose a canvas at least 3 inches larger than your planned design to allow for trimming.
Material Selection Guide
Yarn comes in two forms: pre-cut 2.5-inch pieces or bulk skeins you’ll trim yourself. While cutting saves money, pre-cut options accelerate progress. For backing, traditionalists favor burlap’s rustic feel, while modern crafters often prefer specialized canvas with numbered grids. Wool strips should measure ¼” wide—any narrower, and they’ll slip through the mesh.
| Material | Traditional Hooking | Latch Hook |
|---|---|---|
| Backing | Burlap/Linen | Gridded Canvas |
| Fabric Width | ¼ inch | N/A (Yarn-based) |
| Tool | Basic Hook | Latch Hook Tool |
Needles prove crucial during finishing—use blunt-tip versions to weave ends securely. As one textile artist notes: "The right needle turns messy edges into gallery-worthy borders." Calculate yarn needs by multiplying canvas squares per row—this prevents mid-project shortages.
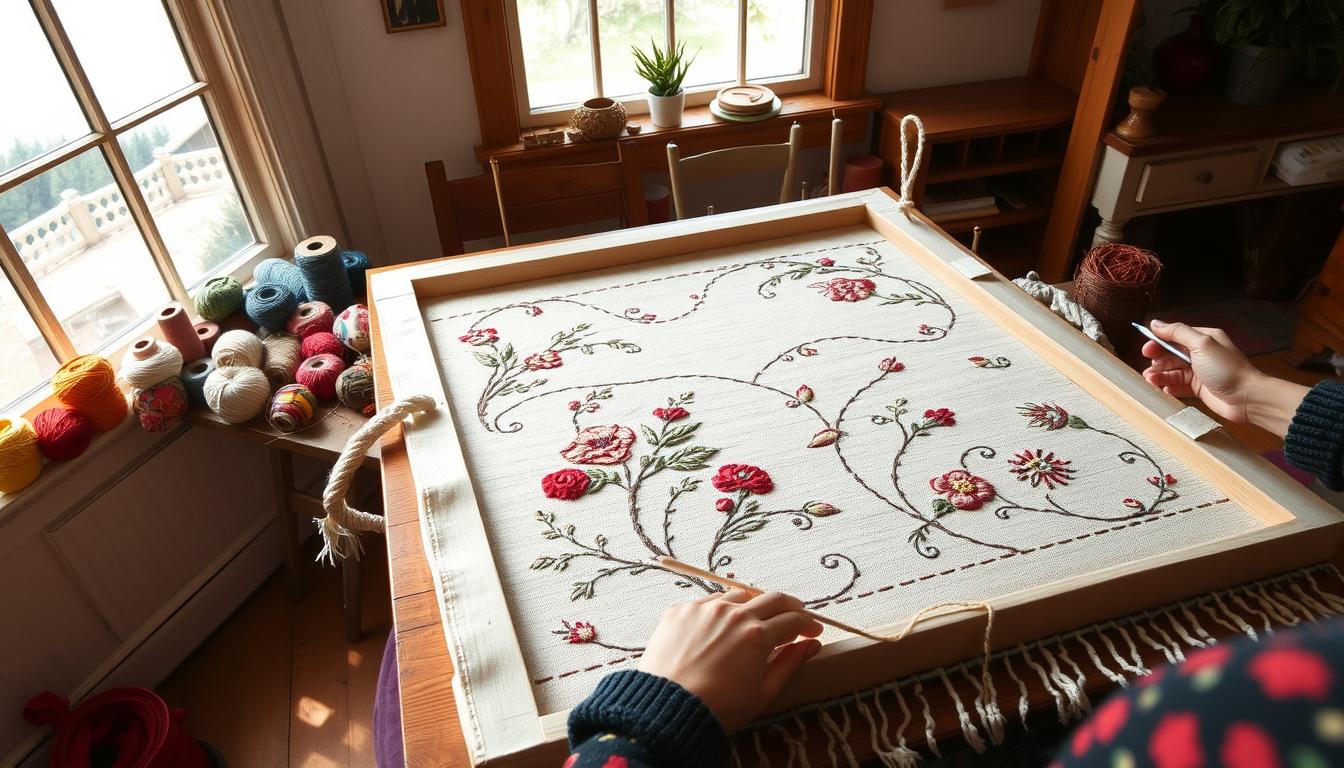
Setting Up Your Workspace and Preparing Your Rug Canvas
Your workspace becomes the foundation where raw materials transform into functional art. Proper setup prevents frustration and ensures every loop lands exactly where it should. Let’s create an environment that fuels creativity while keeping essentials within reach.

Preparing Your Canvas and Pattern
Start by clamping your backing material to a sturdy frame. Quilting hoops work well for small projects, while stretcher bars handle larger designs. Pull the fabric taut enough to bounce a quarter off it—this tension prevents sagging as you work.
Transfer your design using washable markers or carbon paper. Pre-printed patterns save time but limit customization. One textile artist advises: "Draw bold lines—they disappear under loops but guide your hook’s path perfectly."
Identify straight grid lines by running your finger across the canvas. Twisted fibers feel rougher and shouldn’t receive hooks. Leave a 1-inch border around your design—this space becomes crucial when binding edges later.
Position your frame at elbow height with lighting that eliminates shadows. Store fabric strips in labeled containers nearby. This setup lets you focus on rhythm rather than searching for supplies mid-stitch.
Check canvas size against your pattern twice before starting. A common mistake? Forgetting to account for the border area. Measure diagonally both ways—true squareness prevents puckering during final assembly.
DIY Hooked Rug: Step-by-Step Instructions
Transform loose yarn into textured artistry through precise yet approachable techniques. This hands-on process turns basic materials into dense, plush surfaces ready for foot traffic or wall displays.
Pattern Preparation and Canvas Setup
Secure your backing fabric tightly across a non-slip frame. Trace designs using water-soluble markers—their lines vanish under loops but guide your hook’s path. Leave a 1.5-inch border for edge binding later.
Mastering the Pull-Through Method
Hold your tool like a pencil. Wrap yarn around the hook’s throat, slide it under a canvas thread, and tug upward. “Consistent pressure creates uniform loops,” advises textile artist Mara Jensen. Trim ends flush with your loops every 4-5 rows.
| Aspect | Traditional Hooking | Latch Hook |
|---|---|---|
| Tool Type | Single-prong hook | Notched metal head |
| Loop Formation | Hand-pulled | Latch-secured |
| Edge Treatment | Hand-stitched binding | Fabric glue + trim |
Professional Edge Finishing
Fold excess backing inward and secure with wool strips or binding tape. For coiled edges, wrap yarn around the perimeter twice before knotting. This prevents fraying while adding decorative contrast.
Rotate your work frequently to spot uneven areas. Gaps? Insert extra loops. High piles? Trim carefully with curved scissors. Your finished piece showcases both craftsmanship and character.
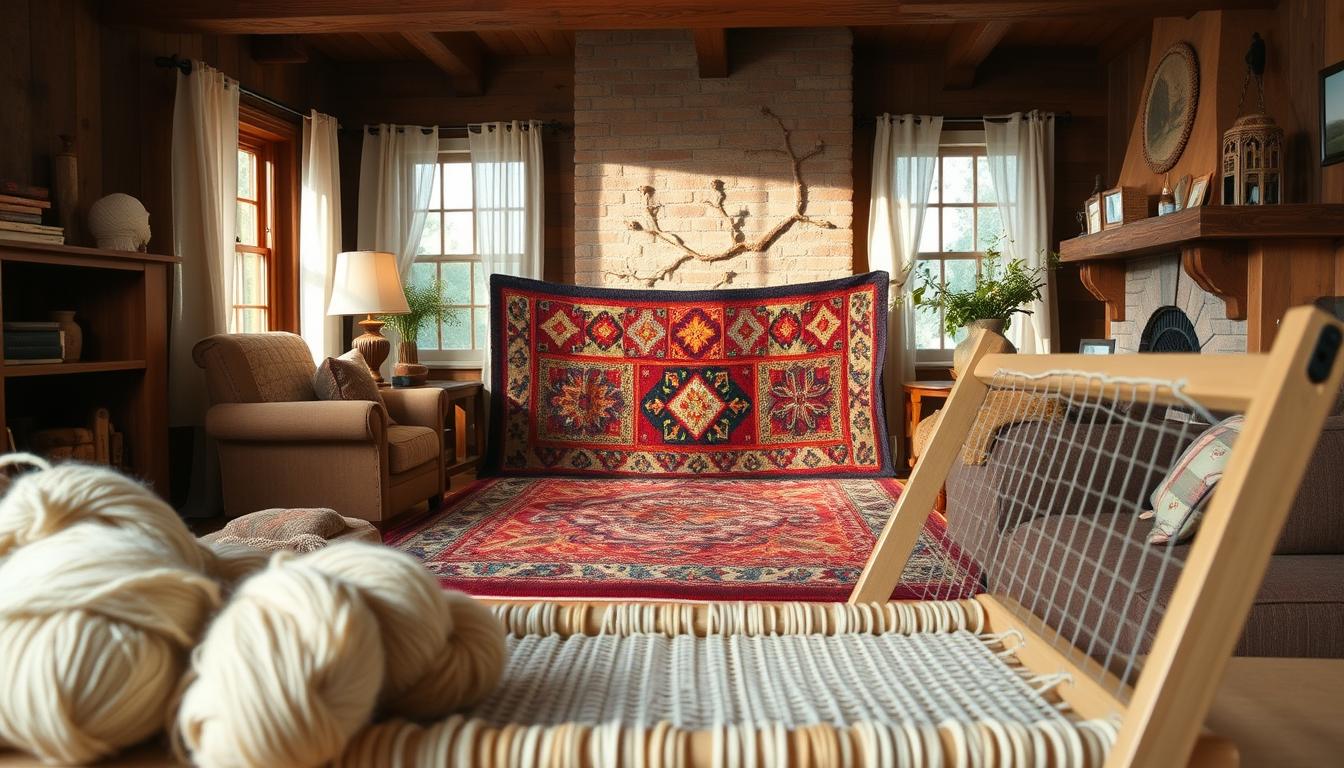
Creative Techniques and Tips for Unique Hooked Rugs
Unlock endless possibilities by blending colors and materials in unexpected ways. Your project becomes a canvas for self-expression, where every choice reflects your personality. Let’s explore methods to elevate ordinary designs into showstopping pieces.

Adding Personal Flair with Colors and Textures
Mix fabric strips from old t-shirts with standard yarn for surprising texture contrasts. Thicker cotton creates plush areas, while thin jersey adds delicate detail. Three-color gingham patterns offer timeless appeal—pair light and dark shades of one hue with crisp white strips.
| Material | Texture Effect | Best For |
|---|---|---|
| T-shirt strips | Soft, cushioned feel | Playroom rugs |
| Wool yarn | Dense, structured loops | High-traffic areas |
| Silk thread | Subtle sheen | Accent borders |
Innovative Binding and Decorative Methods
Wrap edges with braided fabric strips instead of standard binding tape. This technique hides raw edges while adding bohemian charm. Vary loop heights to create raised patterns—just maintain consistent tension to prevent buckling.
Try ombré effects by gradually shifting yarn shades across rows. Textile artist Lena Torres notes: "Alternating matte and glossy threads makes geometric patterns pop under lighting." Seal coiled edges with clear fabric glue for extra durability.
| Decorative Technique | Skill Level | Visual Impact |
|---|---|---|
| Color gradients | Beginner | High |
| Mixed materials | Intermediate | Textural |
| 3D loops | Advanced | Dimensional |
Troubleshooting and Maintaining Your Rug Project
Even experienced crafters face occasional snags in their work. Discover simple solutions to keep your creation looking sharp for years while preserving its handmade charm.
Common Hooking Challenges and Their Fixes
Uneven loops? Adjust your pulling technique. Hold the needle at a consistent angle and maintain steady pressure. Loose ends peeking through? Thread them to the back using a blunt-tip tool and secure with matching yarn.
For gaps between pieces, insert extra fabric strips from the underside. Twist the needle clockwise while pushing through—this tightens the surrounding loops. One textile restorer notes: "Slight variations add character, but structural flaws need immediate attention."
Cleaning, Repairing, and Long-Term Care
Protect your work by vacuuming weekly with the beater bar off. Rotate the piece quarterly to prevent uneven wear on specific sides. Spot-clean stains using cold water and mild soap—never soak the entire surface.
| Issue | Quick Fix | Prevention |
|---|---|---|
| Frayed edges | Apply clear fabric glue | Reinforce with whip stitch |
| Loose corners | Add triangular patches | Double-stitch during assembly |
| Flat bottom | Insert filler yarn | Check tension every 5 rows |
When repairing worn corners, trim damaged areas into clean angles. Fold fresh canvas over the edge and secure with hidden stitches. For full restorations, match replacement yarns under natural light to ensure color consistency.
Conclusion
Your completed textile creation now stands ready to enhance any room. Press both sides with a damp cloth and warm iron to flatten loops evenly. This final touch gives professional polish to handcrafted textures.
Secure your work to floor surfaces using brushable backing solutions. Alternatively, attach a non-slip rug pad to the bottom for added safety. These options prevent slips while protecting delicate edges.
While front-load washing machines can clean smaller pieces, handwashing preserves vibrant colors longest. Use cold water and mild detergent, gently pressing moisture out—never wring.
This project transforms simple materials into heirloom-quality furnishings. The time invested builds skills that simplify future designs. Each loop and stitch carries forward crafting traditions while reflecting your unique vision.
Keep leftover yarn and canvas scraps—they’ll spark new ideas for your next creation. With these techniques mastered, your backing becomes a blank slate for endless artistic possibilities.
FAQ
What type of backing fabric works best for a hooked project?
Linen or monk’s cloth is ideal for durability and ease of hooking. These materials hold loops securely while allowing smooth needle movement. Avoid loosely woven fabrics, as they may tear under tension.
How do I prevent my yarn from unraveling at the edges?
Use a whip stitch or binding tape to secure loose ends. For extra reinforcement, fold the backing fabric over the edges and stitch it in place. This protects the perimeter and adds a polished finish.
Can I use a sewing machine for binding?
Yes, but hand-stitching offers better control for curved or intricate edges. If using a machine, select a heavy-duty needle and upholstery thread. Test stitches on scrap fabric first to adjust tension.
What’s the easiest way to transfer a pattern onto canvas?
Trace designs with washable fabric markers or chalk. For complex patterns, use carbon transfer paper. Secure the template with painter’s tape to avoid shifting while tracing.
How do I fix uneven loops while hooking?
Maintain consistent pressure on the hook and pull yarn to the same height each time. A rug gripper frame helps stabilize the canvas, ensuring uniform loop size. Trim excess fibers after completing a section.
What’s the best method to clean a finished piece?
Vacuum gently with a brush attachment. Spot-clean stains using mild detergent and cold water. Avoid soaking or wringing, as this can distort loops. For deep cleaning, consult a professional familiar with fiber arts.
Can I mix different yarn weights in one project?
Absolutely! Combining textures adds depth and visual interest. Ensure your hook accommodates thicker fibers, and adjust loop heights to balance the overall surface. Test combinations in a small area first.
How do I repair a torn section after years of use?
Stabilize the area with fusible interfacing on the backside. Rehook missing loops using matching yarn, then reinforce the repair with a discreet whip stitch. Regular maintenance prevents further damage.
