


Article: 5 Artistic Steps to Make a Hooked Rug
5 Artistic Steps to Make a Hooked Rug
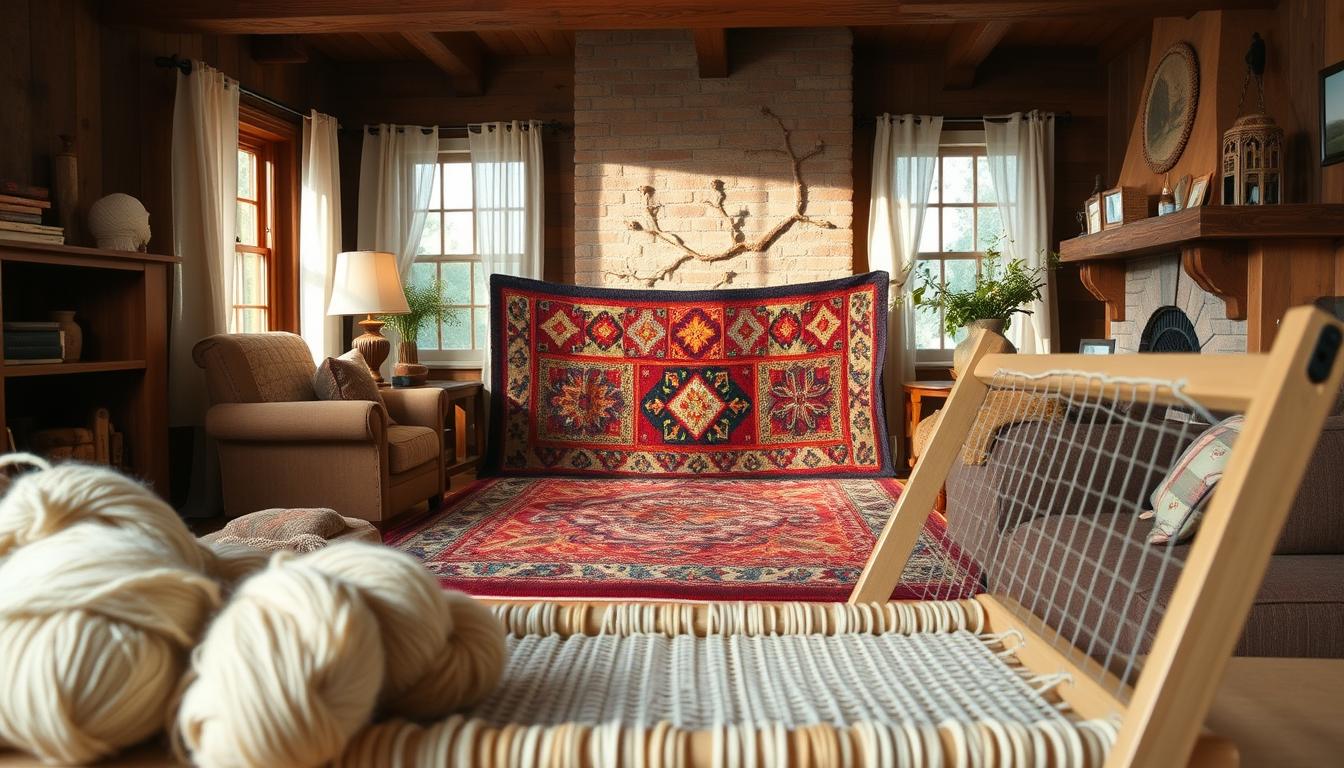
Imagine transforming forgotten sweaters and worn jeans into vibrant floor art that warms your toes and your home’s aesthetic. Early American settlers did exactly this, turning fabric scraps into functional beauty through a process called rug hooking. Their ingenuity birthed a craft that’s both practical and deeply creative—one that still thrives today.

This isn’t about complicated tools or expensive supplies. Rug hooking thrives on simplicity: a hook, fabric strips, and a sturdy backing. You’ll create texture loop by loop, blending colors like paint on a canvas. The rhythm of pulling fabric through burlap becomes meditative, connecting you to generations of makers who turned necessity into artistry.
Best of all, this craft fits modern values. Every strip of wool repurposed means less textile waste. No electricity required—just your hands and creativity. Whether you’re designing geometric patterns or floral motifs, each piece becomes a testament to sustainable living.
Key Takeaways
- Transform recycled fabrics into custom home décor using traditional techniques
- Learn a beginner-friendly process that requires minimal tools
- Create eco-friendly art while reducing textile waste
- Master five steps from material selection to professional finishing
- Discover a relaxing hobby that combines creativity with mindfulness
Understanding the Basics of Hooked Rug Crafting
Essential tools transform wool strips into cozy masterpieces. Whether repurposing old sweaters or using new materials, your success hinges on selecting the right supplies. Let’s break down what you need to start.
Tools Versus Materials: What Matters Most
Your rug hook acts like a pencil—grip it comfortably as you pull fabric through the backing. A sturdy frame keeps burlap taut, preventing sagging during work. Pro tip: Quilting hoops cost less than $15 and work perfectly for small projects.
| Essential Tools | Key Materials | Purpose |
|---|---|---|
| Latch hook | Wool strips | Create loops |
| Stretcher frame | Burlap backing | Stable foundation |
| 5.5" scissors | Gridded canvas | Precision cutting |
Simplifying Your Setup
Beginner kits eliminate guesswork. These packages include pre-cut wool, a pattern-printed backing, and tools sized for compatibility. One crafter noted:
"My first kit from Walmart had everything—even a guide for folding fabric the accordion way."
For custom designs, opt for linen backing. Its tight weave supports intricate patterns. Always stretch it drum-tight on your frame. Need help choosing materials? This comprehensive guide explains wool types and burlap grades.
Cut fabric strips to ¼-inch width for dense, plush loops. Wider strips (½-inch) create chunkier textures. Remember: clean wool grips better and won’t fray. Now you’re ready to craft easily!
Mastering How to make Hooked Rug
Proper setup transforms simple materials into lasting textile art. Your project's durability depends on two critical stages: securing the foundation and prepping fibers. Master these, and you'll create pieces that withstand decades of foot traffic while maintaining vibrant colors.

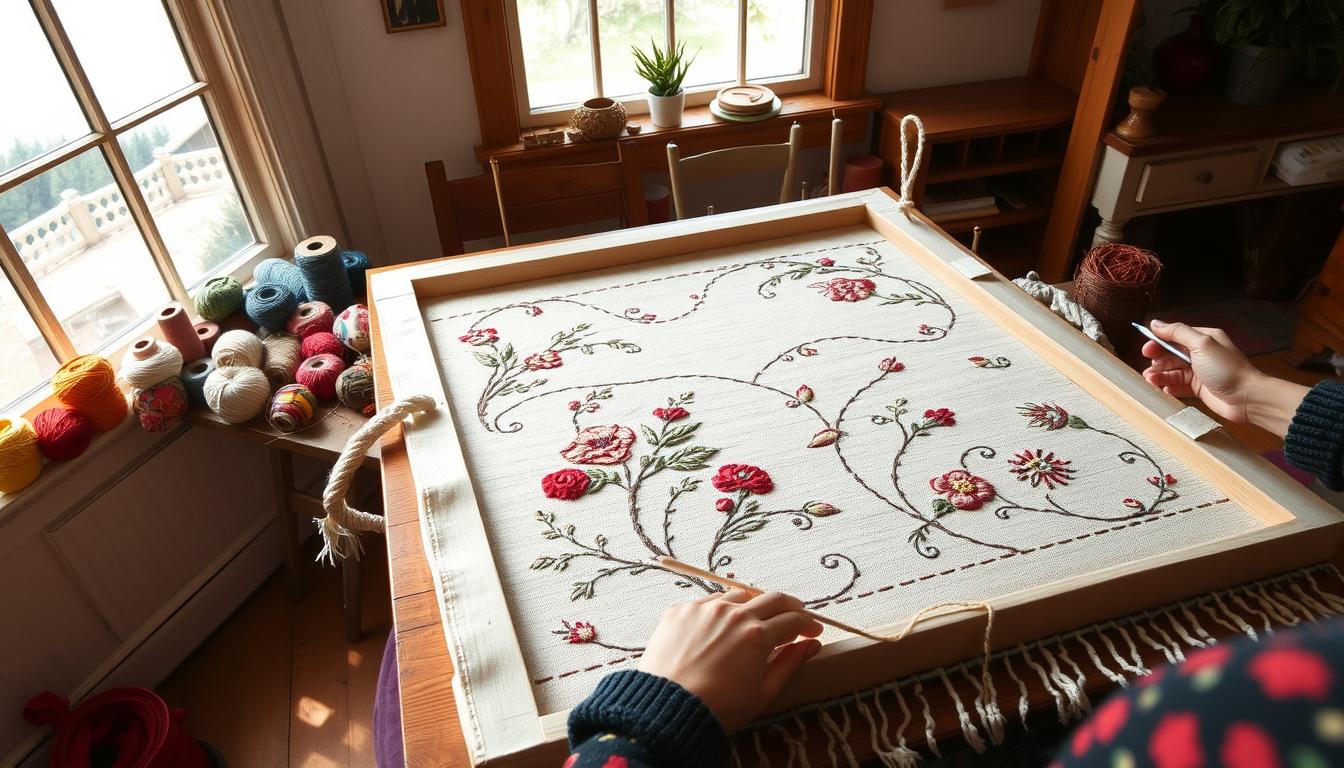
Setting Up Your Pattern and Frame
Stretch burlap backing across your frame until it feels like a drumhead. This tension prevents sagging and keeps loops uniform. Pro tip: Use T-pins every 3 inches for linen-backed patterns—they grip better than standard staples.
Identify the straight vertical threads in your burlap before starting. Hooking through these warp threads ensures stability. Rotate your frame periodically to check tension—adjust the knobs if ripples appear near the edges.
Preparing Wool and Backing Materials
Fold wool cloth accordion-style before cutting strips. An 8x4" rectangle yields 32 uniform pieces in minutes. Sort strips by color in muffin tins or jars—this organization speeds up your workflow dramatically.
Always test wool thickness with your hook. Thinner strips (¼") suit detailed patterns, while ½" widths add plush texture. For recycled materials, remove zippers or buttons first to protect both hands and tools.
Step-by-Step Rug Hooking Techniques
Transform fabric strips into textured art through precise hand movements. The rhythm of pulling loops creates both structure and personality in your project. Let’s explore core methods that ensure professional results every time.
Loop-by-Loop Hooking Instructions
Grip your hook like a writing instrument, thumb resting near the curved tip. Push through burlap from above, catch wool strips underneath, and pull upward until loops stand ¼-⅓ inch tall. Rotate your frame frequently to maintain even tension across all sections.
Space loops two holes apart for standard wool thickness. Thicker materials might require three-hole gaps to prevent crowding. Pro tip: Test spacing on scrap backing before committing to your main pattern.
Common Pitfalls and How to Avoid Them
Uneven loops often stem from inconsistent pulling pressure. Watch for these warning signs:
- Puckered backing: Loops pulled too tight
- Gaps between rows: Insufficient loop density
- Frayed edges: Wool strips cut too narrow
One seasoned crafter advises:
"Check loop height every 15 minutes by running your palm across the surface—it should feel like a freshly mowed lawn."
Adjust technique immediately if sections feel bumpy or loose.
Design Innovation: Creating Unique Rug Patterns
Color becomes your brushstroke when crafting textile art that tells visual stories. Traditional rug patterns gain fresh life through intentional contrasts and unexpected material pairings. Let’s explore methods for turning functional floor coverings into gallery-worthy pieces.

Incorporating Color, Texture, and Patterns
Start by outlining key shapes with neutral yarn to establish boundaries. Work across multiple areas simultaneously rather than completing one section—this balances material usage and lets you adjust color distribution. For example:
- Pair charcoal and cream wool for high-contrast geometrics
- Mix velvet scraps with standard yarn for tactile contrast
- Use herringbone stitches along borders for subtle movement
Artisans in Newfoundland rug traditions often layer analogous hues like teal and seafoam green to mimic coastal landscapes.
Customizing Your Artistic Vision
Break rules intentionally. Alternate loop heights create shadow effects—shorter piles for background elements, taller ones for focal points. One crafter shared:
"I salvaged denim strips from old jeans for sky sections in my landscape art rug. The frayed edges added cloud-like softness."
When materials run low, embrace improvisation. Blend similar yarn weights or introduce metallic threads for modern flair. This wool resource guide helps source sustainable alternatives for bold experiments.
Effective Finishing: Backing, Binding, and Blocking
Your final stitches complete the artwork, but proper finishing turns loops into heirloom-quality pieces. This stage determines whether your creation remains intact through years of use or display. Two critical processes—edge binding and surface refinement—seal your work’s longevity.
Binding Options with Twill Tape or Burlap
Trim excess burlap to a precise two-inch border using sharp scissors. Fold this material toward the backside, creating a clean edge. Secure it with tight whip stitches every half-inch for wall hangings.
For floor rugs, cotton twill tape offers superior durability. Align the tape’s center with your rug’s perimeter, folding both ends under by ¼ inch. Use a zigzag stitch to attach it, covering raw edges completely. One artisan notes:
"Twill tape binding withstands vacuum cleaners better than folded burlap—crucial for high-traffic areas."
Pressing and Blocking for a Polished Look
Lay your rug face-down on a towel-covered surface. Spritz the backside with water until damp, then press firmly with a medium-hot iron. Flip and repeat, focusing on uneven loops. This blocking technique shrinks wool fibers slightly, locking piles in place.
Allow 24 hours of drying time before use. For stubborn curls, place heavy books along edges overnight. Your finished piece now boasts professional crispness, ready to enhance any space.
Maximizing Efficiency with Pro Tips and Online Resources
Modern crafters blend tradition with technology to accelerate their skills. Access to expert guidance and prepped materials turns ambitious designs into achievable week-long projects.
Utilizing Online Courses and Studio Workshops
Deanne Fitzpatrick’s Rug Hooking Studio in Amherst, Nova Scotia, demonstrates structured learning’s power. Their programs teach color blending and pattern scaling through video tutorials and live feedback sessions. Marion Kennedy of the Nova Scotia Rug Hooking Guild notes:
"Complete your first project in seven days by focusing on progress over perfection. Mistakes become design features when you keep moving forward."
| Learning Format | Benefits | Best For |
|---|---|---|
| Online courses | 24/7 access, replay features | Self-paced learners |
| Studio workshops | Hands-on troubleshooting | Visual learners |
Time-Saving Techniques for the Busy Crafter
Pre-cut yarn strips from Herrschners eliminate hours of prep work. Their 2.5-inch pieces come in 127 colors—ready for immediate use. Organize materials by hue in clear jars to reduce decision fatigue during creative sessions.
Join local guilds or online forums to exchange shortcuts. Many crafters share templates for common patterns, letting you skip the drafting phase. One member recently posted:
"Using grid-marked burlap cut my setup time by half compared to plain backing."
Set weekly milestones using timers. Work in 25-minute intervals with 5-minute breaks to maintain focus without burnout.
Conclusion
Crafting hooked rugs bridges past and present, turning humble materials into lasting heirlooms. Through this traditional craft, you transform wool strips and burlap into functional art that carries forward centuries of resourcefulness. The five artistic steps outlined here—from material selection to final binding—empower you to create pieces that blend heritage with personal vision.
Remember: comfort fuels creativity. Adjust your posture frequently, keeping elbows supported and shoulders relaxed. Short breaks every 30 minutes prevent strain while maintaining focus. One seasoned artisan notes, “Tension shows in both your body and your loops—stay loose for smoother results.”
Each completed project deepens your skills, turning initial challenges into signature techniques. Early uneven loops or color mismatches become part of your unique artistic voice. With practice, you’ll develop rhythm in hooking and confidence in design choices.
This craft connects you to a lineage of makers who turned necessity into beauty. Whether using a beginner’s kit or experimenting with recycled fabrics, every piece celebrates sustainable creativity. Your hands now hold the tools to continue this tradition—one loop at a time.
FAQ
What materials are essential for starting a hooked rug project?
You’ll need a hooking tool, wool strips or yarn, burlap or linen backing, a frame, and a pattern. Kits often include pre-cut wool and instructions, ideal for beginners. Brands like Dorr Mill or Deanne Fitzpatrick offer quality supplies.
How do I choose the right hooking kit for my first project?
Look for kits labeled “beginner-friendly” with clear patterns, pre-cut wool strips, and a detailed guide. Brands like The Wool Studio or Nova Scotian Art Rug Co. provide kits with everything sized for small projects (12x12 inches or smaller).
Can I use regular fabric instead of wool for rug hooking?
Wool is preferred for durability and texture, but cotton or recycled fabrics work for lightweight projects. Avoid slippery materials—they won’t hold loops securely. Always test scraps on your backing first.
How do I prevent my burlap backing from fraying during hooking?
Bind edges with twill tape or masking tape before starting. For extra stability, use a non-slip rug gripper or frame to keep tension even. Trim excess burlap only after finishing the design.
What’s the best way to fix uneven loops in my rug?
Use a consistent pulling motion and check loop height with a ruler. If loops sag, rehook them tighter. Online courses from platforms like Craftsy or Rug Hooking Daily offer video tutorials for troubleshooting technique.
How long does it take to complete a hooked rug?
A 24x36-inch rug takes 40–60 hours, depending on complexity. Break sessions into 1–2 hour blocks to avoid fatigue. Time-saving tools like pre-cut wool strips or punch needles speed up the process.
Can I create my own rug patterns without a template?
Yes! Sketch designs on paper first, then transfer them to backing using chalk or washable markers. Start with simple shapes like geometrics or florals. Apps like Procreate help digitize ideas for precise scaling.
What’s the purpose of blocking a finished rug?
Blocking evens out warped areas by dampening the rug and pinning it flat. Use a steam iron on low heat for wool, then let it dry overnight. This step ensures edges lie straight and loops stay uniform.