


5 Simple DIY Steps for a Jute Rug
Could transforming your floors really be this simple? Imagine crafting a custom floor accent that rivals high-end designs without draining your wallet. Natural fiber materials offer surprising affordability—$0.58 per foot for soft, workable twine—letting you achieve luxurious textures for under $33 total.

This hands-on approach lets you skip the scratchy, overpriced options crowding stores. Instead, you’ll create durable pieces tailored to your space. Whether reshaping existing decor or building from scratch, the process fits any skill level. Natural fiber rugs blend farmhouse warmth with modern versatility, thriving indoors or outside.
You’ll master multiple techniques—crocheting, resizing, and knotting—to match your vision. The result? A professional finish that lasts years, not seasons. And with endless size and style choices, your creation becomes the room’s focal point.
Key Takeaways
- Spend under $35 for materials versus hundreds on retail alternatives
- Choose from three beginner-friendly methods requiring no expertise
- Enjoy durable, weather-resistant results perfect for patios or living rooms
- Customize dimensions and patterns to complement your existing decor
- Work with surprisingly soft fibers that won’t irritate hands during crafting
Introduction and Essential Materials
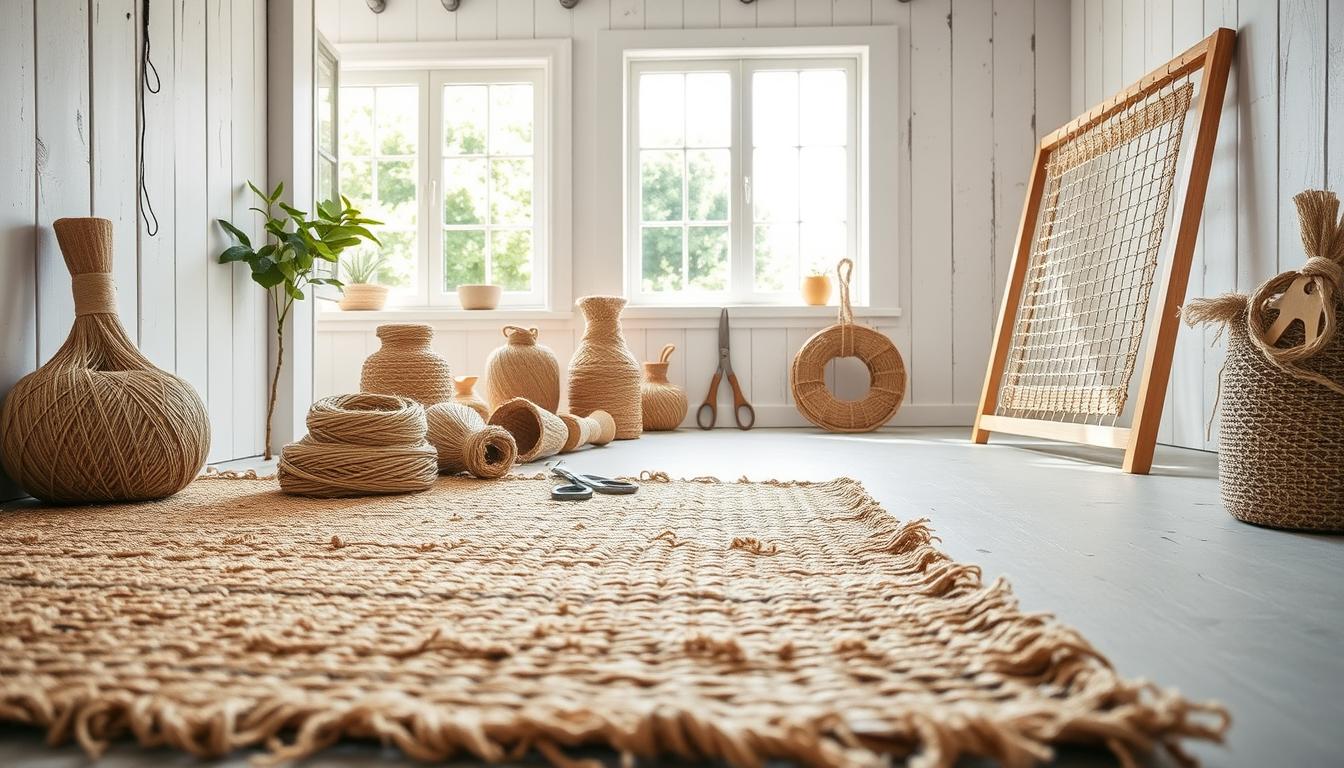
Ready to gather everything you need for this budget-friendly upgrade? The right supplies turn this creative endeavor into a weekend success. Start with five rolls of thick, 5/8-inch natural fiber twine—available at most dollar stores for under $4 per roll. This specific thickness balances durability with easy handling.
Understanding the Project and Inspiration
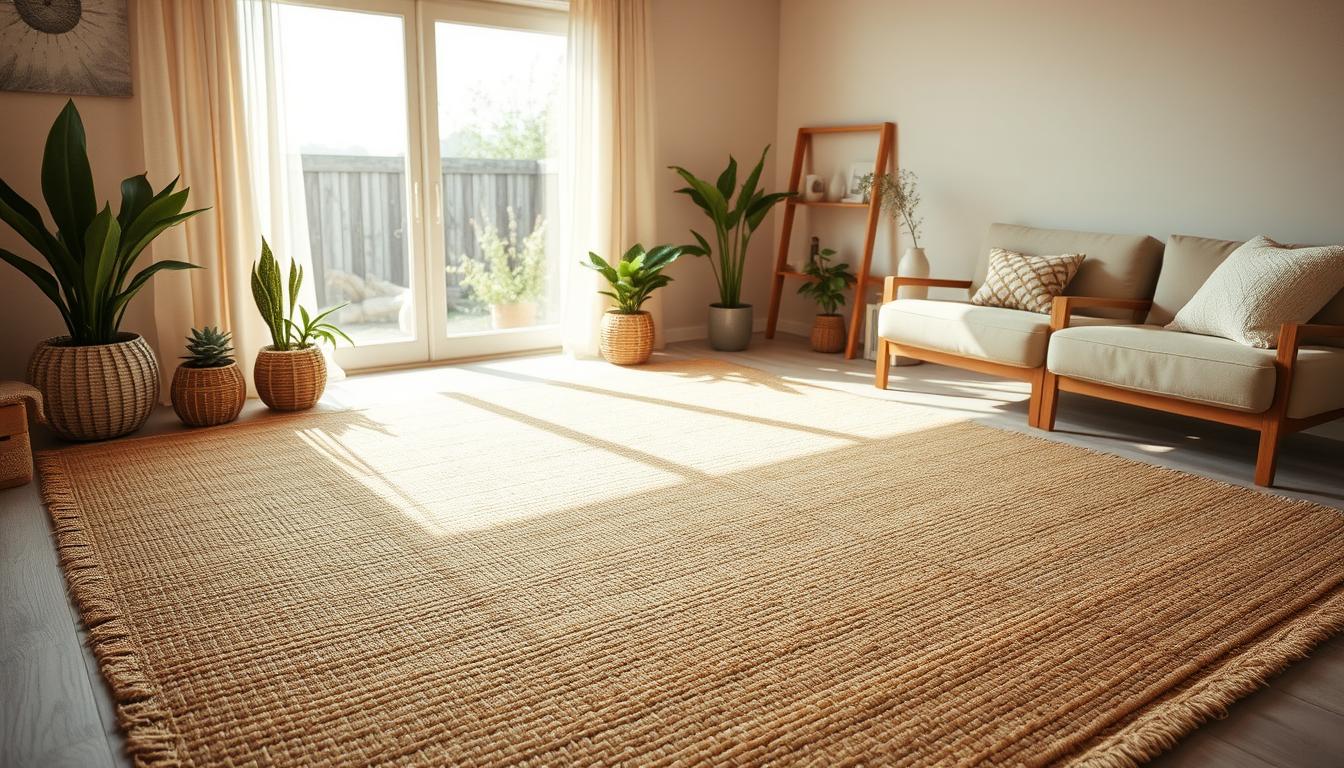
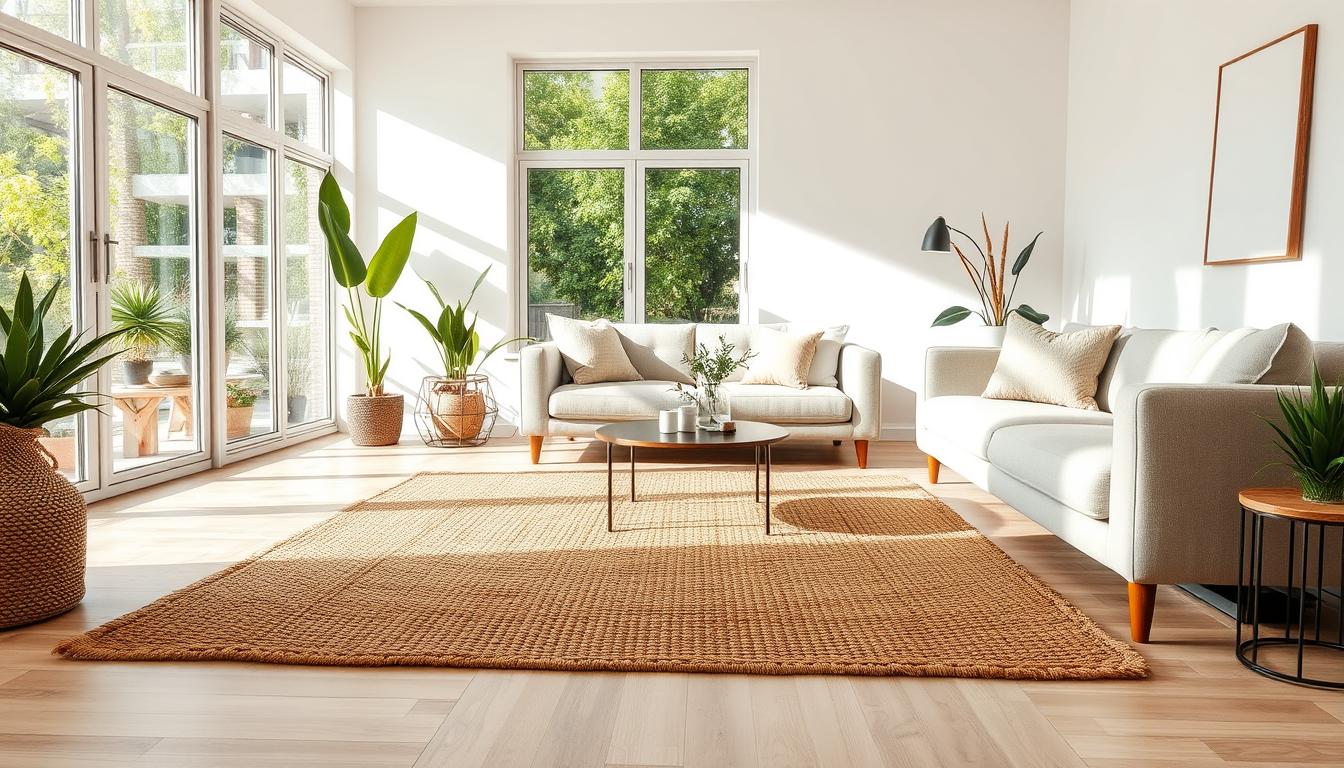
Natural fiber designs bring earthy textures to any room. Think about where you want this piece to shine—cozy living areas or sunlit patios both work. The process adapts to your skill level, whether you prefer crocheting loops or securing coils to a base mat.
Tools, Materials, and Safety Tips
A Q16 crochet hook handles the thick twine effortlessly if you choose the crochet method. For glued designs, pair heavy-duty liquid nails with a $10 outdoor mat from Walmart. Razor blades create clean cuts without fraying edges.
Work in open spaces when using adhesives, and consider gloves if your skin reacts easily. Pro tip: Test your chosen method on a small section first to perfect your technique before committing to the full size.
DIY Jute Rug: Step-by-Step Instructions
Transforming raw materials into a floor masterpiece requires precision and patience. Clear a flat surface large enough to accommodate your planned dimensions—kitchen tables or garage floors work perfectly. Gather scissors, measuring tape, and your chosen adhesive or crochet hook before diving in.

Preparing Your Workspace and Materials
Cut your rope pieces to match the mat’s length. Add extra inches on both ends for a frayed look. For crochet methods, create 60 initial loops—this forms a 4-foot base. Adjust loop counts if you prefer oval shapes or smaller accents.
Organize tools within arm’s reach. Position your mat right-side up if using glue. Heavy books nearby will weigh down sections as they dry. Protective gloves prevent skin irritation from liquid adhesives.
Executing Each Step with Confidence
Work double crochet stitches into front loops for textured rows. Alternate chain-two gaps with tight stitches to maintain pattern consistency. Complete each row before rotating your piece.
Glue users: spread adhesive in 12-inch sections. Press rope strips firmly against the mat, aligning edges perfectly. Weight completed areas with books for two hours before adding new rows.
Finish by unraveling rope ends into fringe threads. Weave these through the final row using a blunt needle. Trim uneven strands with sharp scissors for polished edges that withstand foot traffic.
Enhancements and Customization Techniques
Personalizing your creation transforms it from functional to unforgettable. Let’s explore methods to elevate your floor accent’s visual impact while ensuring practicality in daily use.

Adding Fringe and Creative Details
Textured edges breathe life into any design. Cut 24+ strands of natural fiber twine, each 10 inches longer than your desired finish. Fold strands in half, then thread them through the final row using a blunt needle. Secure with simple knots instead of stitches for a rustic charm.
The fringe naturally curls over time, but you can flatten sections with a warm iron. For varied textures, mix rope thicknesses or add fabric strips between fibers. This approach works exceptionally well in entryways where first impressions matter.
Adapting the Design for Your Home's Style
Match your piece to existing decor through strategic modifications. Consider these adjustments:
| Room | Ideal Size | Pattern Tip |
|---|---|---|
| Bedroom | 4x6 ft | Soft geometric lines |
| Kitchen | 2x3 ft | Striped color variations |
| Hallway | Runner (2x8 ft) | Alternating rope textures |
Use non-slip pads beneath smaller mats for safety on hardwood floors. For larger installations, explore innovative binding methods to prevent edge fraying. Avoid moisture-prone areas, but don’t shy away from sunrooms – natural fibers withstand sunlight beautifully when rotated periodically.
Conclusion
This hands-on project proves that beautiful floor accents don’t require designer budgets. Whether spending three hours reshaping existing pieces or dedicating an afternoon to crocheting new ones, you’ll achieve professional results for under $35. Your creation rivals high-end store options while reflecting personal style through custom patterns and sizes.
Natural fiber materials ensure lasting durability, handling daily foot traffic without showing wear. Place your finished piece anywhere—cozy bedrooms, busy kitchens, or welcoming entryways. The neutral tones blend seamlessly with various decor styles, while optional fringe adds playful texture.
Apply these skills to future upgrades. Experiment with different rope thicknesses or braiding techniques for unique looks. Always use non-slip pads under your handmade floor coverings to protect surfaces. With basic materials and simple methods, you’ve unlocked endless possibilities for transforming living spaces.
Now enjoy the satisfaction of walking across something you crafted yourself—a practical yet artistic addition to your home that sparks conversations and lasts for years.
FAQ
What materials work best for a natural fiber floor mat?
Twisted rope or braided strands are ideal for durability. Pair them with heavy-duty thread, fabric glue, and sharp scissors. A non-slip pad adds safety on hardwood or tile floors.
How do you secure loose ends without unraveling?
Apply fabric glue to knot points and tuck trimmed edges under the base. For a polished finish, stitch hidden seams with a thick needle and matching thread.
Can this project fit small spaces like entryways?
Yes—adjust the rope length to match your desired size. Measure the area first, whether it’s a narrow hallway or a front door landing. Custom dimensions ensure a tailored look.
Are there safety considerations when crafting indoors?
Work in a ventilated area to avoid inhaling fibers. Protect surfaces with cardboard or a drop cloth, and keep sharp tools away from children or pets during assembly.
How do you add decorative elements like fringe?
Cut uniform strips from leftover material and attach them to the edges using knots or glue. Experiment with lengths and textures for a bohemian or minimalist style.
What’s the easiest way to clean a handmade rope creation?
Spot-clean stains with mild soap and a damp cloth. Avoid soaking, as excess moisture can weaken natural fibers. Regular shaking or light vacuuming maintains freshness.