


Article: 5 Rustic Steps to Make a Jute Rug at Home
5 Rustic Steps to Make a Jute Rug at Home
What if you could create stunning, durable flooring for your home without spending hundreds on store-bought rugs? Imagine transforming simple materials into a custom piece that perfectly matches your room’s style. This guide reveals how traditional weaving methods meet modern DIY creativity to help you achieve exactly that.

Handwoven jute rugs blend rustic charm with practicality. Using techniques inspired by Ghanaian basket weaving, you’ll craft vertical patterns that elevate basic designs. The process takes roughly 12 hours but rewards you with farmhouse-style decor that withstands heavy foot traffic.
Affordable dollar-store jute twine serves as the foundation. Unlike scratchy sisal, this material feels surprisingly soft underfoot. You control every detail—size, color scheme, and pattern—to complement your space perfectly. Whether for kitchens, entryways, or dining areas, these rugs add warmth while protecting floors.
This project helps expand your crafting skills beyond wall hangings into functional furnishings. While time-intensive, the result becomes a conversation-starting centerpiece reflecting your personal touch. Ready to transform humble materials into a lasting statement piece?
Key Takeaways
- Create custom flooring solutions at a fraction of boutique rug costs
- Master vertical stripe patterns using traditional pick-and-pick weaving
- Choose durable jute that balances softness with high-traffic resilience
- Tailor dimensions and designs to match specific room requirements
- Invest 12 hours for a handmade piece that lasts years
- Enhance spaces with rustic textures that hide dirt naturally
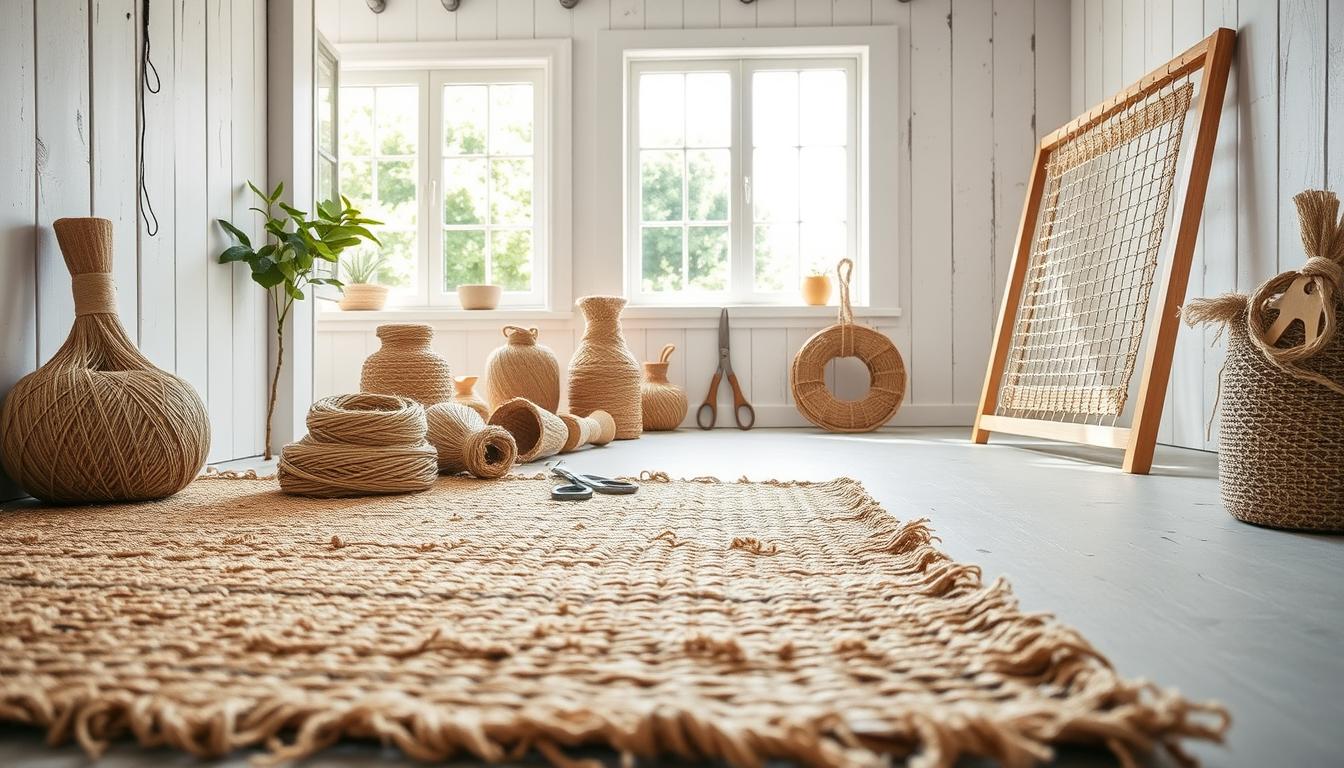
Materials, Tools, and Preparations
Crafting a durable jute floor piece starts with quality components. Selecting the right fibers and organizing your tools lays the groundwork for success. Proper preparation minimizes mid-project delays and ensures consistent results from start to finish.

Essential Jute, Yarn, and Other Supplies
Begin with four spools of 2mm jute twine in cream, black, natural, and pink shades. These hues create striking vertical stripes when woven. You’ll need approximately 510 meters total—300m black, 200m cream, 100m natural, and 10m pink for accent details.
Pair these with specialized tools: a 3” tapestry needle simplifies threading, while stick shuttles manage lengthy strands. For crocheters, dollar-store rope and a Q16 hook offer an affordable alternative to loom work. Natural fiber choices impact durability—opt for tightly twisted strands that resist fraying during weaving.
Setting Up Your Workspace and Loom
Construct a 24”x32” pine frame with 67 finishing nails spaced 1/3” apart. This creates the tension needed for clean vertical lines. Position your loom near natural light sources, and use an adjustable chair to maintain posture during extended sessions.
Don’t forget a non-slip pad—vital for protecting hardwood floors beneath your finished piece. Test your setup by weaving a small sample section before committing to full-length production.
Step-by-Step Guide: How to Make Jute Rug
Transform your crafting space into a weaving workshop with these essential techniques. Precision matters here—each movement builds toward a sturdy, eye-catching finish that blends function with farmhouse flair.
Loom Assembly & Warping Fundamentals
Secure 33 nails 2" below your frame's top edge, spacing them 1/3" apart. Add 34 nails directly below, creating parallel rows. Warp black yarn between them using loop knots—this creates vertical tension lines. "Proper warping prevents sagging," notes textile artist Mara Hoffman. "Like piano strings, each strand needs equal tightness."
Mastering Weave Structures
Thread cream yarn through your needle, leaving an 8" tail. Alternate under-over motions across warp threads. For stripes, switch colors every row using the pick-and-pick method:
| Technique | Yarn Used | Rows Needed |
|---|---|---|
| Plain Weave | Cream | 1 |
| Pick-and-Pick | Black | 1 |
| Crochet Edge | Natural | 60 chains |
Beat each row downward with a comb—this compacts fibers for durability. Crocheters: chain 60 stitches, then work double stitches into front loops for texture.
Finalizing Your Creation
Release the piece by cutting warp threads two at a time. Secure ends with square knots, then add 33 black fringe strips through bottom loops. Rotate the piece to check for loose threads before placing it in high-traffic areas.
"The magic happens in the final touches—those knots and trims turn woven cloth into heirloom decor."
Creative Variations and Home Decor Tips
Personalize your living spaces with adaptable designs that evolve with your style. These ideas transform functional pieces into artistic statements while preserving their practical benefits.

Customizing Patterns and Color Schemes
Swap suggested hues for terracotta, sage, or navy to complement your walls. Try ombré effects by blending yarn shades row-by-row. Smaller 8"x10" coasters let you test bold combinations risk-free before committing to larger projects.
| Design Variation | Materials Needed | Ideal Room | Time Investment |
|---|---|---|---|
| Geometric Stripes | 3 contrasting colors | Modern Living Room | 2-3 hours |
| Textured Coasters | Leftover yarn + 6" loom | Kitchen/Dining Table | 45 minutes |
| Hall Runner | Extra jute + wider frame | Entryway Corridor | 8-10 hours |
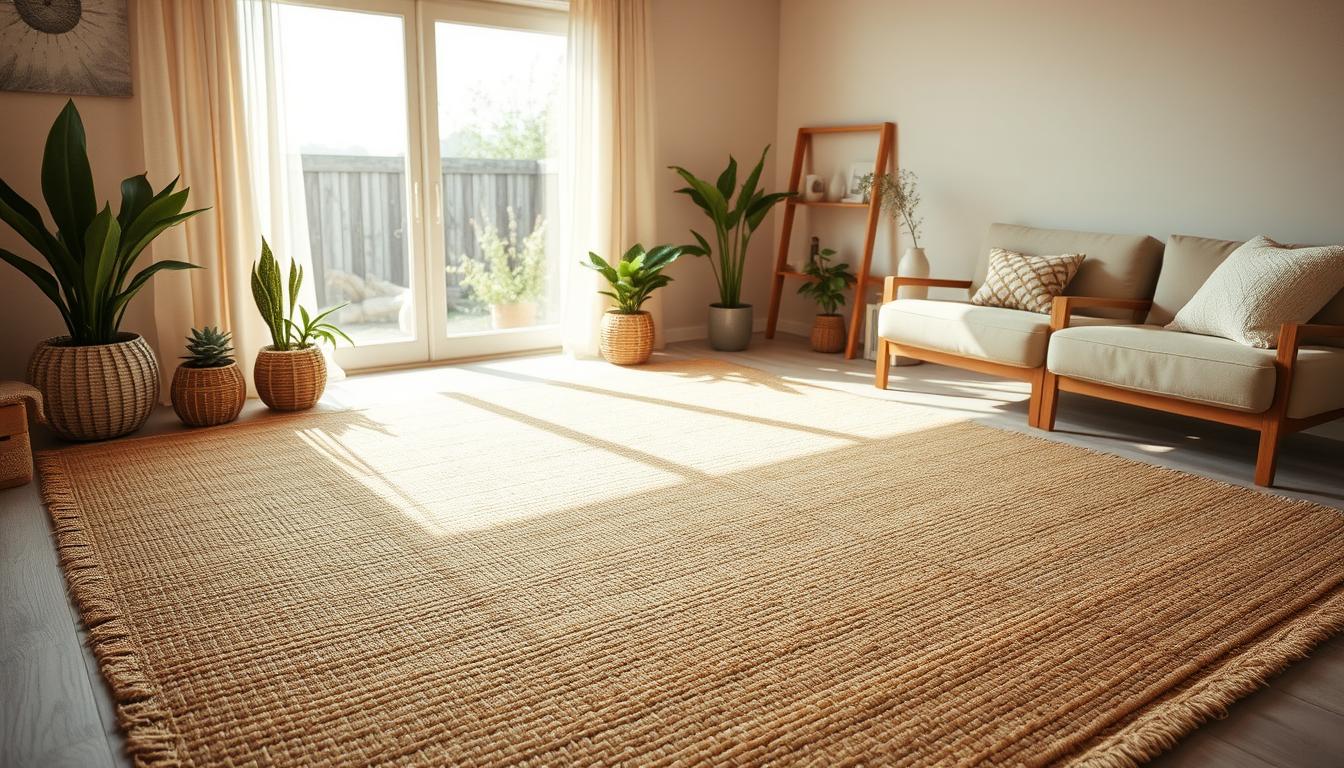
Maintaining and Using Your Rug for Different Spaces
Rotate floor coverings seasonally to distribute wear evenly. Use non-slip pads under dining chairs to prevent shifting. For resizing, carefully untie fringe knots and rework edges using the original two-curly-one-straight strand pattern.
Position handwoven pieces as custom jute creations beneath console tables or coffee stations. Avoid humid areas like bathrooms—opt for washable mats there instead. Regular vacuuming preserves the natural fibers' integrity for years.
Conclusion
Your journey into textile craftsmanship culminates in a handwoven masterpiece blending durability with rustic elegance. Through this project, you’ve transformed basic fibers into floor art that withstands daily wear while elevating room aesthetics.
The twelve-hours commitment rewards you with professional-grade results rivaling boutique finds. Custom dimensions ensure perfect fits for dining spaces, entryways, or cozy reading nooks. Unlike mass-produced rugs, your creation adapts to evolving decor needs through reversible designs or seasonal rotations.
These weaving techniques unlock endless possibilities beyond initial creations. Scale patterns for matching ottoman covers or craft coordinating table runners using leftover materials. Each piece becomes a functional canvas showcasing growing expertise in natural fiber crafts.
Your finished work serves as both protective layer and conversation starter—proof that patience and creativity yield lasting home solutions. As foot traffic tests its resilience, you’ll appreciate choosing materials that age gracefully while maintaining structural integrity for years.
FAQ
What type of yarn works best for securing loops and knots?
Use a sturdy cotton warp thread or thick jute yarn. These materials hold knots tightly while adding texture. For colored accents, try pairing with wool or synthetic blends.
How do I prevent frayed ends after finishing the project?
Apply a small dab of fabric glue to loose ends or weave them back into the rug’s underside. Trim excess with sharp scissors for a clean look.
Can I customize patterns without advanced weaving skills?
Yes! Start with simple stripes using contrasting yarn colors. Gradually experiment with geometric shapes by altering the pick-and-pick technique.
What’s the ideal workspace setup for a large DIY rug?
Choose a flat, clutter-free area wider than your loom. Ensure proper lighting and keep tools like a tapestry needle and measuring tape within reach.
How long does it take to complete a medium-sized piece?
Depending on complexity, expect 8–12 hours spread over 2–3 days. Intricate patterns or wider designs may require additional time.
Are these rugs suitable for high-traffic spaces like entryways?
Yes, but pair them with a non-slip pad for stability. Rotate the rug every few months to evenly distribute wear.
Can I mix jute with other fibers for a unique texture?
Absolutely. Blend jute with recycled cotton or hemp for varied tactile appeal. Test knots beforehand to ensure compatibility.
What’s the best way to clean a finished piece?
Vacuum gently on low suction. Spot-clean stains with a damp cloth and mild soap. Avoid soaking to preserve natural fibers.