


6 Crafty DIY Steps for a Knotted Rug
What if your old t-shirts could become a stunning home centerpiece? This guide reveals how to breathe new life into forgotten fabrics through a timeless craft. With basic supplies and patience, you'll create functional art that sparks joy in any room.

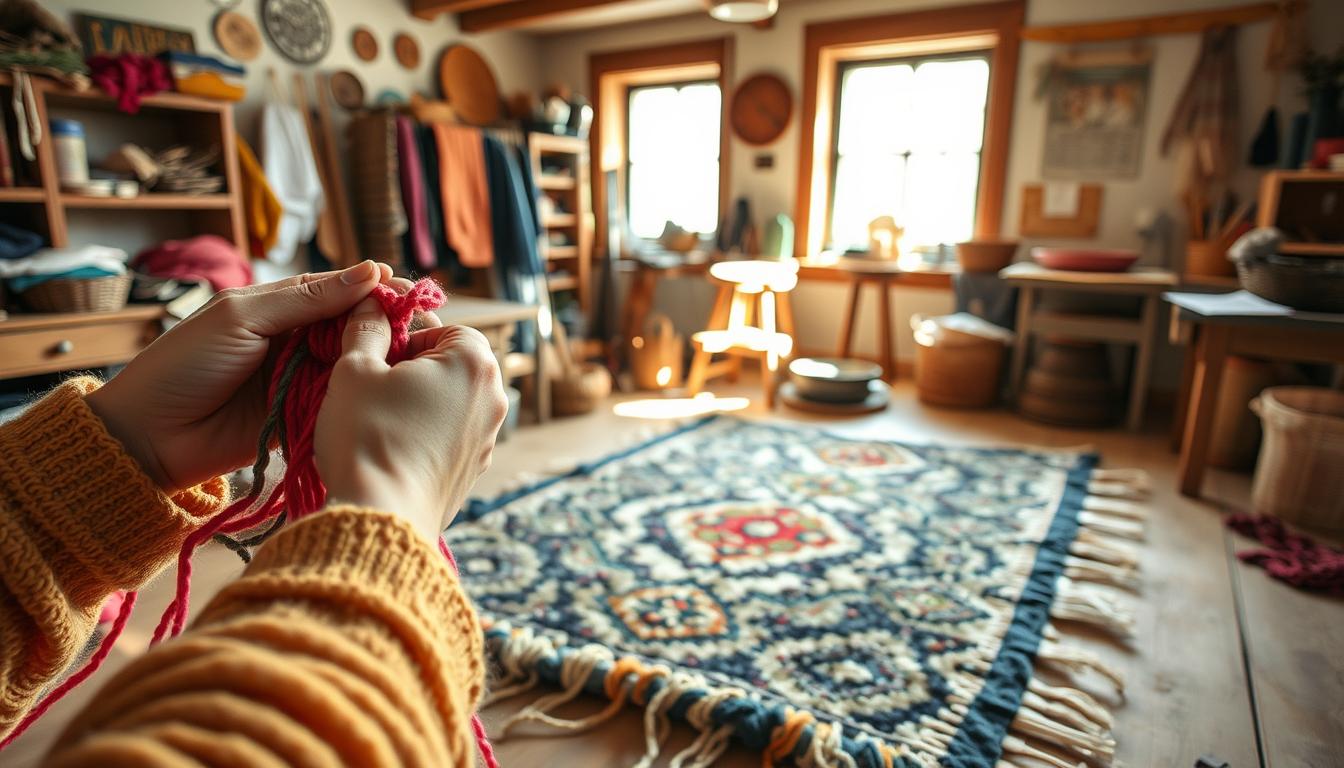
Transforming fabric scraps into home decor isn't just practical—it's surprisingly meditative. Many crafters report feeling more relaxed after working with their hands, turning what seems like a simple project into self-care. You don't need special skills, just willingness to experiment.
The process starts with gathering materials you already own. Old sheets, worn-out jeans, or leftover fabric work perfectly. Cutting them into strips becomes almost rhythmic, like preparing ingredients for your favorite recipe.
While store-bought options exist, handmade pieces carry unique character. Each knot tells a story, whether you're preserving childhood memories in a playroom mat or designing a conversation starter for your entryway. Ready to turn "trash" into treasure?
Key Takeaways
- Transform unused textiles into custom home accessories without specialized tools
- Complete the project in six manageable stages, even with limited crafting experience
- Discover hidden stress-relief benefits through hands-on creative work
- Save money compared to buying high-end decorative floor coverings
- Choose colors and textures that match your existing interior design
- Learn techniques used by artisans across generations and cultures
Introduction to DIY Knotted Rugs
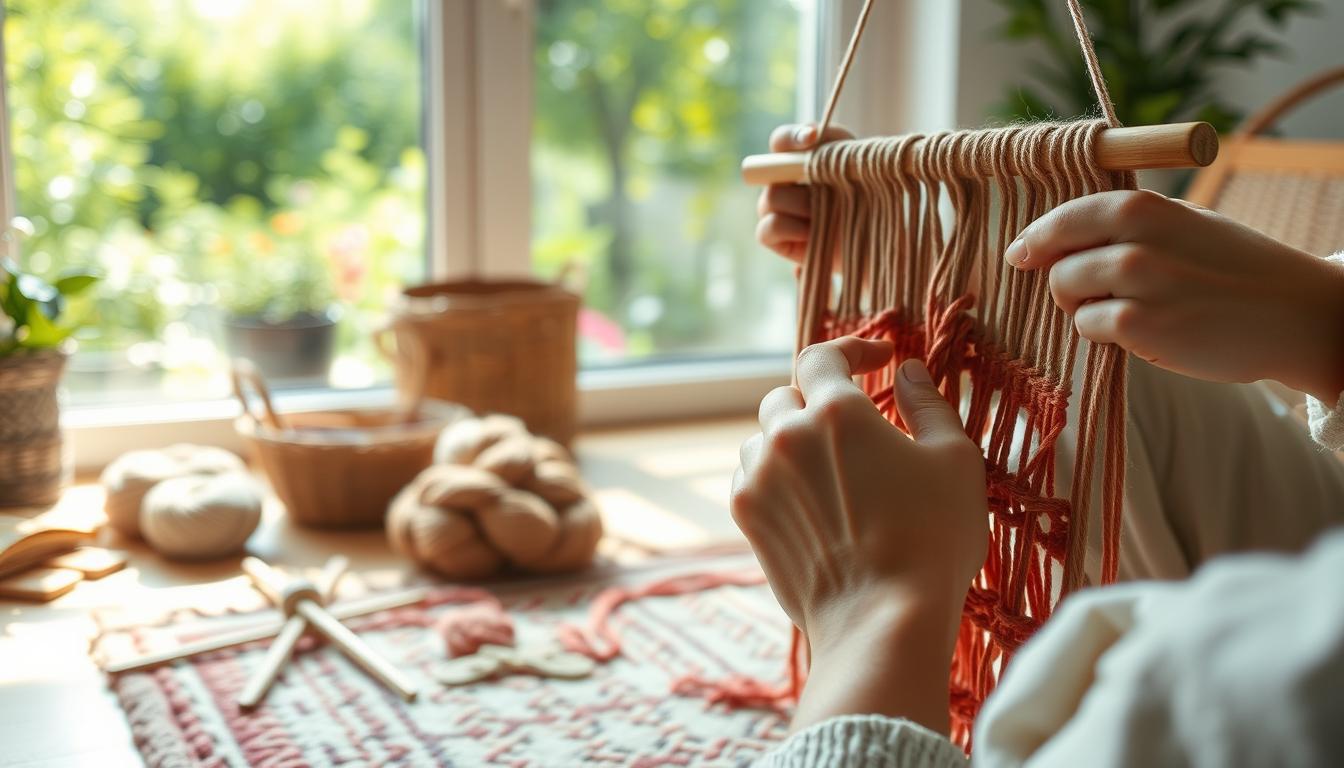
Ever wondered how generations before us turned household scraps into lasting treasures? This craft transforms forgotten textiles into practical art through simple braiding techniques. You'll discover how fabric strips become sturdy home accents with personality.
Core Principles of Textile Floor Art
Traditional methods use three fabric strips braided tightly for structure. Cotton sheets create firm surfaces, while t-shirt material offers stretch. The secret lies in consistent tension – too loose and your design unravels, too tight and shapes warp.
Different approaches suit various needs. Some prefer coiling braids as they work, others stitch completed lengths. Both methods produce durable pieces that handle daily use. Consider this comparison:
| Technique | Best For | Materials | Time Required |
|---|---|---|---|
| Continuous Coiling | Small projects | Stretchy fabrics | 8-10 hours |
| Pre-Braided Assembly | Large floor coverings | Sturdy cottons | 12-15 hours |
| Mixed Material Weaves | Decorative accents | Varied textures | 6-8 hours |
Color choices impact your final piece dramatically. Contrasting strips highlight braid patterns, while monochromatic schemes emphasize texture. Many crafters mix old clothing for sentimental value – baby clothes become nursery mats, college tees transform into dorm room decor.
This sustainable practice reduces textile waste effectively. A typical twin-size project uses 15-20 recycled shirts. You preserve memories while crafting functional art that withstands years of use.
Gathering Materials & Prepping Fabric
Your closet holds everything needed to create stunning home accents. Let's explore how everyday textiles become building blocks for durable floor art through smart preparation.
Essential Materials and Tools
Sharp scissors or rotary cutters form the foundation of your toolkit. A rotary cutter slices through multiple fabric layers 40% faster than standard shears. Pair it with a self-healing mat for precision.
Tapestry needles with wide eyes simplify threading bulky strips. Keep cotton string nearby for securing braids – this prevents unraveling during assembly. "The right tools transform tedious tasks into smooth workflows," notes veteran crafters.

Choosing Between T-Shirts, Sheets, and Scraps
Cotton sheets yield more continuous strips, while stretchy shirts create flexible braids. Consider this comparison:
| Material | Best For | Fabric Type | Project Size |
|---|---|---|---|
| T-Shirts | Flexible designs | Jersey knit | 2x3 ft (10 shirts) |
| Sheets | Large surfaces | Woven cotton | 4x6 ft (3-4 sheets) |
| Scraps | Color variety | Mixed textures | Accent pieces |
Lighter fabrics work better for intricate patterns. Heavy materials like denim require wider strips. Always pre-wash fabrics to prevent shrinkage – this ensures consistent sizing after completion.
Mix old tees with scrap fabric for personalized color stories. A queen sheet provides enough material for a living room centerpiece, while assorted rags create vibrant entryway mats. Let your space's needs guide material selection.
Cutting & Preparing Fabric Strips
Mastering material preparation unlocks your project's full potential. The way you cut fabric determines both the braiding experience and final texture. Let's explore efficient methods to transform various textiles into workable components.
Techniques for Cutting Fabric Strips Effectively
Rotary cutters slice through t-shirt layers like butter, creating uniform strips in minutes. Stack 4-5 shirts, align edges, and roll your tool across the fabric. This method ensures straight lines without constant measuring.
Cotton sheets demand a different approach. Make initial 2-inch cuts along one edge with scissors, then tear downward. The fabric naturally separates along the weave, saving time. Wider strips (3+ inches) add rustic charm but require firmer braiding tension.
| Strip Width | Visual Effect | Best For |
|---|---|---|
| 1 inch | Tight, refined pattern | Formal spaces |
| 2 inches | Balanced texture | High-traffic areas |
| 3 inches | Chunky, casual look | Bohemian decor |
Vary strip lengths intentionally. Shorter pieces (18-24 inches) prevent bulky joins from clustering in one area. Overlap ends by half their width when connecting strips – this maintains consistent thickness.
Embrace slight imperfections. Minor width variations (up to ¼ inch) add handmade character. For fray-prone materials, cut strips ½ inch wider than desired final size. The edges will soften naturally during use.
Crafting Your diy Knotted rug: Braiding Techniques
Your choice of braiding method shapes both the creative process and final product. Stretchy fabrics demand different handling than stiff materials, requiring strategic approaches to maintain shape and durability.

| Method | Best Materials | Key Tool | Time Savings |
|---|---|---|---|
| Coil-As-You-Go | Stretchy knits | Tapestry needle | 25% faster |
| Pre-Braided | Woven cottons | Heavy thread | Easier fixes |
Coiling While Braiding
Start with three 2-inch strips knotted together. Braid tightly for 4 inches, then loop the left strand through previous loops using your needle. This creates natural curves perfect for circular designs.
Stretchy t-shirt material forgives minor tension mistakes. Rotate your work frequently to prevent twisting. Many crafters find this method meditative once the rhythm clicks.
Pre-Braided Assembly
Create 10-foot braids first for structured projects. Use cotton string and a thick needle to sew coils tightly. This approach works wonders for rectangular braided rag rug designs.
Flannel sheets shine here – their firmness holds shape during sewing. Keep coils flat by pressing occasionally with your palm. Adjust stitching tightness to correct any warping.
Incorporating New Fabric Strips & Finishing Touches
When your braid runs short, seamless strip additions keep your pattern flowing smoothly. Two reliable methods help extend your materials without disrupting the design's rhythm.
Attaching Additional Strips Seamlessly
The overlap method works best for continuous braiding. Extend your current strip by 6 inches, layering the new piece underneath. As you braid, the overlapping sections get locked into place naturally.
For high-stress areas like entryways, try the hole technique. Create quarter-inch slits in both strips' ends. Thread the new piece through both holes, forming a secure loop. This method prevents separation during braided fabric techniques that require tight coils.
Securing and Trimming the Rug Edges
As you approach the final foot, taper your last three strips to points. Sew them together using a sturdy needle and thread. Wrap this tapered end around the rug's perimeter, tucking it under existing loops.
Hide loose ends by weaving them back through nearby braids. A simple knot at the backside keeps everything secure. Rotate your work frequently to check for even edges – minor adjustments now prevent uneven wear later.
Pro tip: Stagger strip additions so they don't cluster. This maintains consistent thickness and prevents bulky sections. Your finished piece will lie flat and showcase professional craftsmanship.
Conclusion
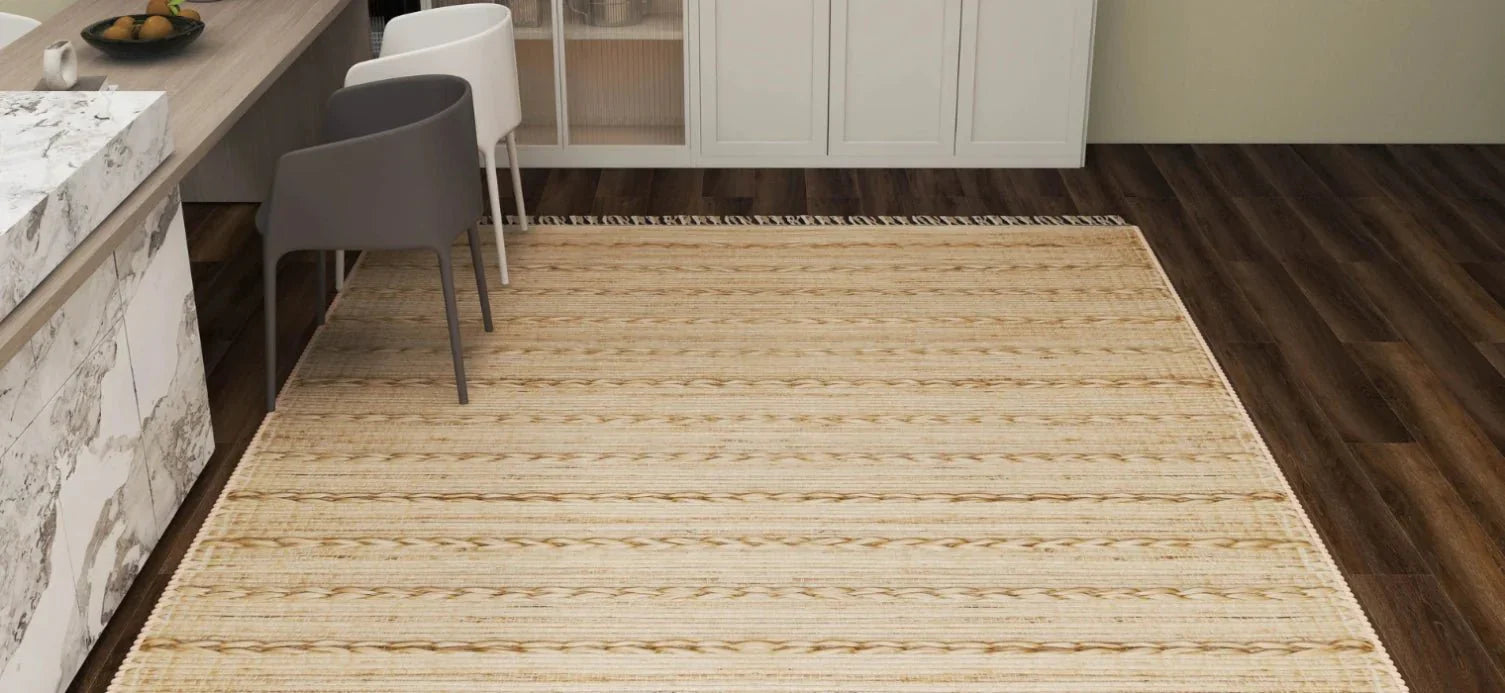
Your journey through fabric transformation culminates in a piece that's both art and utility. Each braid carries the weight of sustainable choices, turning forgotten textiles into cherished home features. A typical 29-inch creation uses 175 feet of material, proving beauty emerges from patience and resourcefulness.
This process connects you with centuries-old traditions of repurposing fabrics. Skills gained here unlock doors to other textile crafts, from weaving wall hangings to mending cherished linens. Time invested varies by size, but even small projects deliver lasting satisfaction.
Finished pieces often surprise creators with their durability. Proper care ensures years of service, outlasting store-bought alternatives. More than floor coverings, these creations become family heirlooms—tangible proof that creativity thrives within constraints.
FAQ
What types of fabric work best for handmade rugs?
Cotton materials like old t-shirts, bedsheets, or denim are ideal because they’re durable and easy to knot. Avoid stiff fabrics like canvas, as they don’t coil smoothly. Mixing colors or patterns adds visual interest to your final piece.
How wide should I cut fabric strips for braiding?
Aim for 1–2 inches wide to balance flexibility and strength. Use sharp scissors or a Fiskars rotary cutter for clean edges. Consistent width ensures even braids, which prevent lumps or gaps in the finished rug.
What’s the difference between coiling while braiding vs. braiding first?
Coiling as you braid lets you adjust the shape in real time, perfect for circular designs. Braiding first creates a long plait you can later stitch into coils—ideal for rectangular rugs. Both methods work, but coiling while braiding is faster for beginners.
How do I attach new fabric strips without visible knots?
Overlap the ends of the old and new strips by 2–3 inches, then fold and braid them together. This hides the join within the plait. For a seamless look, avoid bulky knots and trim excess threads with sharp scissors.
Can I use a rotary cutter instead of scissors to prep strips?
Yes! A rotary cutter speeds up cutting fabric strips, especially when working with multiple layers. Pair it with a self-healing mat to protect surfaces. Just ensure blades are sharp to avoid frayed edges.
How do I secure the edges of a braided rag rug?
After braiding, use a heavy-duty needle and upholstery thread to stitch the final row tightly. Tuck the last strip under the previous loop and trim excess. For extra durability, apply fabric glue to the underside of the edges.