


Article: 5 Powerful Steps to Make a Large Rug
5 Powerful Steps to Make a Large Rug

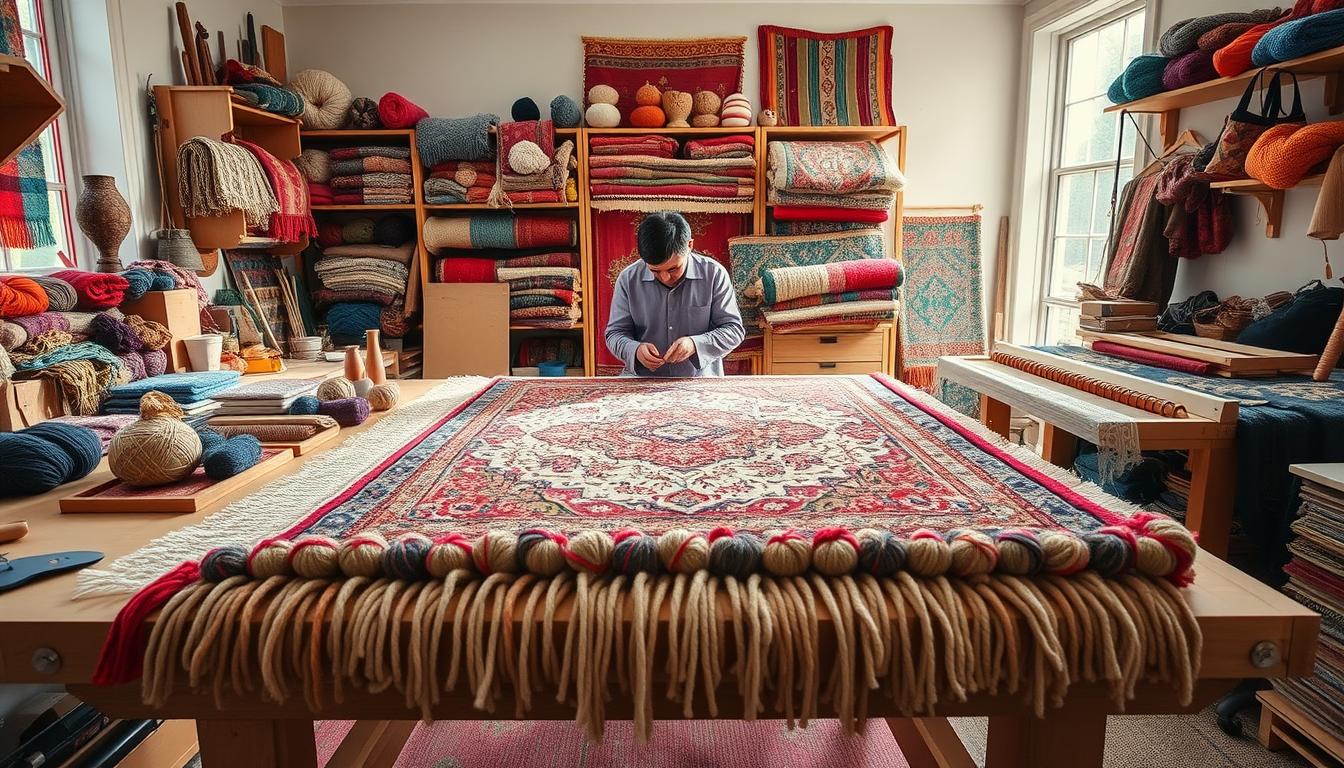
Imagine transforming your living space with a custom-designed floor piece that matches your exact style – without draining your wallet. Traditional handmade rugs often carry eye-watering price tags, but what if you could craft a 5×8 showstopper for under $350 using simple materials like cotton piping?
This hands-on approach turns rug creation into a relaxing nightly ritual, similar to knitting. You’ll work through three proven techniques: the spiral cotton method, fabric-combination strategy, and creative patchwork system. Each approach lets you control every detail, from color schemes to texture variations.
While the process requires dedication – think 200+ yards of materials and several weeks – the payoff goes beyond savings. Customization allows perfect sizing for awkward spaces and personal color matching. For those seeking eco-friendly jute designs, these methods adapt effortlessly to natural fibers.
Key Takeaways
- Create premium-sized rugs for 60% less than store prices
- Choose from three beginner-friendly crafting techniques
- Transform leftover fabrics into functional home art
- Adjust dimensions to fit unique room layouts perfectly
- Develop new skills through meditative, repetitive motions
Your journey begins with selecting the right method for your lifestyle. Whether you prefer quick fabric strips or intricate piping patterns, each stitch brings you closer to a truly one-of-a-kind home centerpiece.
Introduction
Faced with overpriced options, one DIY enthusiast discovered the joy of handmade solutions. Store-bought rugs often cost four times more than materials needed to craft your own – a reality that sparks creative rebellion. This journey begins when ready-made designs clash with your budget or personal style.
Three accessible techniques let you reclaim control. Cotton piping weaving offers precision for pattern lovers. Fabric-combination strategies turn scraps into cohesive designs, while carpet sample patchwork delivers instant texture variety. Each method balances time investment with visual impact, letting you choose your creative pace.
"Every stitch becomes a meditation – your hands building what your mind envisions."
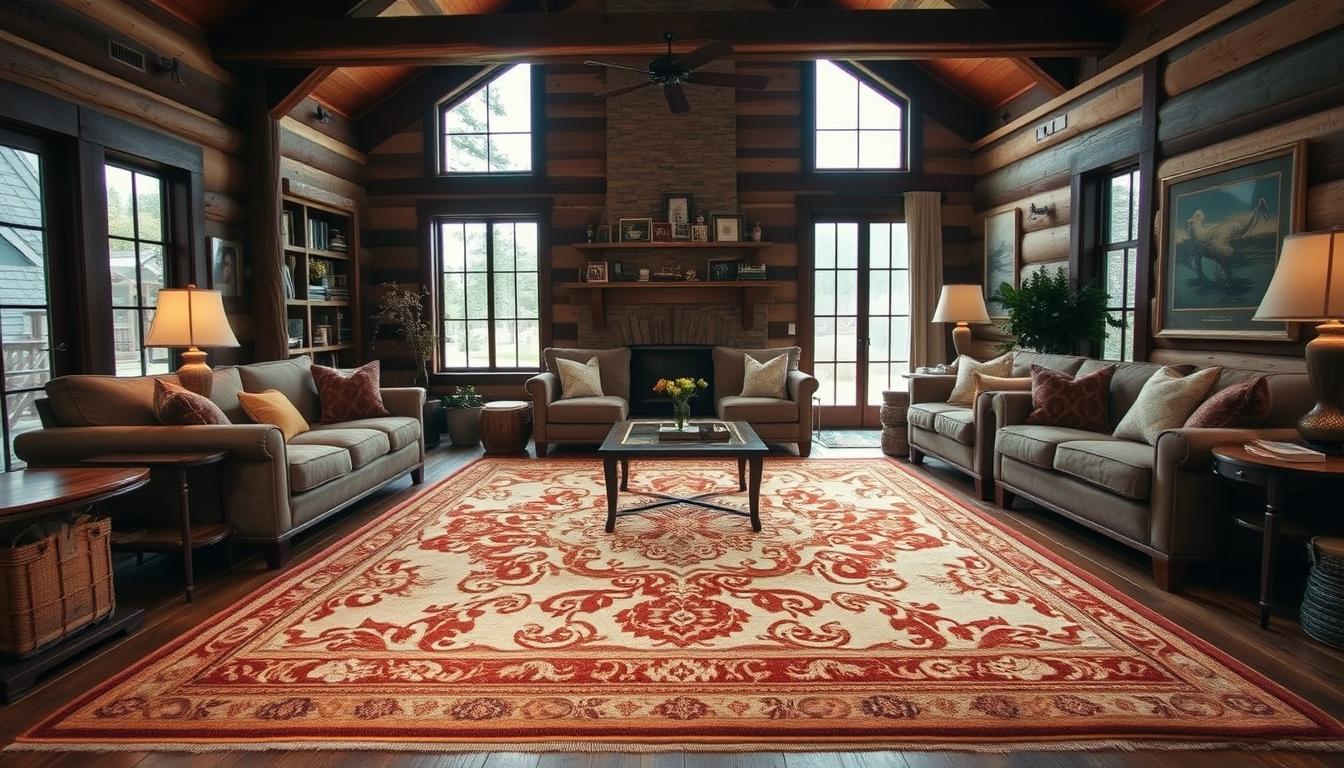
Though demanding 20-40 hours spread over weeks, the process rewards patience. Evening sessions transform into therapeutic rituals, your living room floor gradually becoming a personalized art piece. Unlike mass-produced options, you dictate exact dimensions for awkward spaces and color-match existing decor perfectly.
This project serves dual purposes: crafting functional home elements while developing textile skills. Whether you seek cost savings or creative fulfillment, the result remains uniquely yours – a soft, cloud-like surface born from dedication and imagination.
Materials and Tools for Your DIY Rug Project
Your creative journey begins with smart material selection. Three distinct approaches – cotton piping weaving, patchwork assembly, and rag rug combination – each demand specific supplies. The right toolkit transforms basic components into floor art that reflects your vision.

Cotton piping enthusiasts need multi-use netting as their foundation. This method thrives on cord thickness options ranging from ¼" to 1"+ – thicker strands accelerate progress. Source piping from craft stores or online retailers, pairing it with hair-section rubber bands for secure knots.
Patchwork crafters repurpose carpet samples into cohesive designs. Arm yourself with industrial-strength scissors and fray-block sealant. Neutral yarn becomes invisible stitching thread when using curved needles to bind edges.
For rag rug techniques, hunt clearance sections for accent pieces. A flexible plastic needle handles heavy-duty materials without snapping. This approach shines in high-traffic zones thanks to durable fibers that withstand daily use.
"Quality tools don't need to break the bank – savvy shoppers find gems at discount retailers and craft store sales."
Budget-conscious creators save by scouting rug remnants at home improvement centers. Stores like JoAnn Fabrics and Kohl’s often stock discounted supplies perfect for DIY experiments. Remember – thicker materials mean faster completion, while delicate options offer intricate detailing.
Understanding Rug Size, Style, and Budget
Smart planning turns fabric and effort into a functional masterpiece. Your project's success hinges on three pillars: dimensions, design preferences, and financial parameters. Each choice impacts the final result, from material quantities to visual harmony in your space.
Dimensions dictate demands. A 2×3 bath mat needs 10 yards of cotton piping, while king-sized floor coverings require 200+ yards. Larger projects like 5×8 designs cost $300-350 in materials – still 80% cheaper than store prices. Match your ambitions to available time, as these span from weekend tasks to month-long commitments.
Style options cater to diverse tastes:
- Plush cotton piping creates cloud-like softness
- Recycled fabric strips offer rustic charm
- Geometric patchwork delivers modern edge
Budgeting extends beyond dollar amounts. A 4×6 patchwork rug costs $75-100 but demands precise cutting skills. Consider cleaning needs – high-pile textures trap more dirt but feel luxurious underfoot. Measure doorways and furniture layouts to ensure your creation fits perfectly.
Time investment varies wildly. Quick projects like bath mats take two evenings, while elaborate designs require patience. Balance cost savings against skill development – each stitch builds textile expertise that outlasts the finished product.
How to Make Large Rug: Essential Planning
Smart preparation forms the backbone of any textile masterpiece. Start by measuring your floor space with laser precision – even a half-inch discrepancy can throw off material calculations. For a standard 5×8 design, you'll need three 8-foot sections of 2-foot wide netting. This grid becomes your canvas.
Time allocation proves crucial. Break the process into nightly 90-minute sessions – perfect for unwinding with a show. Many crafters complete their pieces in 3-4 weeks this way. Keep materials organized in labeled bins for easy access during these bite-sized work periods.
Workspace setup requires strategic thinking:
- Clear a 6×4 foot area for maneuvering large netting
- Use adjustable floor lamps for shadow-free illumination
- Store works-in-progress on wall-mounted racks
Material sourcing becomes an adventure. Compare prices between local craft shops and online suppliers – some offer bulk discounts on cotton piping. For living room centerpieces, consider buying extra materials for future repairs or matching accessories.
"Measure twice, cut once – but plan thrice for flawless execution."
Track progress using a simple spreadsheet. Log daily yardage completed and materials used. This system helps spot potential shortages early and maintains motivation as visible milestones stack up.
Preparing Your Workspace for Your Rug Project
Transform any room into a productive crafting zone with strategic setup. Your workspace becomes the foundation for precise stitching and pattern alignment. Start by claiming a flat, stable surface – cleared countertops or hardwood floors work best for spreading materials.
Organize tools in labeled containers within arm's reach. Use divided trays for rubber bands and curved needles. Keep scissors and measuring tapes in dedicated pockets on a pegboard wall mount. This system prevents frustrating searches mid-stitch.
| Element | Recommendation | Benefit |
|---|---|---|
| Lighting | Adjustable LED floor lamp | Reduces eye strain during evening sessions |
| Seating | Ergonomic stool with back support | Maintains posture through long work periods |
| Ventilation | Open window + air purifier | Neutralizes chemical odors from sealants |
Position your work area near natural light sources when possible. Supplement with warm-white task lamps that mimic daylight. These choices help distinguish between similar yarn shades and prevent color mismatches.
Allocate space for completed sections using wall-mounted fabric racks. Rotate your rug-in-progress vertically to inspect patterns from different angles. This technique reveals alignment issues early, saving hours of rework.
"Your crafting zone should invite focus – every tool in its place, every material ready to transform."
Maintain airflow with cracked windows or quiet fans when using adhesives. Store chemical treatments in sealed containers between uses. These steps create a sanctuary where creativity flows freely, turning nightly sessions into anticipated rituals.
Cutting Netting and Determining Rug Dimensions
Precision marks the starting line for crafting floor art that fits like a glove. Your netting becomes the structural foundation, demanding exact measurements to match room proportions. For a standard 5×8 design, three 8-foot sections of 2-foot wide netting create the base grid.

Grab a measuring tape and fabric marker for error-free preparation. Double-check calculations before slicing – one miscut wastes materials and time. Lay netting flat on your workspace, marking cutting lines with bright chalk for visibility.
Sharp fabric scissors ensure clean edges that align perfectly during assembly. Apply steady pressure while cutting to prevent jagged lines. Pro tip: Trim excess width before starting – this simplifies weaving and reduces bulk.
"A ruler never lies – trust your measurements more than your eyes during this phase."
Conduct quality checks after cutting. Verify all pieces share identical dimensions and smooth edges. Arrange sections in their final layout to spot alignment issues early. This prevents frustrating mid-project adjustments when patterns take shape.
Smart planning minimizes material waste while maximizing coverage. Store trimmed scraps for future repairs or smaller projects. Your attention to detail here ensures every square inch serves purpose – both functionally and aesthetically.
Cutting and Selecting Cotton Piping
Cotton piping transforms from simple cord to artistic medium through careful selection and precise cuts. Your choices here determine the project's pace and final texture. Thicker options accelerate progress but require strategic planning to balance bulk and flexibility.
Choosing the Right Piping Thickness
Standard diameters range from pencil-thin ¼" to chunky 1"+ options. The ½" and 11/16" sizes strike the best balance for most rug projects. Thicker strands cover more netting area per stitch, reducing total yardage needs by up to 40% compared to slim varieties.
Consider your available time and desired texture. A 5×8 floor piece using ½" piping requires 200+ yards but weaves faster than delicate options. Test sample swatches before committing – some textures compress during weaving, altering the final pile height.
Piping Length and Quantity Considerations
Pre-cut 3-4" segments create uniform coverage while allowing natural variation. Keep pieces within this range for structural integrity – shorter strands fray easily, longer ones create bulk. A 5×8 size demands approximately 1,800 individual pieces, emphasizing the need for efficient cutting systems.
"Buy 15% extra piping to account for practice pieces and inevitable miscuts – better safe than scrambling mid-project."
Source materials strategically. JoAnn's upholstery section often stocks multiple colors, while Amazon offers bulk spools for diy enthusiasts. Compare prices per yard across suppliers, and watch for seasonal sales on craft essentials.
Store cut pieces in labeled bins sorted by color or thickness. This organization prevents tangling and ensures consistent shade distribution throughout your rug. A bit of upfront planning here pays dividends when weaving sessions begin.
Weaving the Piping into the Netting Grid
Watch raw materials transform under your fingers as the magic happens. This step converts basic supplies into a plush surface through rhythmic, repetitive motions. Each cotton piece becomes part of a tactile tapestry.
Rubber Band Efficiency
Thread 3-4" piping segments through netting squares. Pull both ends upward until even. Secure with hair-sized rubber bands for instant hold. This method speeds progress but may need replacements after 5+ years.
String Longevity
Opt for elastic thread when prioritizing durability. Double-knot each piece through the grid. Though time-consuming, these ties withstand decades of foot traffic. Match string color to piping for invisible connections.
Fluff secured yarn ends upward using a comb or fingers. This creates the signature cloud-like texture. Alternate directions every few rows for dimensional depth.
Your creation gains character with each secured piece. Choose fast assembly or enduring craftsmanship – both paths yield a rug that reflects personal priorities. The final texture whispers stories of nightly dedication.
FAQ
What materials work best for a durable DIY rug?
Cotton piping, synthetic netting, and heavy-duty yarn are ideal for longevity. Check craft stores like Michaels or Joann Fabrics for budget-friendly options. Thicker materials withstand foot traffic better in high-use areas like kitchens or living rooms.
How do I pick the right size for my space?
Measure your room’s layout first. Leave 12–18 inches of bare floor around edges for balanced proportions. For living areas, larger rugs anchor furniture, while smaller ones suit entryways. Use painter’s tape to mock up dimensions before cutting materials.
Can I customize colors without extra cost?
Yes! Mix yarn remnants or repurpose old fabric strips. Stores like Hobby Lobby often sell discounted bundles. Test color combinations under your room’s lighting to ensure they complement walls or furniture before finalizing.
What’s the easiest way to secure rug edges?
Fold the netting’s edges inward and stitch tightly with upholstery thread. For no-sew options, use fabric glue or iron-on hem tape. Reinforce corners with double stitching or rubber bands during weaving to prevent fraying.
How long does a DIY rug project typically take?
It depends on complexity and size. A 5x7-foot rug may take 15–20 hours spread over a week. Break tasks into steps: cutting materials one day, weaving the next. Use non-slip pads on the underside to finish faster.
Where can I find affordable netting and piping?
Check online marketplaces like Etsy for bulk deals or local dollar stores for small quantities. Walmart and Amazon often carry rug-making kits. For unique textures, visit specialty textile shops during seasonal sales.
How do I prevent my rug from sliding on hardwood floors?
Attach non-slip rug pads or silicone grippers to the underside. For lightweight rugs, apply double-sided carpet tape along the edges. Trim excess netting to keep the surface flat and reduce movement.