


6 Stylish DIY Steps for a Living Room Rug
Imagine walking into a space that feels uniquely yours – every detail reflecting your personality. Now picture achieving that without emptying your wallet. Could crafting a showstopping floor piece really be simpler than you think?

This guide reveals how anyone can create stunning textile art for their home. You’ll explore six creative approaches using everyday materials like cotton piping or recycled fabrics. Local craft stores stock everything needed, with most supplies costing less than $50 total.
First-time makers often finish their initial project in a weekend. The secret lies in choosing techniques matching your skill level. From no-sew vinyl patterns to woven fabric strips, options adapt to your schedule and design vision.
Key Takeaways
- Custom designs cost up to 80% less than luxury retail options
- Multiple techniques accommodate all skill levels
- Most materials are available at local craft retailers
- Average completion time ranges from 6-12 hours
- Personalized sizing ensures perfect space alignment
Beyond saving money, handmade creations become conversation starters. They let you control textures, colors, and dimensions – solving common decor mismatches. Ready to turn your floor into functional art?
Introduction: Embrace a Stylish DIY Living Room Rug
Unlock the secret to affordable luxury underfoot with creative craftsmanship. Handcrafted floor decor offers 80% savings compared to high-end store options while letting you control every design detail. Picture a surface tailored to your exact color preferences and room dimensions – no more settling for "close enough" solutions.
Why Crafting Elevates Your Space
Personalized textile art transforms rooms into extensions of your personality. Unlike mass-produced items, handmade pieces solve common decor mismatches. You choose textures that complement furniture and patterns that tie your color scheme together seamlessly.
Methods for Every Maker
Thick cotton piping (up to 1 inch) speeds up creation time, requiring fewer yards than thinner options. Combine fabric strips with vinyl accents for visual contrast, or experiment with recycled materials. These approaches adapt to spaces from compact entryways to sprawling entertainment areas.
One homeowner shared: "After three weekends, I had a 5x8 masterpiece that cost $320 – the store version was $2,800!" Whether you prefer plush textures or geometric precision, the right technique matches your vision and schedule.
Inspiration and Benefits of a DIY Rug Project
Transform your floors into a personal canvas where practicality meets artistry. Crafted textile pieces solve two common frustrations: mismatched store-bought sizes and impersonal mass-produced designs. Let’s explore how personalized floor decor elevates spaces while keeping budgets intact.
Creative Expression and Customization
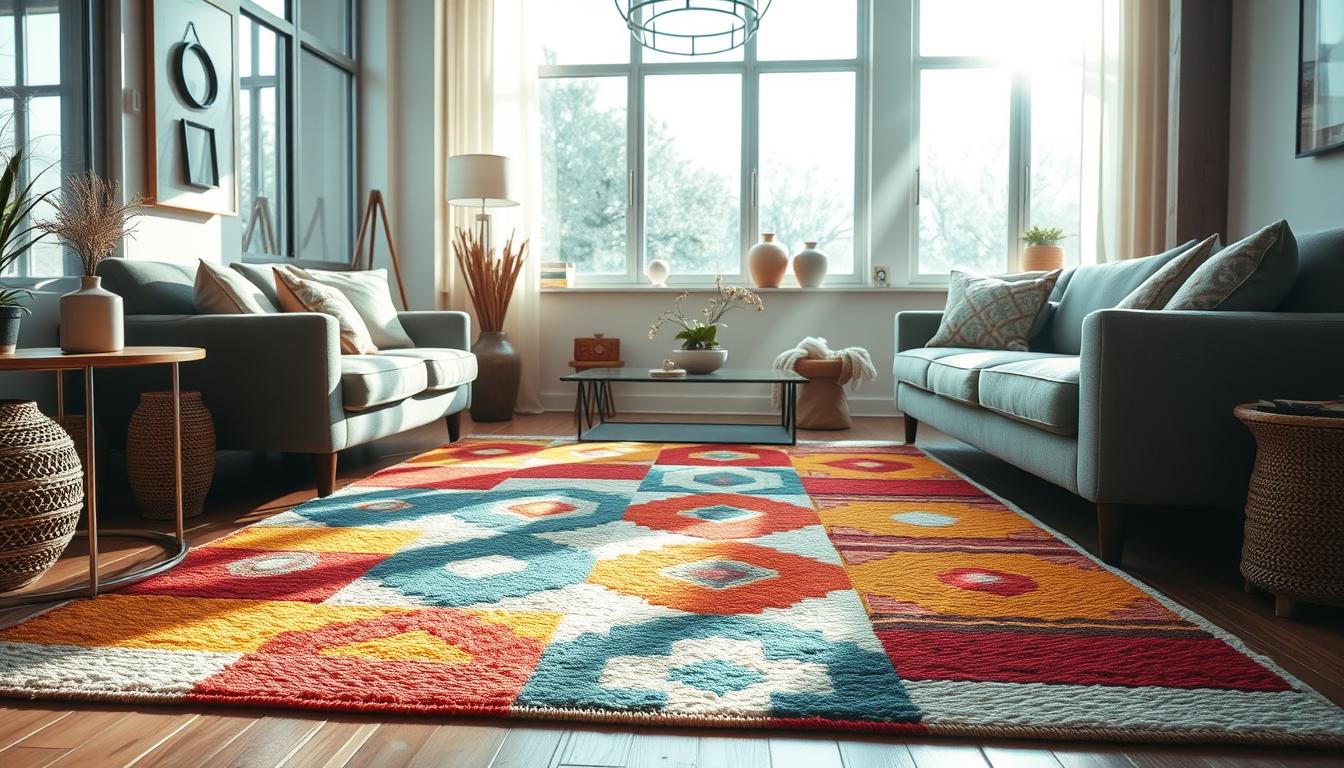
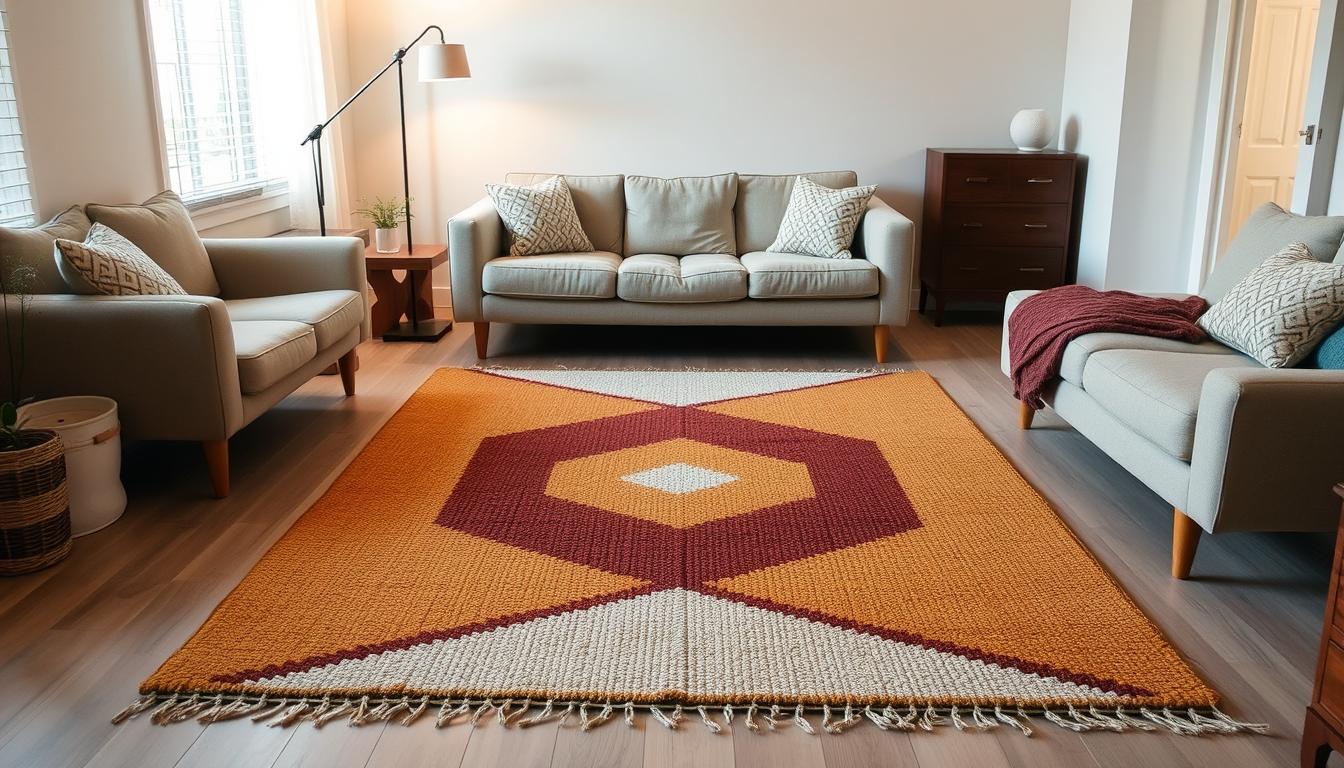
Design challenges vanish when you control every element. Need a triangular piece for that awkward corner? Want to blend contrasting wall hues? Your creation becomes the solution. Fabric stores offer endless possibilities – bold geometric cottons, soft ombre linens, or repurposed denim strips.
One maker shared: "My sunset-inspired entryway piece ties together our terra-cotta walls and navy sofa perfectly." Seasonal updates become effortless – swap autumn earth tones for summer seafoam greens without replacing furniture.
Cost-Effective Home Decor Solutions
High-quality materials cost far less than pre-made alternatives. Compare a $45 cotton piping creation to its $600 retail counterpart. Better yet, handmade pieces often outlast cheap imports due to careful construction and premium fabric choices.
| Feature | Handmade | Store-Bought |
|---|---|---|
| Average Cost (5x8 ft) | $50-$120 | $400-$900 |
| Color Options | Unlimited | Limited |
| Lifespan | 5-8 years | 2-4 years |
The satisfaction goes beyond savings. Each completed project builds skills for future home upgrades. You’ll gain confidence to tackle wall treatments, curtain designs, or accent pillows – all while expressing your unique style.
Gathering Essential Materials and Tools
Precision starts with preparation – assemble your arsenal before diving in. Whether crafting a plush textile centerpiece or a sleek vinyl statement piece, having the correct components streamlines your workflow. Local craft retailers and online suppliers stock everything required, with most projects needing under $75 in materials.
Must-Have Supplies for Your Project
For cotton piping designs, multi-use netting forms your base. Pair it with 1-inch thick piping (found at fabric stores) and small rubber bands. Thicker piping reduces total yards needed, cutting creation time by 30%. Vinyl-based methods require remnants from flooring suppliers – aim for pieces slightly larger than your desired finished size.
Fabric yardage should exceed vinyl dimensions by 3 inches on all sides. A sharp mat knife ensures clean cuts, while spray adhesive creates lasting bonds between layers. One maker noted: "Using a T-square transformed my edges from wobbly to razor-straight."
Optional Tools to Boost Efficiency
Rotary cutters speed up fabric preparation, especially for larger projects. Consider a glue spreader for even adhesive distribution – it prevents lumpy surfaces. Storage bins keep materials organized between sessions, reducing setup time.
Save money by checking remnant bins at flooring stores for discounted vinyl. For fabric, opt for mid-weight cotton blends that withstand foot traffic without fraying. Always make sure to test adhesives on scrap pieces before committing to your final design.
Understanding Different DIY Rug Techniques
Your technique choice shapes both the look and functionality of your creation. Two popular methods offer distinct advantages – one creates cozy textures, while the other prioritizes practicality. Let’s explore what makes each approach unique.

Weaving with Cotton Piping
This method transforms simple materials into cloud-soft surfaces through strategic weaving. Cut cotton strips get pulled through netting grids and secured with rubber bands, forming raised clusters. Unlike traditional knotting, this technique skips complex tools while creating insulating layers perfect for chilly floors.
One crafter noted: "The pom-pom texture feels like walking on marshmallows – kids love it!" Ideal for bedrooms or reading nooks, this approach lets you control density by adjusting cluster spacing.
Fabric and Vinyl Rug Methods
For high-traffic zones, vinyl-backed designs deliver wipe-clean convenience. Remnant flooring pieces become durable bases for fabric patterns. Spray adhesive bonds materials securely, while water-based sealants protect against spills. This flat-surface style works well under dining tables or entryways.
- Cotton piping: 4/10 difficulty, 8-12 hour completion
- Vinyl-fabric: 2/10 difficulty, 5-8 hour completion
Combine techniques for hybrid designs – try plush borders around vinyl centers. Beginners often start with flat methods, while texture enthusiasts dive into piping projects. Your lifestyle and space needs determine the perfect match.
Creating a diy Living Room rug with Cotton Piping
Discover the rhythmic art of crafting plush floor coverings through a method that turns repetition into relaxation. This hands-on approach transforms simple materials into cloud-like surfaces perfect for bare feet. "It’s like painting with texture," shares a maker who completed a 5x8 piece over three weeks of evening sessions.
Step-by-Step Overview of the Process
The technique involves weaving cotton strips through netting, secured with small rubber bands. Each cluster builds toward a lush surface that softens footsteps and insulates floors. A standard living area centerpiece requires 200+ yards of piping – but don’t let that number intimidate you.
Break the work into 90-minute sessions while streaming shows or podcasts. Many crafters find the method surprisingly therapeutic, comparing it to mindfulness practices. One enthusiast notes: "I’d do 50 knots nightly – before I knew it, my masterpiece was done!"
Adapt the dimensions for any space – create a 2x3 bath mat or an 8x10 statement piece. The grid-based system ensures consistent results, while color blending lets you match existing decor perfectly. Expect to spend 15-25 hours total for larger creations, spread across leisurely evenings.
This approach proves that beautiful home accents don’t require expert skills – just patience and persistence. Your finished work becomes both functional art and a testament to gradual, satisfying progress.
Step One: Measuring and Cutting the Netting
Precision begins with your measuring tape. This foundational phase determines whether your creation hugs furniture legs perfectly or awkwardly overlaps baseboards. Proper planning prevents material waste and ensures your textile art complements room proportions.

Determining the Right Size
Start by measuring your target area. For a 5x8 floor covering, calculate netting requirements based on its width. Standard 24-inch material needs three 8-foot sections – totaling 6 feet wide. Trim excess later for perfect alignment.
Mark cutting lines with chalk for visibility. Use sharp fabric scissors to avoid frayed edges. Pro tip: Add 2 inches to all sides for shrinkage allowance. One creator shared: "My first attempt shrank 1.5 inches – those buffer zones saved my project!"
Consider traffic flow when finalizing dimensions. A detailed guide recommends leaving 18 inches of bare floor around large pieces. This breathing room prevents visual clutter while anchoring seating areas effectively.
Secure netting with weights before cutting – shifting material causes uneven edges. Work on protected surfaces to prevent floor scratches. Double-check measurements twice: once before marking, again before slicing. This attention to detail ensures seamless joins during assembly.
Step Two: Cutting and Preparing the Piping
Transform simple materials into lush textures through precise preparation. This phase balances uniformity with organic charm – your cuts determine both visual harmony and tactile comfort. Let’s refine your technique for creating pieces that feel intentionally crafted, not factory-perfect.
Achieving Consistent Piping Lengths
Use sharp fabric scissors to create 4-inch segments. Aim for 90% consistency – slight variations (up to ¼ inch) add depth. One maker explains: "I stack 10 layers and cut them together. It saves hours and keeps lengths nearly identical."
Batch processing boosts efficiency. Organize strips in labeled containers by color or texture. For a 5x8 floor covering, you’ll need approximately:
| Piping Length | Total Strips | Resulting Thickness |
|---|---|---|
| 3 inches | 2,400 | Low pile |
| 4 inches | 1,800 | Medium plush |
| 5 inches | 1,500 | High loft |
Adjust quantities based on your desired density. Shorter pieces create firmer surfaces ideal for high-traffic zones. Longer strips produce cloud-soft textures perfect for lounging areas.
Rotate cutting tasks with other project steps to prevent hand fatigue. Many crafters pair this work with audiobooks or music playlists. Pro tip: Mark your scissors’ blades at the target length using colored tape for quick visual checks.
Step Three: Weaving the Piping into the Netting
Transform ordinary materials into dimensional art through this hands-on assembly process. Thread cut cotton strips through the netting grid, pulling each piece upward to form raised clusters. This phase blends methodical work with creative freedom – your pattern choices now become tangible texture.
Securing with Rubber Bands or String Alternatives
Small rubber bands offer the fastest way to lock piping in place. Loop them tightly around paired netting intersections, creating secure anchors. For eco-friendly options, try biodegradable twine or repurposed fabric strips. One maker shared: "I used old T-shirt strings – they held strong and added color pops!"
Creating the Fuzzy Pom-Pom Texture
After securing clusters, trim excess fabric to shape your plush surface. Scissors angled at 45 degrees create natural-looking variations in pile height. Pro tip: Fluff sections with a pet brush for uniform fullness. This textural transformation turns flat netting into cloud-like softness underfoot.
Work in manageable sections, completing 1-2 square feet at a time. The rhythmic process becomes almost meditative, with visible progress motivating continued effort. Your finished piece will showcase both craftsmanship and personal style through its signature tactile appeal.
FAQ
How long does it take to complete a custom area floor covering?
The time depends on the technique and size. Smaller projects using fabric or vinyl may take 4–6 hours, while weaving with cotton piping could require multiple days for drying and detailing.
Can I use household items instead of specialized tools?
Yes! Rubber bands, duct tape, or old fabric scraps work for securing edges. For cutting, sharp scissors or a utility knife can replace rotary tools if handled carefully.
What’s the best way to ensure consistent color patterns?
Plan your design on paper first. Brands like Rit Dye offer color-mixing guides for fabric projects. For woven styles, pre-cut piping sections to match your desired palette.
How do I prevent fraying on fabric-based designs?
Apply a fray-resistant sealant like Aleene’s Fabric Fusion or fold and stitch edges under the backing. For vinyl, use a heat-sealing method with an iron on low settings.
Is it possible to repurpose old materials for this project?
Absolutely. Upcycle blankets, curtains, or even denim jeans into strips. Ensure materials are clean and free of excessive wear before cutting.
What backing works best for high-traffic areas like kitchens?
Opt for non-slip rubber or latex-coated mesh. Brands like Gorilla Grip provide durable options that stay in place while resisting dirt and moisture.
How do I maintain the texture of pom-pom styles?
Shake out debris regularly and spot-clean with mild detergent. Avoid heavy vacuuming—use a handheld attachment to preserve the fuzzy texture.
