


6 Easy DIY Steps for an Outdoor Rug
What if you could design a patio centerpiece that costs less than dinner for two? Store-bought options often disappoint with limited sizes, bland patterns, and prices that make you hesitate. But here’s the secret: your dream summer-ready space doesn’t require a big budget or design expertise.

Creating your own decorative piece gives you full control over colors, shapes, and dimensions. Whether you’re refreshing concrete floors, transforming canvas materials, or updating an old find, this project takes less effort than you’d expect. Costs stay between $8-$30—far below the $100+ tags on pre-made versions.
You’ll learn three simple techniques that work for any skill level. Choose bold geometric prints for modern vibes or soft florals for cottage charm. Best of all, these creations withstand sun and rain when sealed properly. Need help keeping them fresh? Our cleaning guide ensures they stay vibrant year after year.
Key Takeaways
- Create personalized designs for under $30 instead of buying expensive store versions
- Choose from three methods: painting surfaces, upgrading cloths, or reviving old pieces
- Switch patterns and colors each season to match your evolving style
- Use weather-resistant paints and sealants for long-lasting results
- Complete the project in one weekend or split tasks across multiple days
Planning Your DIY Outdoor Rug Project
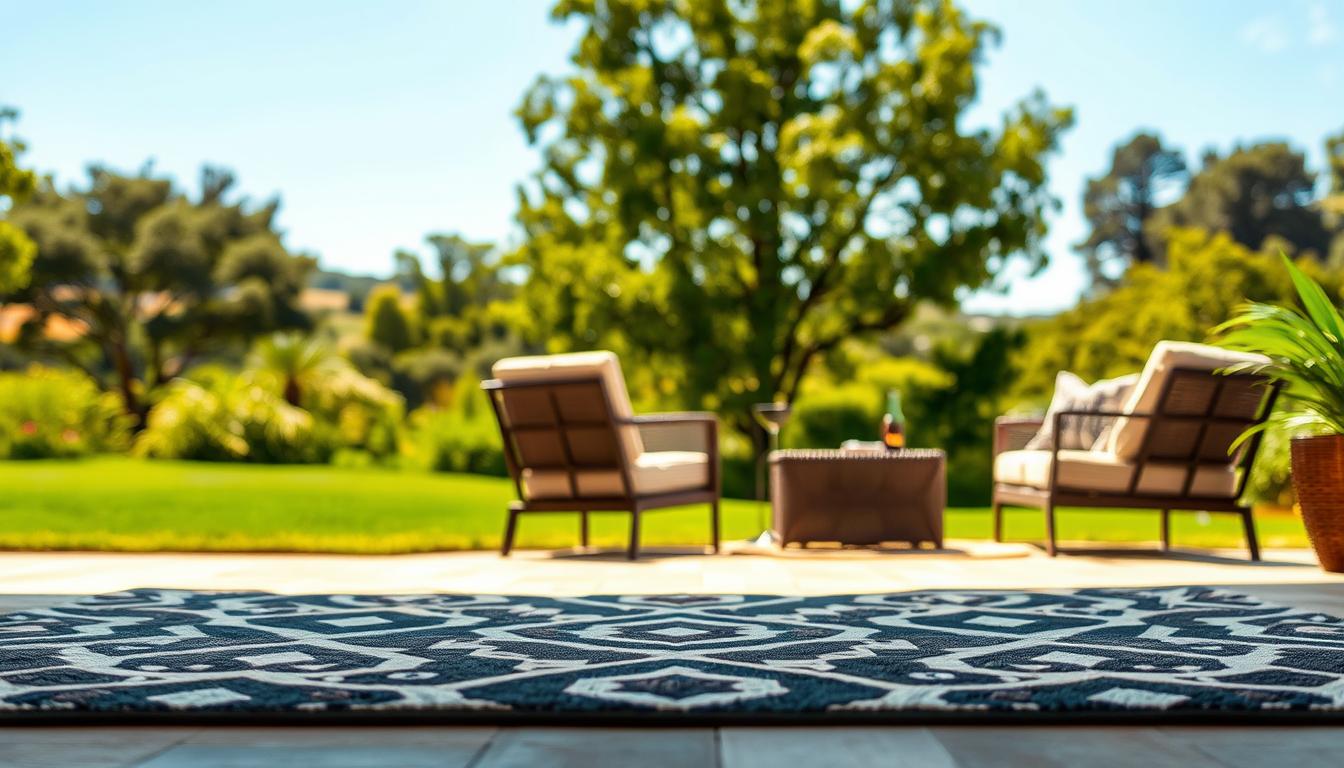
Smart preparation ensures your custom floor piece fits perfectly and matches your style. Start by evaluating where it will live—is it under a bistro set or framing lounge chairs? Consider foot traffic patterns to pick durable materials and sizes that enhance, not overwhelm, your setup.
Design Inspiration and Layout Ideas
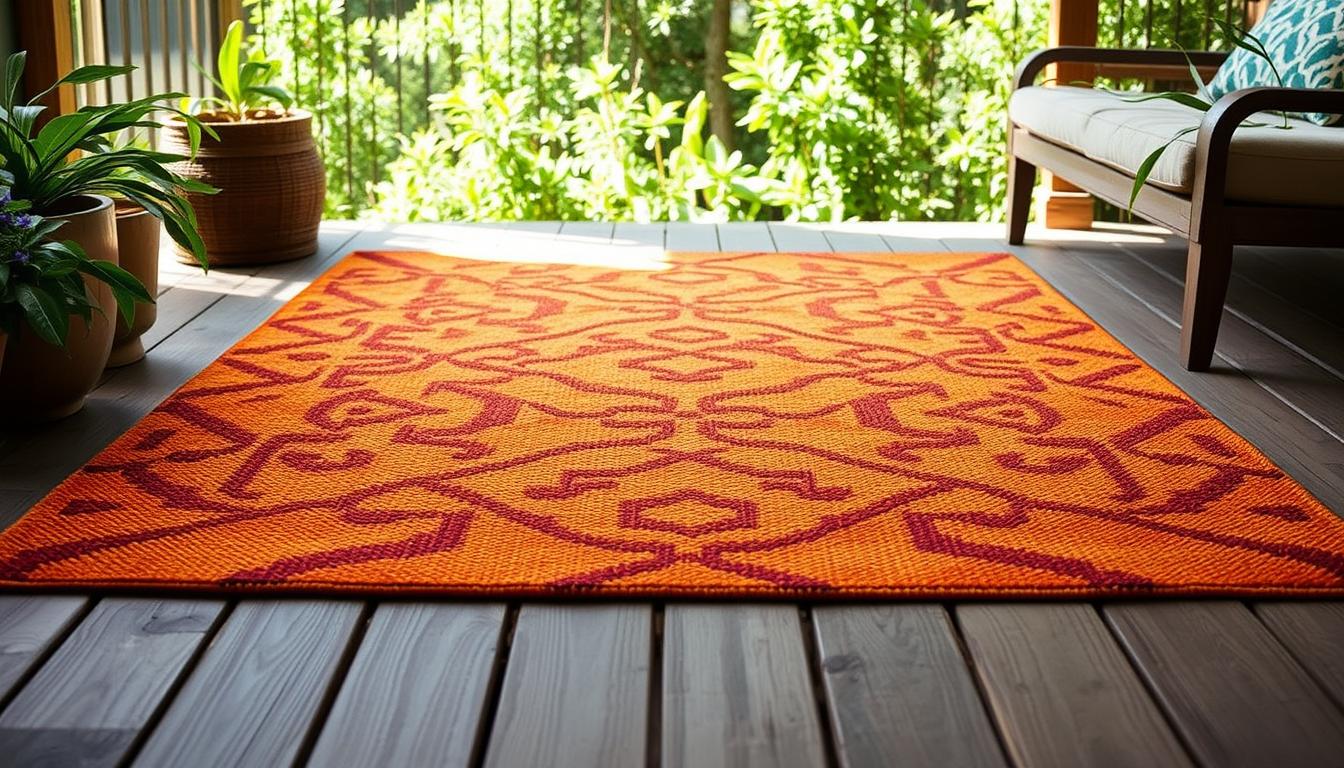
Geometric shapes work well for modern spaces, while stripes add coastal charm without advanced skills. Beginners thrive with color-blocked layouts using 2-3 tones. Sketch ideas with colored pencils on grid paper or use free design apps to test patterns at scale.
Measuring and Marking Your Area
Use painter’s tape to outline your chosen space before cutting materials. For concrete surfaces, a 5x7’ rectangle suits most seating areas. Canvas dropsheets offer flexibility—cut one 6x8’ sheet into two 4x6’ pieces for smaller zones. Always add 3 extra inches when marking for bleed space.
Yardsticks create crisp lines for angular patterns. Rotate stencils 90 degrees between sections to add visual depth. Match your color palette to existing cushions or planters for a cohesive look that ties your patio together.
Gathering Supplies and Preparing Your Area
The right toolkit transforms your vision into reality without breaking the bank. Start with concrete cleaner ($5), a stiff-bristle brush, and primer ($12) for permanent installations. Canvas projects require drop cloths ($8) and sample-sized paint pots that cost less than lattes.

Surface Cleaning, Primer, and Tape Setup
Test your porch or patio's readiness with a water droplet. If it disappears in 3 seconds, you're set. For slow-absorbing areas, use concrete etcher ($10) to create paint-friendly textures. Scrub thoroughly with cleaner and rinse twice – gritty residues ruin designs.
Apply primer within taped boundaries using angled brushes. Let it dry 4 hours minimum – rushing this process causes peeling. Use 1" ScotchBlue tape for curves and 2" for straight lines. The adhesive won't stick permanently but acts as visual guides.
Protect surrounding surfaces with craft paper secured by painter's tape. For multi-day projects, cover half-finished areas with plastic sheeting. Store leftover supplies in labeled containers to prevent mix-ups during design phases.
Creative Techniques for Painting and Design
Transform blank surfaces into eye-catching focal points using smart color strategies and precision tools. Whether refreshing concrete or upgrading canvas, these methods ensure crisp lines and lasting results.

Choosing Colors, Patterns, and Stripes
Pair Valspar Pink Quartz with Clark + Kensington Snow Cone for coastal vibes. For bold contrast, try 4-inch stripes in Pantone Blithe and Yellow Finch. Blues like Behr Island Aqua work well with neutral furniture.
| Stripe Width | Visual Impact | Best Color Combos |
|---|---|---|
| 2-inch | Subtle texture | Aquatic Mist + White |
| 4-inch | Modern contrast | Peony + Snow Cone |
| 6-inch | Bold statement | Water Park + Upbeat |
Using Painter's Tape and Craft Paper Stencils
Apply 1" tape at 45-degree angles for diamond patterns. Burnish edges with a credit card to prevent bleeding. For hexagons, cut stencils from craft paper using a utility knife.
Applying Paint and Ensuring Durability
Scrub paint into canvas fibers using circular motions. Let light layers dry 90 minutes between coats. Seal with UV-resistant spray after 48-hour curing.
Pro tip: Use white primer under Yellow Finch when covering blue tones. This prevents dulling and maintains vibrancy through summer storms.
Conclusion
Your porch deserves a fresh style upgrade that adapts to your evolving taste—without draining your wallet. For under $30, you can reinvent your space each season using washable canvas or painted concrete techniques. Unlike store-bought options costing $100+, these creations let you control every detail, from bold stripes to organic shapes matching your furniture.
Canvas pieces handle summer storms when hosed off weekly, while sealed designs resist fading for years. Need inspiration? Our guide to weather-resistant jute styles shows how to expand your living space with durable textures.
Beginners thrive with simple color-blocking, while seasoned crafters experiment with intricate patterns. Either approach delivers professional results in a weekend. Best of all, you’ll love hosting friends on a porch that truly reflects your personality—one creative project at a time.
FAQ
How long will a painted surface last outside?
With proper preparation and weather-resistant acrylic paint, your design can hold up for a full season. For longer durability, apply a clear sealant and store the piece indoors during harsh weather.
What materials work best for creating stripes or geometric patterns?
Painter’s tape is ideal for crisp lines. For intricate shapes, use craft paper stencils secured with adhesive spray. Always press tape edges firmly to prevent bleeding.
Can this project be done on a budget?
Absolutely. Repurpose old floor coverings or use affordable flatweave options. Mix basic acrylic paints with textile medium instead of buying specialized products.
How do you protect surrounding surfaces during painting?
Lay down drop cloths or cardboard under your workspace. Use masking tape to secure protective layers, especially when working on porous surfaces like concrete.
What’s the best way to refresh faded colors over time?
Lightly sand the area, clean thoroughly, and apply fresh coats. For small touch-ups, use artist brushes to match existing patterns without redoing the entire piece.
Are certain color combinations better for high-traffic spaces?
Darker earth tones and multicolor patterns hide dirt effectively. Avoid pure white in entryways—opt for warm grays or navy paired with terra-cotta accents instead.
