


Article: 6 Strong Steps to Make an Outdoor Rug

6 Strong Steps to Make an Outdoor Rug
Imagine transforming your outdoor space with a custom-designed rug that costs under $20 and reflects your personal style. Why settle for mass-produced options when you can create something uniquely yours in just one afternoon?

Canvas drop cloths – those humble painter’s staples – hold the secret to affordable outdoor elegance. At $8 for a 5x5 size, they become blank canvases for your creativity. Pair them with basic craft supplies, and you’re ready to design weather-resistant decor that survives seasons.
This approach isn’t just about saving money. It’s about redefining value in home projects. Store-bought alternatives often lack personality and drain budgets, while DIY versions let you experiment with patterns. Change designs with the holidays or refresh looks for summer gatherings – all without financial guilt.
Key Takeaways
- Create custom patio decor for 90% less than retail prices
- Complete projects in 2-3 hours with easy-to-find materials
- Design multiple rugs for under $50 total
- Choose colors and patterns matching existing outdoor furniture
- Machine-washable finishes withstand weather and foot traffic
Your journey to outdoor transformation begins with six simple stages. From material selection to final sealing, each step builds confidence in your crafting abilities. Whether you prefer bold geometrics or subtle textures, the process adapts to your vision and skill level.
Introduction and Overview
Personalized patio accents don’t require designer budgets – just clever material choices and a splash of creativity. Canvas drop cloths become secret weapons for crafting durable, weather-ready floor coverings that solve three problems at once: high costs, bland designs, and seasonal wear.
These adaptable textiles handle rain, sun, and foot traffic when sealed properly. Unlike store-bought options, your creation can mirror existing porch decor or introduce bold patterns. Cover cracked concrete with vibrant stripes, or define a seating area with subtle chevrons.
Summer gatherings gain personality when your floor becomes part of the aesthetic. Geometric shapes energize modern spaces, while floral stencils soften rustic decks. The process rewards experimentation – try seasonal motifs for holidays or refresh patterns yearly.
This approach turns limitations into advantages. Odd-sized patios get perfect-fit solutions without custom fees. Faded furniture finds balance through coordinated colors. Best of all, each piece becomes a conversation starter that reflects your vision.
Preparing Your Workspace and Supplies
Efficient workspace setup transforms DIY projects from chaotic to controlled. Start by collecting all essentials within arm’s reach – this prevents mid-project scrambles and keeps your design flow uninterrupted. Proper organization ensures crisp lines and minimizes cleanup hassles later.

Material Selection Essentials
Choose a canvas drop cloth with reinforced edges and water-resistant backing. These features prevent fraying and protect against ground moisture. Standard sizes range from compact 5x5 options to roomier 6x9 layouts – measure your patio first for perfect alignment.
| Size | Best For | Key Feature |
|---|---|---|
| 5x5 ft | Bistro sets | Portable |
| 6x6 ft | Conversation areas | Square symmetry |
| 6x9 ft | Long decks | Elongated coverage |
Grab multiple painters tape widths – thin ¼” strips create delicate borders, while 2” bands make bold statements. Paint samples offer sufficient coverage for most designs. Their affordable price lets you experiment with color combinations risk-free.
Surface Protection Strategies
Lay protective sheeting under your work area to catch drips. Concrete driveways tolerate spills better than wooden decks – adjust your location based on paint type. Ensure proper ventilation when applying sealants, and let each coat dry completely before moving the project.
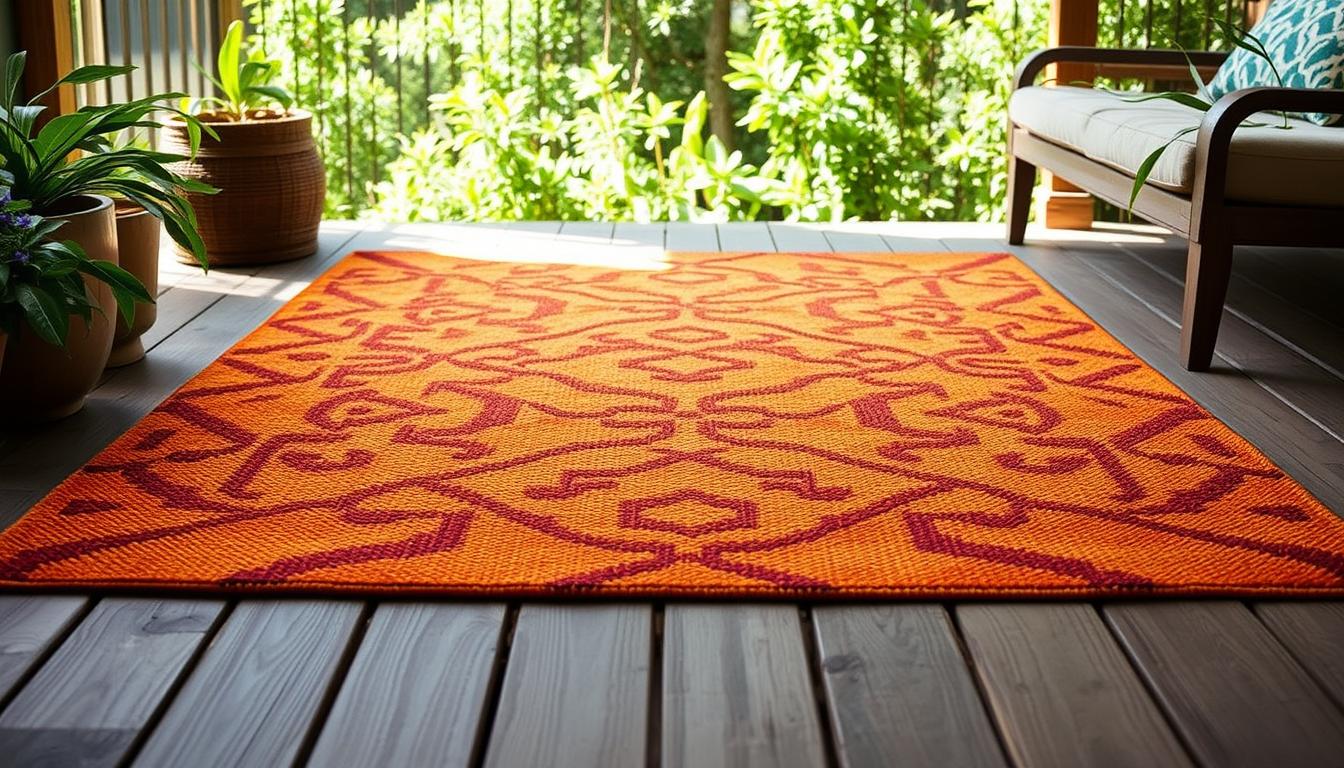
how to make Outdoor Rug: Step-by-Step Guide
Transform raw materials into art through strategic preparation. Begin by anchoring your canvas drop cloth to a flat, non-porous surface. Garage floors or concrete patios work best for this foundation step.
Designing Your Layout with Painters Tape
Create crisp boundaries using painters tape as your design compass. For geometric perfection, measure intervals with a carpenter's square. Freehand enthusiasts can eyeball spacing for organic charm. Press tape edges firmly – this prevents color bleed that mars clean lines.
Experiment with alternating stripes of different widths. Combine 1-inch and 3-inch bands for visual rhythm. The canvas surface grips pigment differently than woven rugs, requiring full-coverage brush strokes.
Setting Up Your Canvas Drop Cloth
Stretch your material taut before securing corners with weights. Wrinkles distort patterns and cause uneven paint absorption. Check alignment from multiple angles – what looks straight overhead might skew from a side view.
Apply base colors in thin layers, allowing 90-minute drying intervals. Test dryness by dabbing a hidden corner with tissue. Peel tape at 45-degree angles once pigments set completely, revealing razor-sharp stripes that withstand weather and wear.
Creative Taping and Painting Techniques
Unlock endless design possibilities with clever paint applications and precision taping methods. Your canvas becomes a playground for patterns that elevate patio spaces without straining budgets. Discover tools and tricks that turn basic materials into gallery-worthy pieces.
Choosing and Applying Paint
Brushes deliver smooth finishes ideal for crisp edges. Rollers add texture, mimicking weathered fabrics for rustic charm. Spray cans excel at intricate details – hold nozzles 8-10 inches away for controlled coverage.
| Tool | Finish | Best For | Pro Tip |
|---|---|---|---|
| Brush | Satin smooth | Sharp lines | Use angled edges |
| Roller | Textured | Large areas | Apply light pressure |
| Spray | Detailed | Stencils | White bleeds less |
Exploring Stencils and Alternative Patterns
Cardboard cutouts transform into reusable templates. Secure stencils with painter's tape to prevent shifting. Alternate between spray colors for layered effects – teal waves under coral circles create coastal vibes.
Consider scale when planning designs. Small stripes work for narrow spaces, while oversized chevrons anchor wide decks. For cohesive looks, match patterns to existing canvas material in your seating area.
Experiment with negative space. Mask sections instead of painting them – the exposed canvas becomes part of the design. This approach saves time and creates modern, minimalist aesthetics.
Enhancing Your Outdoor Area with DIY Flair
Crafting a custom floor covering does more than protect surfaces—it sets the stage for memorable gatherings. DIY outdoor creations act as visual anchors, turning bland patios into curated extensions of your home
Position your rug to establish clear zones. A central placement under seating arrangements fosters intimacy, while runners guide foot traffic along deck pathways. Bold geometrics draw eyes to focal points, like fire pits or water features.
Coordinate colors with existing cushions or planter accents for unified appeal. Earth tones blend seamlessly with natural surroundings, while vibrant hues inject energy into neutral spaces. "Your floor art should whisper to other elements, not shout over them," advises landscape designer Mara Houser.
Rotate designs seasonally using removable stencils. Autumn leaf patterns transition to winter snowflakes without requiring new materials. This flexibility lets your outdoor rug evolve with holidays or furniture updates.
Layering techniques maximize impact in larger areas. Place smaller rugs diagonally across concrete slabs to disguise cracks. Cluster matching floor pieces to create cohesive dining spaces on sprawling porches.
Through strategic placement and thoughtful styling, your handmade creation becomes the cornerstone of decor schemes. It bridges functional needs with artistic expression, proving practical solutions can elevate aesthetics effortlessly.
Tips for Long-Lasting and Weather-Resistant Rugs
Protecting your handmade creation ensures seasons of enjoyment. Two critical things determine longevity: proper sealing and smart upkeep. Let’s explore techniques that shield your work from sun, rain, and daily wear.

Applying Sealant Effectively
Choose a water-based acrylic sealant for flexible protection. Apply thin coats using a foam roller – thick layers crack over time. Work in shaded areas to prevent premature drying. Wait 4 hours between applications, and let the final coat cure overnight.
Focus on edges and high-traffic zones. These areas need extra reinforcement. For porch placements exposed to moisture, consider adding non-slip backing. Store leftover sealant in airtight containers for touch-ups.
Maintenance and Cleaning Techniques
Shake off debris weekly using a stiff broom. For spills, blot immediately with a damp cloth. Hose down monthly, flipping the piece to clean both sides. Avoid harsh chemicals – mild soap preserves colors without damaging the drop cloth material.
Rotate your rug every 3 months to distribute wear evenly. During winter storms or extreme heat, roll it up with the painted side facing inward. Our outdoor rugs guide details seasonal storage solutions that prevent mildew and fading.
Conclusion
Your patio now boasts a custom touch that rivals boutique decor. For under $20 and a single afternoon, you’ve crafted durable rugs that withstand weather while expressing personal style. This success opens doors to endless seasonal variations – swap autumn leaf motifs for winter stars without buying new materials.
Confidence grows with each project. Mix sizes for different zones: compact 5x5 pieces under chairs, expansive 6x9 layouts framing dining areas. Share your techniques in a blog post or social media – inspire others to rethink their home decor possibilities.
These DIYs teach transferable skills. Precision taping from painters translates to wall stenciling. Color theory experiments inform future furniture updates. Every brushstroke proves budget-friendly projects can deliver designer impact.
Your next choice? Maybe indoor floor coverings using leftover canvas. Or patio pillows matching your rug’s pattern. Whatever comes next, you’ve mastered methods that turn ordinary spaces into curated experiences.
FAQ
What materials work best for a weather-resistant diy outdoor rug?
A heavy-duty canvas drop cloth is ideal due to its durability and affordability. Pair it with outdoor-grade acrylic paint and a UV-resistant sealant for long-lasting results.
Can I use regular household paint for my diy outdoor project?
No. Opt for exterior-rated acrylic paint designed for fabrics or concrete. Brands like Behr Marquee or Rust-Oleum offer weatherproof formulas that adhere well to canvas surfaces.
How do I prevent paint from bleeding under the painters tape?
Press tape edges firmly with a plastic putty knife before painting. Apply thin coats using a foam roller rather than a brush, allowing each layer to dry completely before adding another.
What’s the best way to create crisp stripes on my rug?
Use 2" wide painters tape for clean lines. For geometric patterns, mark measurements with chalk first. Remove tape while the final coat is still slightly tacky to avoid peeling dried paint.
How long does a diy outdoor rug last on a covered porch?
With proper sealing and care, these rugs typically withstand 1-2 seasons. Reapply sealant annually and store indoors during harsh winters to extend their lifespan.
Can I machine-wash my handmade outdoor rug?
Hand-wash only. Use mild soap, cold water, and a soft-bristle brush. Avoid wringing—hang to air dry completely before returning it to your outdoor area.
Are stencils better than freehand designs for beginners?
Yes. Pre-cut stencils from brands like Royal Design Studio help achieve professional patterns. Secure them with repositionable spray adhesive to prevent shifting during painting.
What’s the optimal size for a diy rug under a patio table?
Choose a canvas drop cloth 24-36 inches wider than your table on all sides. Standard 6’x9’ or 8’x10’ sizes work well for most dining sets.