


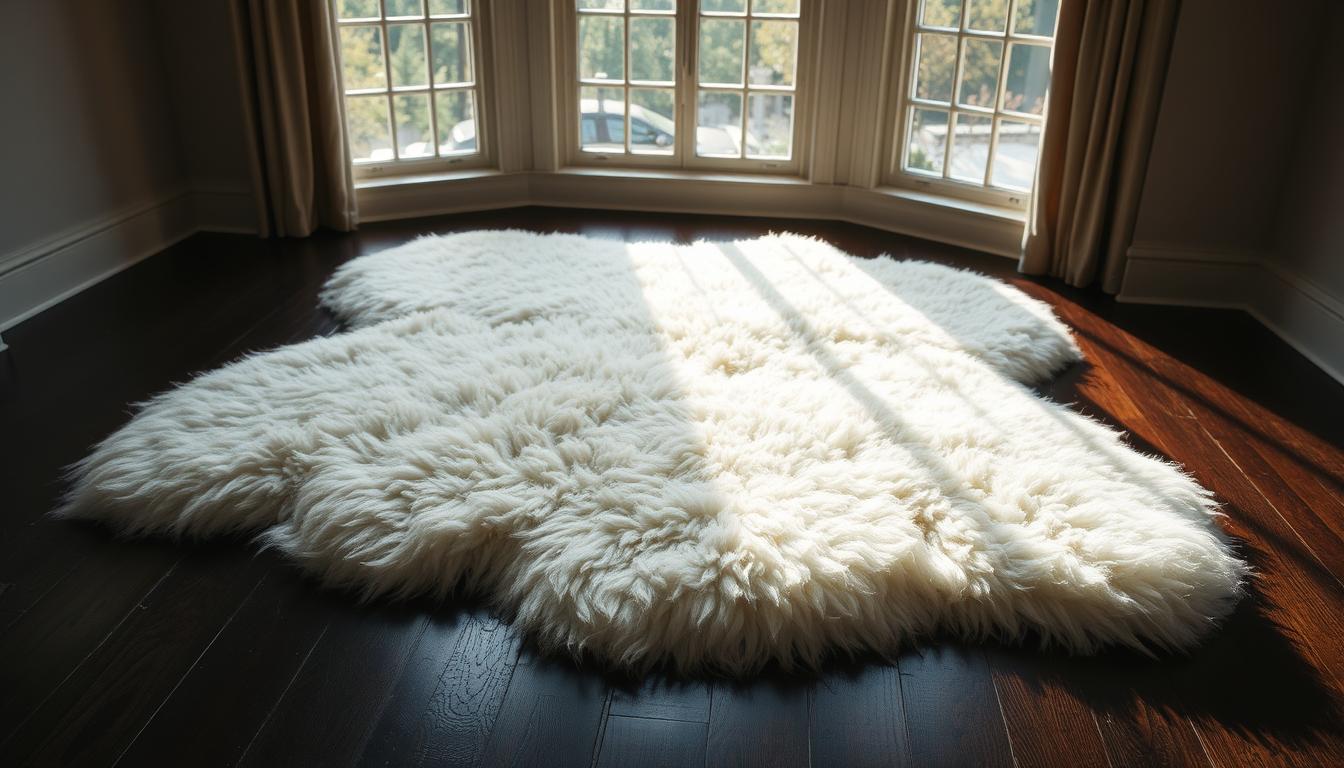
4 Luxe DIY Steps for a Sheepskin Rug
Imagine transforming raw materials into a stunning centerpiece that looks like it cost hundreds – without the designer markup. What if those "waste" items from seasonal homestead activities could become your most cherished decor?

This guide reveals time-honored methods to create plush, custom furnishings. You’ll use basic tools and skills to achieve results rivaling high-end boutiques. Best of all, every step aligns with practical, sustainable living.
We’ll break down the process into four manageable stages. From preparing your materials to adding professional finishes, each phase builds confidence. Even first-timers can master techniques refined through generations of crafters.
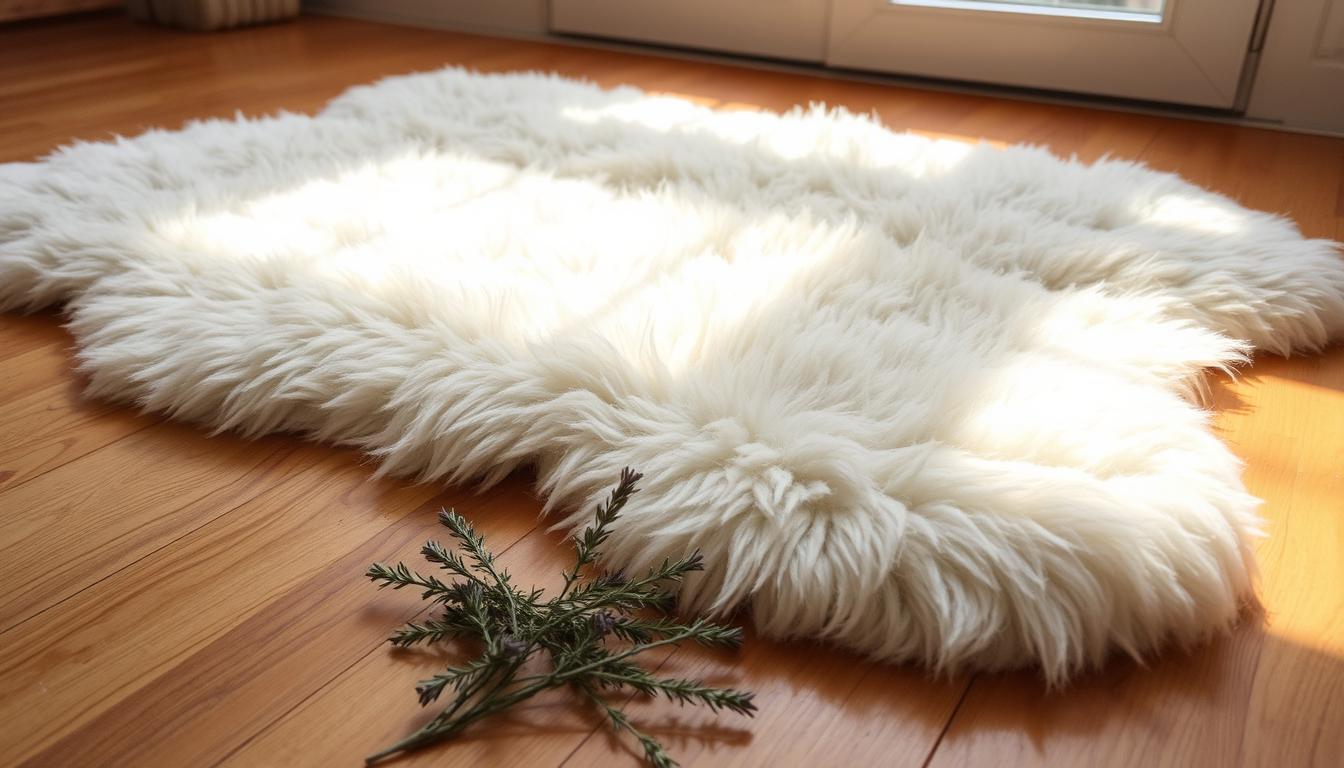
Why settle for mass-produced designs when you control the size, texture, and shape? Personalize creations to match your space perfectly. Plus, you’re giving new purpose to resources that might otherwise go unused.
Key Takeaways
- Repurpose materials into high-value home accents using accessible methods
- Customize dimensions and softness to match your decor preferences
- Follow proven techniques refined through practical experience
- Complete the project in stages with clear, beginner-friendly guidance
- Save significantly compared to retail luxury furnishings
- Use tools you likely already own for most steps
Introduction to the Luxe DIY Sheepskin Rug Project
Every year, countless hides get discarded during seasonal farm activities – a treasure trove waiting for creative hands. This guide unlocks a resourceful approach to crafting premium home accents, turning overlooked materials into functional art.
Why You Should Try This Unique Home Upgrade
Homesteaders often dispose of pelts after lamb processing, unaware of their potential. By repurposing these natural materials, you create bespoke decor that rivals store-bought options costing $300+. The method uses basic tools like scrapers and salt, with techniques perfected through years of experimentation.
An Overview of the Process and Benefits
You’ll transform raw hides in four phases: preparation, curing, finishing, and shaping. Each step builds practical skills while letting you control dimensions and texture. Unlike mass-produced alternatives, your creation fits spaces perfectly – whether framing a fireplace or anchoring a nursery.
This approach reduces waste and connects you to ancestral crafting traditions. Beginners succeed by following time-tested methods rather than guesswork. As one seasoned maker notes: "Patience rewards you with heirloom-quality results that improve with age."
Understanding the Process and Essential Materials
Crafting premium home accents requires strategic preparation. Gather your supplies before starting to ensure smooth workflow and professional results. Proper tools transform raw materials into durable, elegant pieces that withstand daily use.

Your Project Preparation Checklist
Three core elements define success in this creation process: cleaning implements, treatment solutions, and shaping aids. A wire brush with drill attachments removes tough residue efficiently – coarse grades for initial work, fine grades for detailing. For the softening phase, mix equal parts egg yolk, olive oil, and water with a dash of natural soap.
| Essential Item | Primary Purpose | Smart Alternatives |
|---|---|---|
| Curing salt | Preserves material structure | Non-iodized sea salt |
| Plastic sheeting | Contains curing process | Large garbage bags |
| Wooden frame | Prevents shrinkage | Repurposed pallets |
Sharp fabric scissors create clean edges during final shaping. Multiple water rinses remove excess salt between curing stages. Ventilation matters most when applying treatments – open windows or work outdoors if possible.
Seasoned crafters recommend: "Invest time in frame construction. Proper tension during drying ensures even texture and prevents warping." This attention to detail separates rushed projects from heirloom-quality pieces.
Step by Step Guide: Preparing Your Sheepskin
What separates amateur projects from professional-grade home accents? Precision in the preparation phase. This stage determines whether your creation becomes a durable masterpiece or a disappointing experiment.
Skinning and Cleaning Techniques
Begin by submerging the material in a bucket of lukewarm water. Lift it vertically 5-7 times, letting gravity pull debris through the fibers. Never scrub or twist – this converts soft strands into stiff felt. Repeat until the liquid flows clear, signaling removed impurities.
For thorough moisture removal, enlist a partner. Grasp opposite ends and gently twist in unison. This shared method prevents uneven pressure that causes weak spots. Three cycles usually suffice, but check for residual cloudiness.
Using Water Correctly Without Overworking the Wool
Maintain water between 85-100°F – warm enough to dissolve grime but cool enough for comfort. Swap the solution after every two dunks. Professionals in our comprehensive cleaning guide recommend adding white vinegar to the final rinse for pH balance.
Watch for these success markers:
- No earthy odors after drying
- Uniform texture across the surface
- Wool springs back when pressed
Rushing this step risks irreversible damage. As one artisan warns: "Treat each strand like silk thread – with respect and deliberate care."
diy Sheepskin Rug: Expert Hacks for Stretching and Curing
What transforms a raw hide into a durable masterpiece? Strategic stretching and precise curing techniques. These steps ensure your creation maintains its shape while developing that coveted luxe texture.
Methods to Hang and Stretch for Maximum Results
Three approaches adapt to different workspaces. The nailing method secures edges to a wooden frame using rust-resistant nails every 4 inches. For adjustable tension, tie parachute cord through punched holes and tighten knots gradually as the material dries.
Longer pieces benefit from gravity stretching. Attach timber battens to top and bottom edges, then suspend vertically. This weight distribution technique naturally eliminates wrinkles without constant supervision.
Curing with Salt to Lock in a Luxe Look
Lay your prepared skin flesh-side up on plastic sheeting. Generously apply non-iodized salt, using 1 pound per square foot. Wait 30 minutes as crystals absorb moisture and bind to the surface.
Brush off excess salt into a container for reuse. Hang the preserved hide in a shaded, well-ventilated area. Proper curing locations maintain 40-60% humidity – crucial for preventing brittleness while allowing gradual drying.
"Salt acts as both preservative and texturizer. The initial half-hour application determines your final surface quality."
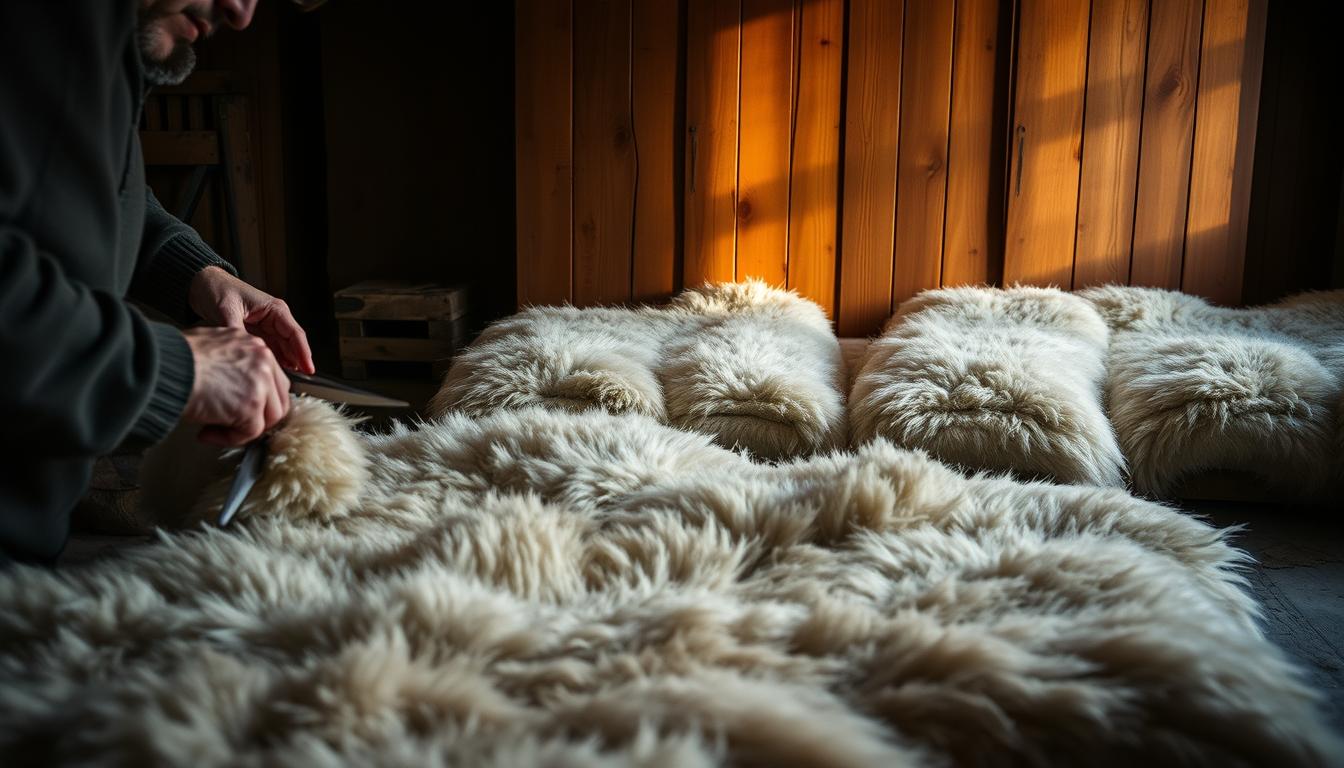
Step by Step Guide: Removing Fat and Imperfections
Mastering surface preparation separates rushed projects from lasting home accents. Well-executed hides may skip this phase entirely, while others demand careful attention. Start by inspecting the flesh side for residual fat deposits – properly skinned materials show smooth, even surfaces.
Effective Techniques for Fat and Meat Removal
Begin with manual scraping using a stiff wire brush. Push away from your body in short strokes, focusing on stubborn patches. Rotate the hide frequently to maintain even pressure. For larger projects, attach a wire cup brush to an electric drill – this cuts cleaning time by 70% compared to hand tools.
Switch to a rounded blade knife when dealing with thick fat layers. Hold the tool at 45 degrees, slicing parallel to the skin surface. Test pressure on scrap edges first – you want to remove residue without gouging the material.
Finish with medium-grit sandpaper to smooth rough areas. Wipe the surface with a damp cloth between tool changes. Three signs indicate completion:
- No visible white or yellow fatty streaks
- Consistent texture across the entire piece
- Firm but flexible feel when pinched
Seasoned crafters recommend: "Work in natural light to spot missed areas. Shadows hide imperfections that become obvious after treatment." This attention to detail ensures your creation maintains integrity through years of use.
Step by Step Guide: Soften and Treat Your Sheepskin
The secret to a plush finish lies in methodical conditioning. This phase transforms stiff surfaces into cloud-like textures through strategic nourishment and mechanical manipulation. Unlike store-bought products, your homemade solutions adapt to the material's unique needs.

Homemade Treatment Blends for a Plush Feel
Mix 1 part egg yolk, 1 part olive oil, and 1 part water in a bowl. Add a teaspoon of natural soap to emulsify the blend. Whisk until smooth – the consistency should resemble thin pancake batter.
Apply the treatment using a wide paintbrush. Work in 12" sections, coating the flesh side thinly. Avoid soaking the material – excess liquid slows absorption. Let it penetrate for 15 minutes before moving to the next step.
Tips for Repeating the Process to Achieve Ideal Softness
Flip the hide and use your brush's smooth handle to massage the surface. Make circular motions with moderate pressure, focusing on rigid areas. This mechanical action breaks stiff fibers without damaging the structure.
Brush the wool side with a wire tool after each treatment cycle. Start at the tips and work toward the base to remove debris. Ten cycles over three days typically yield premium results, but adjust based on your desired texture.
Test progress by pinching the edges. Properly softened material feels like supple leather and springs back immediately. For deeper insights into curing methods, explore our detailed tanning guide.
"Conditioning isn't rushed – it's a conversation between maker and material. Listen through your fingertips."
Tips and Tricks for Cutting and Shaping Your Rug
The final transformation of your project hinges on precise shaping techniques. Careful planning at this stage elevates functional materials into polished home accents that appear store-bought.
Mastering Edge Perfection
Mark your desired outline with a fabric pencil, allowing adjustments before committing to cuts. Trace symmetrical patterns using household objects as guides – dinner plates create perfect curves, while rulers ensure straight lines.
Invest in sharp fabric scissors designed for thick materials. Dull tools fray edges, requiring extra cleanup. Cut slightly outside your marks, then refine gradually. This approach prevents overcutting and preserves material integrity.
For curved contours, rotate the piece rather than your scissors. Maintain consistent pressure to avoid jagged lines. Address minor imperfections by trimming stray fibers with embroidery snips.
A soft-bristle brush removes debris from trimmed edges, revealing crisp professional results. These finishing touches transform practical craftsmanship into gallery-worthy decor that withstands daily use.
FAQ
Can I use alternative materials if I don’t have access to fresh sheepskin?
While fresh hides yield the best results, pre-tanned options from brands like Tandy Leather can work. Follow the same curing and stretching steps, but skip initial fat removal since they’re already processed.
Why is curing with salt essential for the project?
Salt draws out moisture and tightens fibers, preventing rot while locking in natural luster. Coarse sea salt works best—apply it evenly during the stretching phase (Section 5) for a luxe, durable finish.
How do I avoid damaging the wool during cleaning?
Use lukewarm water and mild soap like Woolite. Gently agitate the fibers by hand, rinse thoroughly, and never wring—press excess moisture with a towel. Overworking can cause matting or shedding.
Can I repurpose an old hide for this project?
Yes! Soak stiff or yellowed pieces in vinegar-water (1:3 ratio) for 30 minutes to revive softness. Repeat stretching (Section 5) and apply a conditioning blend (Section 7) to restore plushness.
What’s the best way to shape uneven edges?
After curing, lay the piece wool-side down and trim with sharp fabric scissors. For curved designs, sketch outlines with chalk first. Sand edges lightly with fine-grit paper for a polished look.
Are homemade treatments as effective as store-bought conditioners?
Natural blends like olive oil and essential oils (Section 7) hydrate without harsh chemicals. For heavy stains, mix 1 tbsp baking soda with castile soap—test on a small area first to ensure colorfastness.
How long does the drying process take?
Drying times vary based on humidity. Indoors, allow 24–48 hours with airflow. Speed it up using a fan—but avoid direct heat, which can shrink or stiffen the fibers.
Can I skip stretching if I want a smaller size?
Stretching ensures even texture and prevents wrinkles. Use a adjustable frame (Section 5) and pull gently—even for compact designs—to maintain the hide’s natural drape.
How do I keep edges from curling over time?
After trimming, secure borders with fabric glue or a few hand-stitched ties. For high-traffic areas, back the corners with non-slip rug pads from brands like Gorilla Grip.