


4 Easy DIY Steps for a Small Rug
What if you could create a custom floor covering that perfectly fits your space without breaking the bank? This guide reveals how basic materials and simple techniques can transform your home décor in ways store-bought options rarely achieve.

You’ll explore three distinct approaches to crafting floor decor. The cotton piping technique lets you make anything from compact bathroom mats to expansive living room centerpieces. For quicker results, vinyl remnants offer water-resistant surfaces ideal for high-traffic areas.
Time commitments vary dramatically between methods. Some projects wrap up in under 3 hours, while intricate designs might take a full weekend. Material costs range from $50 for entry-level creations to $350 for premium materials in larger sizes.
We’ve solved common frustrations like frayed edges and uneven shapes through tested strategies. Detailed tool lists and sourcing tips ensure you start strong, whether you’re repurposing old fabrics or buying new supplies.
Key Takeaways
- Three customizable techniques suit different skill levels and design preferences
- Project costs range from budget-friendly ($50) to premium ($350) material investments
- Active work times vary from 3 hours to multiple days depending on complexity
- Proven solutions prevent common issues like curling edges and loose ends
- Material lists include both repurposed household items and specialty supplies
Overview of Your DIY Small Rug Project
Crafting your own floor piece offers customization that store-bought options lack. Three distinct approaches let you balance texture, durability, and effort. Each technique adapts to spaces from cozy nooks to expansive rooms, with completion times ranging from an afternoon to a weekend.
The cotton piping technique delivers a luxurious feel underfoot, perfect for bedrooms or reading corners. This method involves hand-tying hundreds of fabric strips to netting, creating a dense, cloud-like surface. While rewarding, it demands patience—larger versions can take 15+ hours of detailed work.
For high-traffic zones like entryways, the coiled floor covering method provides lasting structure. Fabric-wrapped ropes spiral into durable designs using a sewing machine. Mix patterned textiles for visual interest or stick to neutral tones for versatility.
Time-crunched creators often favor the vinyl remnant approach. A polyurethane-coated base paired with fabric scraps forms a wipeable surface ideal for kitchens. This project wraps up fastest, with basic cutting and gluing skills yielding results in under three hours.
This overview helps match your available hours and design goals to the right construction strategy. Consider material costs alongside effort—plush textures cost more but elevate comfort, while waterproof options prioritize practicality. Your final choice will shape both your space and crafting experience.
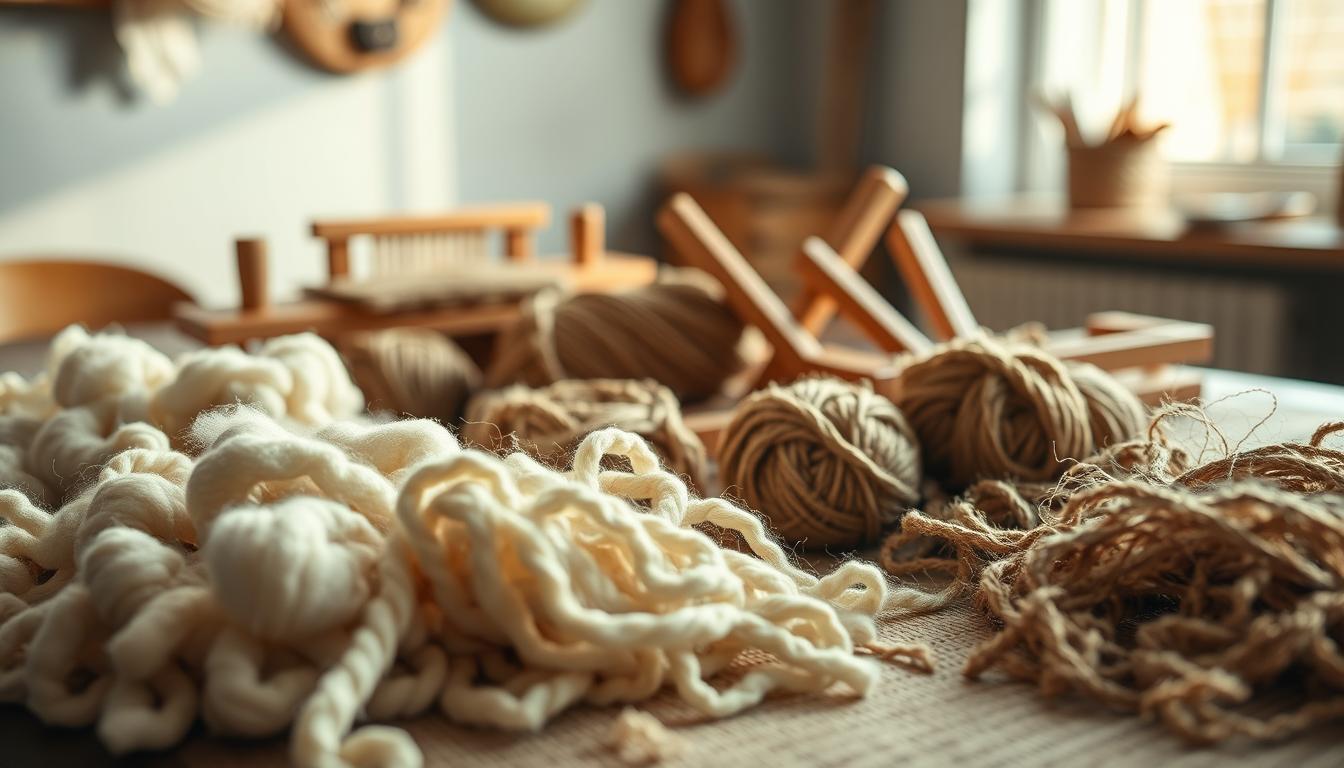
Essential Materials and Supplies for Your Project
Selecting the right components determines both your crafting experience and final results. Different techniques demand specific tools and textiles – we’ll break down options for various methods and budgets.

Must-Have Tools and Fabric Options
The cotton piping approach requires multi-use netting as its foundation. This grid structure holds fabric pieces securely when paired with small rubber bands or elastic string. Choose piping thickness carefully – 1/2" and 11/16" sizes offer optimal coverage speed and plushness.
Sharp fabric scissors prove vital for cutting uniform 3-4" strips. For rope-based designs, wrap 2" wide fabric pieces around 1/4" clothesline. A heavy-duty sewing needle handles multiple layers when stitching coiled patterns.
| Material Type | Average Cost | Best For | Where to Find |
|---|---|---|---|
| Cotton Piping (1/2") | $8-12/yd | Plush textures | Craft stores |
| Multi-Use Netting | $15-25 | Foundation grid | Online retailers |
| Clothesline Rope | $3-5/50ft | Coiled designs | Hardware stores |
| Vinyl Remnants | $10-30 | Waterproof bases | Flooring outlets |
Budget-Friendly Material Choices
Discount stores offer fabric remnants perfect for colorful strips. Check craft store sales for cotton piping deals – leftover home improvement materials often work for vinyl bases. Repurpose old textiles instead of buying new yardage.
Duct tape substitutes specialty edge binders in vinyl projects. Water-based polyurethane provides affordable waterproofing compared to commercial sealants. With smart sourcing, material costs can drop below $50 without sacrificing quality.
Planning Your Rug Size and Design
Imagine creating a floor accent that fits your space like a tailored suit. Smart planning balances aesthetics with practical needs, transforming raw materials into functional art. Start by sketching your vision while considering foot traffic zones and furniture layouts.
Measuring for the Perfect Fit
Grab a tape measure and note your room's dimensions. Leave 18-24 inches between walls and your floor piece for balanced spacing. For a 5×8 creation using netting, you'll need three 8-foot netting strips—each 2 feet wide—stitched together. Larger designs like living room rugs demand 200+ yards of cotton piping, while compact 2×3 versions use 50 yards.
Choosing Colors and Patterns
Match your color scheme to existing décor but consider practicality. Darker tones hide dirt in entryways, while bold patterns disguise minor imperfections. Test fabric swatches under different lighting conditions before cutting:
- Solid hues create calm in minimalist spaces
- Geometric prints add energy to neutral rooms
- Textured weaves reduce visible wear in busy areas
Tighter fabric weaves need fewer polyurethane coats for waterproofing. Plan material purchases carefully—running out mid-project causes delays. Your blueprint ensures every inch serves both style and function.
Preparing the Base: Netting, Vinyl, or Rope
Your floor piece's durability starts with its foundation. The right base material ensures your creation maintains its shape through years of use. Different construction approaches demand unique preparation techniques.

Cutting to Your Desired Dimensions
Sharp tools and precise measurements make all the difference. For netting foundations, unroll the mesh on a flat surface. Mark your required length with chalk before cutting. Use fabric scissors to prevent frayed edges that unravel over time.
| Material | Essential Tools | Key Technique |
|---|---|---|
| Netting | Fabric scissors, chalk | Cut 1" beyond marked lines |
| Vinyl | Craft knife, T-square | Score before full-depth cuts |
| Rope | None required | Coil from center outward |
Vinyl bases need rigid straight edges. Press a T-square firmly against your remnant before making initial scores. Complete cuts in three passes for cleaner results. Leave ½" extra material on all sides for seam allowances.
Rope-based designs skip this step entirely. The coiled clothesline becomes both foundation and structure. This approach grows organically from the center, adapting easily to shape changes during construction.
Miscalculations here lead to mismatched components later. Double-check measurements against your original plan. Remember: trimming excess material later proves easier than stretching undersized bases.
Step One: Setting Up Your DIY Small Rug Surface
Transform any flat surface into your crafting command center. Proper workspace preparation prevents frustration and ensures professional results across all construction methods.
Establishing a Stable Work Area
Begin by clearing a space matching your project's maximum size. For hand-tied techniques, position an ergonomic chair near natural light. Machine-sewn designs require sturdy tables that handle vibration from continuous stitching.
Consider these setup essentials:
- Adjustable-height surfaces prevent neck strain during long sessions
- Non-slip mats keep materials from shifting while cutting
- Rolling carts organize tools within arm's reach
Expand your work zone as your creation grows. Dining tables work well for larger pieces—add folding tables at matching heights for extra support. Secure fabric weights to prevent curling edges during assembly.
Protect surfaces with washable canvas drop cloths. These catch glue overspray and cushion delicate materials. For vinyl projects, use self-healing cutting mats that preserve blade sharpness.
Smart lighting choices reduce eye fatigue. Combine overhead fixtures with adjustable task lamps. Position lights to eliminate shadows across your work surface without creating glare.
Step Two: Cutting and Preparing Piping or Fabric Strips
Precision meets creativity in this critical phase of material preparation. Sharp scissors become your greatest ally as you transform raw components into building blocks for your design. This stage determines both visual harmony and tactile quality in your finished piece.
Mastering Measurement Consistency
For cotton piping projects, aim for 3-4 inch segments. These lengths create ideal density without overwhelming the base structure. Use a cardboard template to maintain uniformity—simply wrap piping around the guide and snip at marked intervals.
Thicker cotton varieties (11/16") require fewer pieces per square foot than slender options. Store cut sections in labeled containers to prevent mixing different batches. Rotate scissors periodically to maintain blade sharpness during extended sessions.
| Material | Ideal Size | Cutting Tool |
|---|---|---|
| Cotton Piping | 3-4 inches | Fabric Shears |
| Fabric Strips | 2 inches wide | Rotary Cutter |
When working with repurposed textiles, embrace natural variations in strip widths. These subtle differences add organic charm to coiled designs. For rope-wrapping techniques, maintain 2-inch fabric widths using a quilting ruler as your guide.
Batch processing saves time—cut multiple layers simultaneously after aligning edges. Store prepared materials in zip-top bags until assembly. Proper organization at this stage ensures smooth progress when weaving begins.
Step Three: Weaving or Sewing Your Rug Components Together
Your carefully prepared materials transform into functional art through these proven assembly techniques. Whether creating plush textures or durable patterns, each method requires distinct approaches to achieve professional results.
Hand-Crafted Texture Development
The cotton piping technique brings cloud-like softness to life. Thread each piece through the netting grid using an over-under pattern. Secure them with elastic bands by pulling upward until snug—this creates the base for fluffy pom-pom textures.
Work in small sections to maintain consistent density. Rotate your project frequently to check for gaps. Proper tension prevents loose pieces while allowing natural movement. Fluff completed areas with your fingers to reveal the full, luxurious finish.
Machine-Assisted Construction
Coiled designs demand precision stitching for lasting durability. Set your sewing machine to its longest straight stitch—this accommodates thick layers without breakage. Use a denim needle to pierce through fabric-wrapped rope effortlessly.
| Technique | Tool | Key Adjustment |
|---|---|---|
| Hand-Weaving | Elastic Bands | 45° angle insertion |
| Machine Sewing | Denim Needle | 4.0mm stitch length |
Guide materials under the presser foot with steady pressure. Slightly overlap fabric strips as you wrap them around the rope core. This creates seamless coverage while hiding raw edges. Alternate patterned textiles every 12 inches for organic visual flow.
Both methods reward patience with distinctive textures. The cotton approach offers immediate tactile satisfaction, while machine-sewn coils promise long-term resilience. Your choice depends on desired feel and intended use.
Step Four: Assembling and Joining Rug Pieces
Your project’s longevity depends on secure connections between components. This phase turns separate elements into a unified surface ready for daily use. Proper joining techniques maintain structural integrity while preserving your design’s visual flow.
Linking Sections Using Rubber Bands or String
Start at one end of your creation, threading elastic bands through adjacent netting holes. Pull firmly to eliminate gaps—consistent tension prevents uneven surfaces. For rope-based designs, wrap twine around coiled sections every 6 inches, tying double knots at connection points.
Check alignment after securing each segment. Adjust fabric strips if patterns drift out of position. Machine stitching offers added durability for high-traffic areas—use a zigzag stitch to bind materials without restricting flexibility.
Trim excess threads as you progress to maintain clean edges. Rotate your work frequently to spot loose connections needing reinforcement. These finishing touches ensure your floor decor remains functional and attractive for years.
FAQ
What fabric works best for handmade rugs?
Cotton or durable polyester blends are ideal for their texture and longevity. For a textured look, try repurposing old T-shirts or bedsheets. Avoid slippery materials like silk, as they can shift during weaving or sewing.
How do I prevent fraying on fabric strips?
Use pinking shears like Fiskars Razor-Edged Scissors when cutting strips. For extra security, apply a thin layer of fabric glue along the edges or lightly singe synthetic fabrics with a flame (outdoors, with caution).
Can I create a rug without a sewing machine?
Absolutely. Hand-weaving techniques like the lark’s head knot or braiding work well. For no-sew options, use non-slip rug pads as a base and secure strips with fabric glue or double-sided carpet tape.
What’s the easiest way to join rug sections?
Rubber bands or binder clips temporarily hold pieces together while sewing. For permanent joins, overlap edges by ½ inch and use a zigzag stitch on machines like the Singer Heavy Duty 4452 for durability.
How do I clean a homemade fabric rug?
Spot-clean with mild detergent and cold water. For deeper cleaning, shake out debris, then use a handheld steam cleaner like the Bissell Little Green. Avoid soaking to prevent adhesive breakdown in glued sections.
What’s the minimum workspace size needed?
Aim for a flat surface 12–18 inches larger than your planned dimensions. A kitchen table or cleared garage floor works well. Use painter’s tape to mark boundaries if space is limited.
Can I mix different fabric types in one project?
Yes, but maintain consistent strip widths (1–2 inches recommended). Pre-wash all materials to prevent uneven shrinkage. Heavier fabrics like denim should be cut slightly narrower than lightweight cottons for balanced tension.
