


5 Quick DIY Steps for a Throw Rug
What if you could create a custom home accent in just a few hours—one that looks like it cost triple your budget? This project isn’t about complicated crafts or expensive supplies. It’s about simplicity and savings, wrapped into a cozy addition for your floors.

Transforming a room doesn’t require a full renovation. With basic materials like cotton piping and netting, you’ll craft a plush surface that elevates your decor. The method is straightforward, even if you’ve never held a sewing needle. Best of all, it’s designed to fit into your schedule—work on it during TV time or between tasks.
Why settle for generic store options when you can tailor sizes, colors, and textures to match your style? This approach has gained popularity for its flexibility and affordability. Once you master the basics, you’ll adapt designs for kitchens, bedrooms, or entryways—no two pieces need to look alike.
Key Takeaways
- Save significantly compared to retail prices
- Requires no expert crafting skills
- Personalize dimensions and patterns for any room
- Complete the project over a few evenings
- Adapt techniques for future home textile projects
Introduction to DIY Throw Rugs
Imagine designing a one-of-a-kind textile that fits your space like it was made just for you. Ready-made options often lack the right proportions or hues, leaving rooms feeling mismatched. Crafting your own floor covering solves this while saving hundreds—or even thousands—compared to high-end retail alternatives.
Store-bought handmade textiles frequently exceed $1,500 for premium quality. By contrast, materials for a 5x8 creation typically cost under $350. This approach lets you control thickness, pile height, and durability without compromising on aesthetics. You’re not just making decor—you’re building adaptable skills for future natural fiber options.
Customization extends beyond measurements. Match existing curtains or furniture with precision-dyed yarns. Adjust thickness for high-traffic zones or plush comfort in bedrooms. The process adapts to any room layout, whether you’re accenting narrow hallways or defining seating areas.
Practical creativity shines here. Combine varied textures like looped cotton and flatweave patterns within a single piece. These functional artworks protect floors while expressing personal style, proving practicality and beauty aren’t mutually exclusive.
Understanding the Basics of a DIY Rug Project
Crafting your own floor decor begins with two critical elements: selecting the right supplies and defining your vision. Whether you’re accenting a living space or adding warmth to a bedroom, thoughtful preparation ensures your creation aligns with both style and function.
Overview of Materials
Cotton piping forms the backbone of your design. Available in thicknesses from ¼" to over 1", this material dictates both speed and aesthetics. Thicker options like ½" or 11/16" piping reduce assembly time and material usage—ideal for larger areas.
Multi-use netting acts as the structural base, while small rubber bands secure each piece. Your fabric choices directly influence texture—looped cotton adds depth, while flatweaves offer sleekness. "The right combination transforms basic supplies into a cohesive design," notes a textile expert.
Setting Your Project Goals
Start by measuring your intended space. A 4x6 piece requires different quantities than an 8x10, affecting both cost and effort. Choose colors that complement existing furniture or curtains, creating harmony in your room.
Consider traffic patterns: dense weaves suit entryways, while plush textures enhance cozy corners. Sketching a pattern beforehand prevents mismatched sections and material waste. This planning phase turns abstract ideas into a tangible, make custom masterpiece tailored to your needs.
Essential Tools and Materials for Your Project
Success starts with the right gear. Whether crafting a soft cotton piping piece or a durable vinyl design, precise tools ensure professional results. Missing one item could lead to uneven edges or unstable layers—problems easily avoided with preparation.

Core Supplies for Different Styles
Cotton piping creations demand multi-use netting as your foundation. Pair it with scissors sharp enough to slice through thick material without fraying edges. Small rubber bands hold loops securely, while a measuring tape guarantees your work matches room dimensions.
For vinyl-flooring hybrids, a T-square and mat knife create clean lines. Use a stiff paintbrush to smooth adhesive, ensuring fabric adheres evenly to remnants. Spray glue offers temporary hold during assembly, while water-based polyurethane seals edges against wear.
Duct tape plays a dual role. It reinforces corners on vinyl bases and secures netting to work surfaces. "Proper tool organization halves your assembly time," advises a home decor blogger. Keep supplies within reach to maintain momentum during each construction step.
Calculate material quantities based on your desired size. A 4x6 cotton piece needs 18 yards of piping, while larger formats require proportional increases. Match fabric choices to room traffic—durable blends for hallways, luxurious textures for low-use areas.
Step-by-Step Process Overview for a DIY Throw Rug
Building your floor accent requires methodical steps that balance precision with creative freedom. Follow this seven-stage approach to transform raw materials into a cohesive design that matches your space perfectly.
Prepping Your Base and Measuring Accurately
Start by laying netting flat on your workspace. Use a tape measure to mark your desired size, adding 2 extra inches on all sides for adjustments. Double-check measurements before cutting—uneven edges here create alignment issues later.
Cut netting into manageable sections if working on large formats. Label each piece numerically to maintain order during assembly. This prevents confusion when joining parts into a single unit.
Cutting and Assembling Materials
Slice cotton piping into uniform 4-inch strips using sharp fabric scissors. Group them in batches of 50 to streamline the weaving phase. Thread each strip through netting holes, securing ends with rubber bands to form compact tufts.
Work row by row, maintaining consistent tension. Rotate the netting periodically to check for gaps or uneven sections. "Proper spacing ensures the finished piece lies flat without bunching," advises a textile designer.
| Step | Action | Key Tools |
|---|---|---|
| 1 | Measure & cut netting | Tape measure, marker |
| 2 | Prepare piping strips | Fabric scissors |
| 3 | Weave materials | Rubber bands |
| 4 | Join sections | Duct tape |
Trim excess netting with precision once all sections connect. Use pinking shears for fray-resistant edges that maintain their shape through washes. This final touch elevates your creation from homemade to professional-grade.
Determining the Ideal Rug Size and Layout
How much floor space should your new creation cover? Start by mapping your room's dimensions. For a 5x8 design, cut three 8-foot netting strips (2 feet wide each). You'll have 1 foot leftover—perfect for testing patterns or repairs.
Consider furniture placement first. Front legs of sofas or chairs should rest on the textile to anchor seating areas. Leave 18 inches of bare flooring around edges in medium rooms. "Proportional balance matters more than filling every inch," advises interior designer Mara Santos.
Different spaces demand unique approaches:
- Living rooms: 8x10 sizes frame conversation zones
- Kitchens: 3x5 pieces protect high-traffic prep areas
- Hallways: 2x7 runners guide movement without crowding
Use painter's tape to outline shapes before cutting materials. This visual trick helps spot awkward gaps. For open-concept floors, layer smaller accents instead of one massive piece. Mix 4x6 and 2x3 formats to define spaces without visual clutter.
| Room Type | Ideal Size | Netting Pieces Needed |
|---|---|---|
| Dining Area | 6x9 | 4 (9ft each) |
| Bathroom | 2x3 | 1 (3ft) |
| Bedroom | 5x8 | 3 (8ft each) |
Always buy 10% extra piping—unexpected adjustments happen. Measure twice, cut once, and watch your custom floor piece transform the room's flow.
Creative Techniques for Customizing Your DIY Rug
Ever stared at a blank floor and imagined it bursting with color? This stage transforms basic materials into a personalized design statement. Strategic color blending and pattern arrangement let you craft pieces that mirror your unique taste while complementing room aesthetics.

Mixing Colors and Patterns
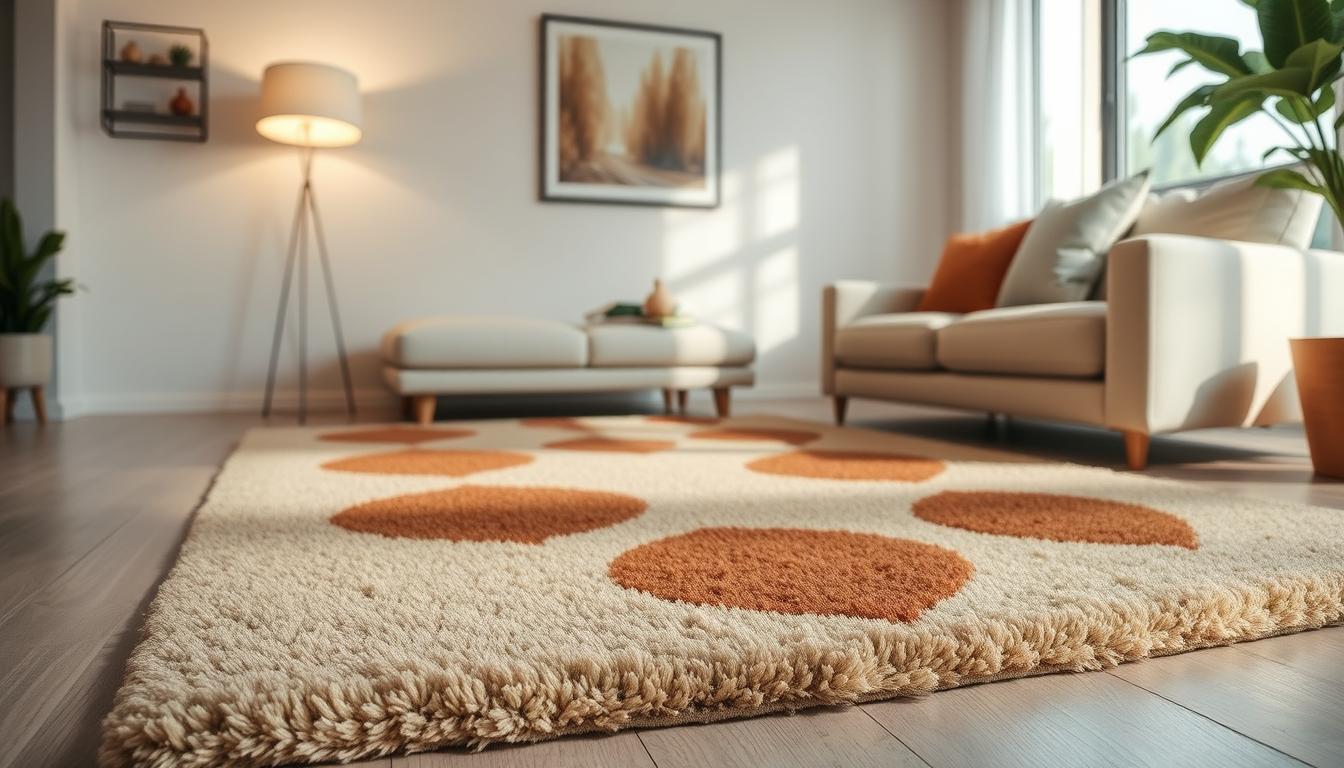
Start by selecting two complementary fabric shades from the same temperature family. Pairing navy with sage creates coastal vibes, while terracotta and cream evoke desert warmth. "Contrasting hues demand balance—use neutrals as anchors," suggests textile artist Lena Choi.
Create visual rhythm through repeating geometric shapes. Cut cotton piping strips into triangles or diamonds for mosaic effects. Staggered placements prevent monotony, especially in high-visibility areas like living spaces.
| Pattern Type | Materials Needed | Visual Impact |
|---|---|---|
| Checkerboard | 2 color fabrics, seam tape | Bold contrast |
| Gradient | 4 shade variations | Smooth transition |
| Geometric | Template, fabric markers | Modern edge |
Layer textures for dimensional interest. Combine looped cotton sections with flatwoven stripes. This technique adds tactile variety while maintaining cohesive color schemes.
For focal points, cluster bright shades in central zones. Gradually transition to softer tones toward edges. This draws eyes inward without overwhelming smaller rooms.
Tips for Weaving and Securing Rug Elements
How do you ensure your handmade floor piece stays intact for years? The secret lies in strategic fastening methods and attention to surface consistency. Your choice of materials impacts both assembly speed and long-term durability.
Choosing Between Rubber Bands and String
Rubber bands simplify the process—loop them around piping ends for instant hold. However, they lose elasticity after 2-3 years. For permanent solutions, use 1mm elastic string with double knots. Though it adds 30 minutes per square foot, this method withstands daily wear.
| Method | Speed | Durability | Best For |
|---|---|---|---|
| Rubber Bands | Fast (5 min/ft²) | 3-5 years | Temporary/test pieces |
| Elastic String | Slow (35 min/ft²) | 10+ years | High-traffic areas |
Achieving an Even Texture
Maintain uniform tension by pulling strips until they resist slightly. Rotate your work every 15 minutes to spot gaps. "Inconsistent spacing creates lumpy surfaces," warns textile restorer Clara Mendez. Fluff secured sections with a fork to separate strands evenly.
Secure edges with duct tape during assembly to prevent shifting. Trim excess netting with pinking shears once weaving finishes. This preserves fabric integrity while creating clean lines along all sides.
DIY Throw rug: A Detailed Guide to Crafting Your Own
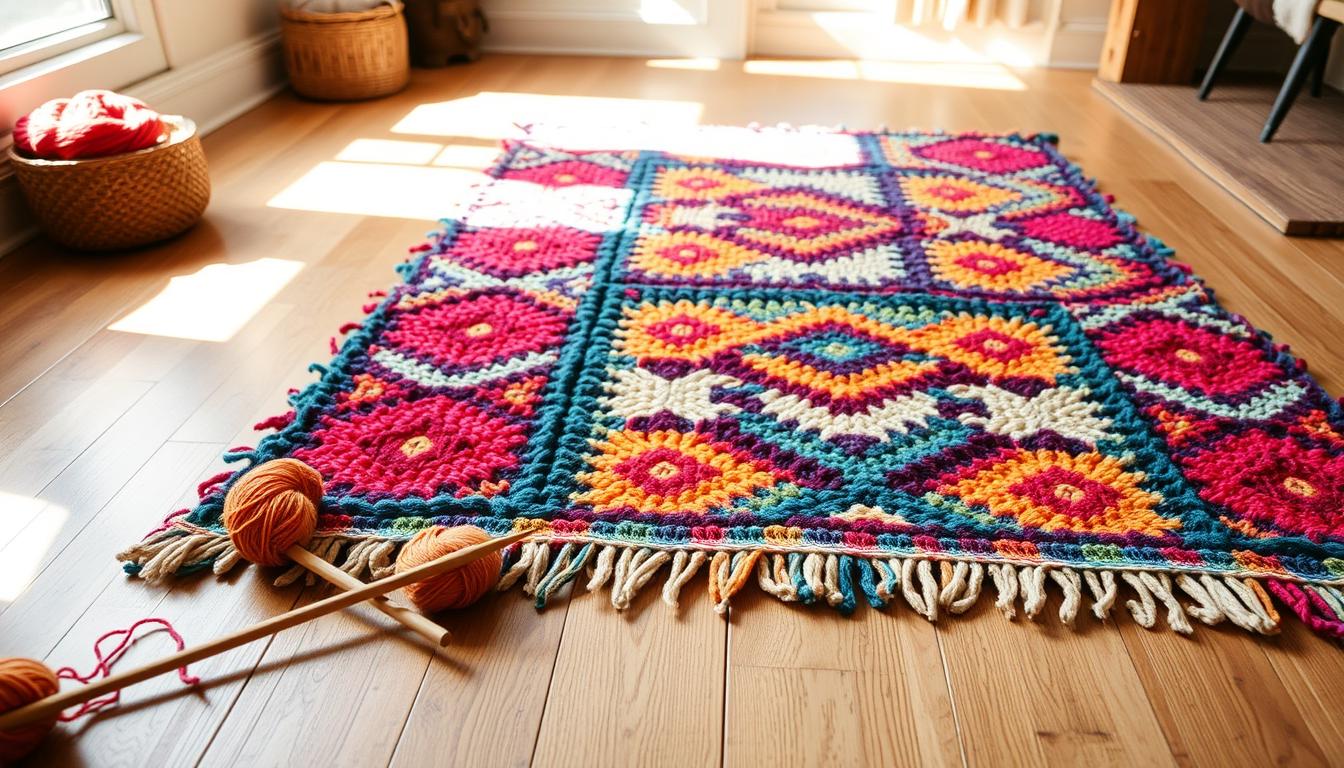
Creating a custom floor piece becomes achievable when approached as a series of small, daily accomplishments. Like knitting or journaling, this project thrives on steady progress—think 90-minute sessions while streaming your favorite shows. You’ll need patience (and 200+ yards of cotton piping), but the rhythm becomes meditative over time.
Break tasks into bite-sized goals. Start by organizing materials: pre-cut piping, labeled netting sections, and tools within arm’s reach. One evening, focus on securing edges. The next, weave central patterns. “Consistency matters more than speed,” advises textile coach Elise Nguyen. “Two focused hours daily yield better results than marathon weekends.”
Track progress visually. Mark completed rows with colored tape or use a checklist. Celebrate milestones like finishing the first square foot or mastering the double-knot technique. This psychological boost keeps motivation high across weeks of work.
For larger sizes, divide the netting into quadrants. Tackle one section per session to maintain uniform tension. Keep a scrap bin nearby—extra fabric strips solve unexpected gaps or repairs. Need pattern inspiration? Explore handmade home textiles for creative layouts that suit your room’s dimensions.
Embrace the process as stress relief. The repetitive motions of threading and securing fabric create a calming flow state. Soon, you’ll have a functional artwork that reflects both your style and dedication.
Troubleshooting Common Issues in DIY Rug Projects
Even the most carefully planned projects can hit snags. When crafting your floor piece, minor issues like uneven textures or loose strands might surface. Addressing these early ensures your creation stays beautiful and functional for years.
Handling Material Inconsistencies
Variations in fabric strips often cause lumpy surfaces. Sort materials by thickness before starting—discard pieces that differ significantly. Trim longer sections with sharp scissors to match others. This prevents gaps and maintains a smooth feel underfoot.
Shedding is normal initially but lessens over time. Gently vacuum the top layer weekly to remove loose fibers. For ongoing care, explore our guide on cleaning techniques that preserve colors and textures.
Smoothing Out Uneven Edges
Wavy borders usually stem from uneven tension during assembly. Lay the piece flat and mark problem areas with chalk. Trim carefully, working inward from corners to maintain symmetry. Rotate the project frequently to check progress from all angles.
If sections pucker, adjust rubber band tightness or re-secure elastic string. Small gaps between joined parts can be fixed by weaving in extra fabric strips. Patience here makes the difference between amateur and professional results.
FAQ
What materials work best for a durable handmade floor piece?
Heavy-duty fabrics like canvas, wool, or outdoor-grade polyester hold up well. Pair them with non-slip backing from brands like Gorilla Grip or RugPadUSA for stability on hardwood or tile floors.
How do I prevent frayed edges on a fabric-based floor covering?
Use pinking shears when cutting fabric, or fold and secure edges with fabric glue like Aleene’s Original Tacky Glue. For woven designs, tightly knot ends or add binding tape for a clean finish.
Can I mix patterned fabrics without clashing?
Stick to a cohesive color palette—choose one dominant shade and two accents. Pair large-scale prints with smaller geometrics or solids. Brands like Spoonflower offer coordinating fabrics to simplify pattern mixing.
What’s the easiest way to secure loose threads in woven projects?
Apply a thin layer of clear-drying craft glue (like Mod Podge) along the backside. For chunkier textures, use rubber bands or jute twine to bundle strands before trimming excess.
How do I customize a floor mat for high-traffic areas?
Opt for stain-resistant materials like indoor-outdoor carpet tiles from Flor. Cut them into shapes using a utility knife, then secure seams with double-sided carpet tape for easy cleaning.
What’s the ideal thickness for a non-slip kitchen runner?
Aim for ¼” to ½” thickness. Layer felt padding beneath thinner fabrics, or use gripper dots from brands like Duck Brand to prevent sliding without adding bulk.
Can I repurpose old textiles for this project?
Yes! Upcycle denim jeans, quilt scraps, or even cotton bedsheets. Pre-wash materials to remove lint, and reinforce weak spots with iron-on interfacing before cutting.
