


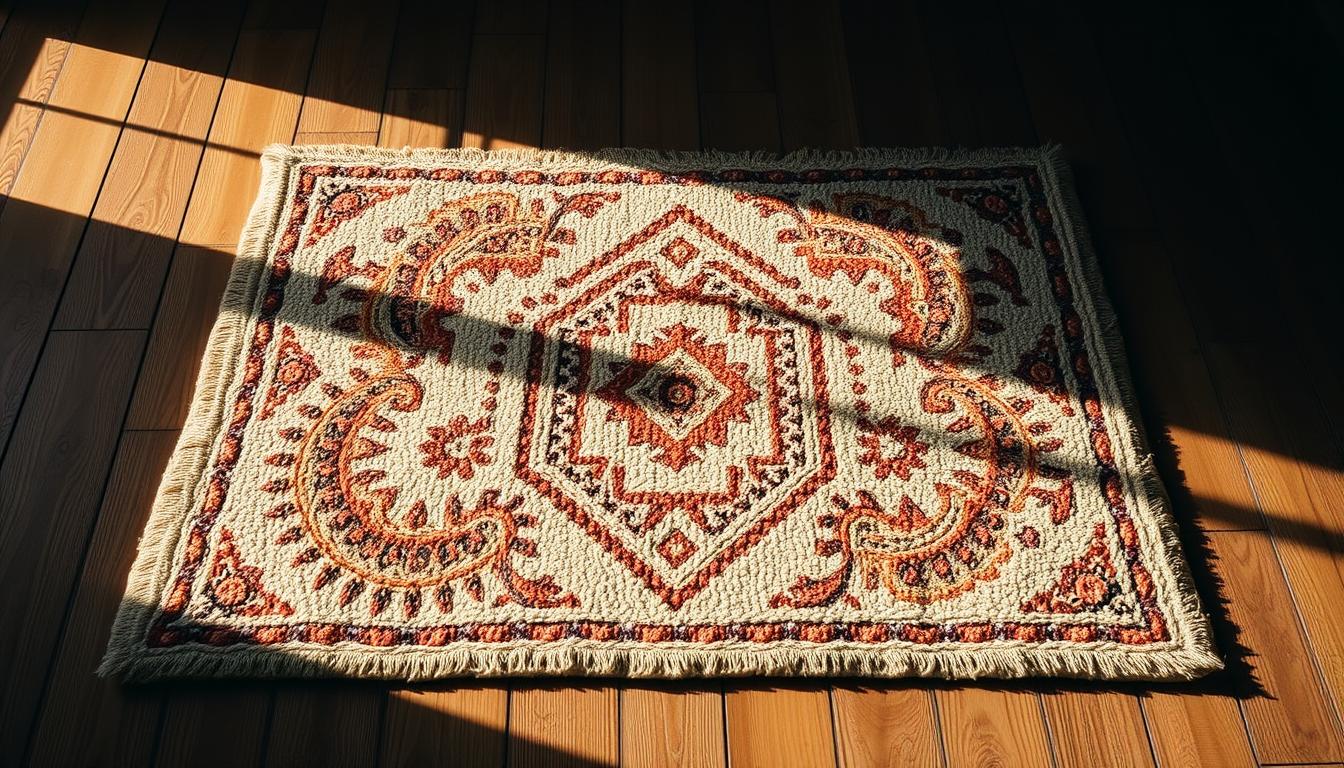
5 Fun DIY Steps for a Tufted Rug
What if you could design statement home decor without spending hundreds on store-bought options? Creating custom floor art might seem complex, but modern techniques make it surprisingly accessible. This guide reveals how anyone can transform basic supplies into a unique piece that showcases personal creativity.

Textured floor coverings have surged in popularity, with 72% of crafters in a 2023 survey calling it their favorite stress-relieving hobby. You’ll learn five straightforward stages to build confidence in this craft. From selecting your preferred backing material to mastering finishing touches, each phase builds practical skills.
This method works whether you’re new to fabric arts or upgrading existing abilities. Discover how to:
- Choose durable materials that match your vision
- Create crisp patterns without special equipment
- Fix common errors before they ruin your project
You’ll gain techniques that apply to future home decor endeavors. The pride of stepping on something you crafted yourself? That’s the real reward.
Key Takeaways
- Modern tools simplify creating custom floor art
- Five progressive stages build essential skills
- Material selection impacts durability and style
- Techniques prevent common beginner mistakes
- Finished pieces make thoughtful personalized gifts
- Skills transfer to other fabric-based projects
Choosing Your Tufting Method
Your rug-making journey begins with selecting the right technique. This choice impacts everything from your project's timeline to the final texture. Let’s break down your options to help you make informed decisions.
Manual vs. Electric Tools
Manual techniques let you shape each stitch precisely. But they demand hours of focused work. Electric tools speed things up dramatically – some models insert 100 stitches per minute. The trade-off? Less hands-on control for faster results.
Surface Style Considerations
Your pile choice defines both look and function. Velvety finishes come from trimmed loops, while intact loops add grip and depth. High-traffic spaces often benefit from looped surfaces, while cut piles suit cozy bedrooms.
| Feature | Cut Pile | Loop Pile |
|---|---|---|
| Surface Texture | Plush, uniform | Textured, dimensional |
| Durability | Moderate | High |
| Maintenance | Easy vacuuming | Requires brushing |
| Best For | Decorative spaces | Entryways, playrooms |
Quality tools range from $150 imports to $275 American-made models. Multi-function guns exist but add weight and cost. Consider your project size and frequency before investing.
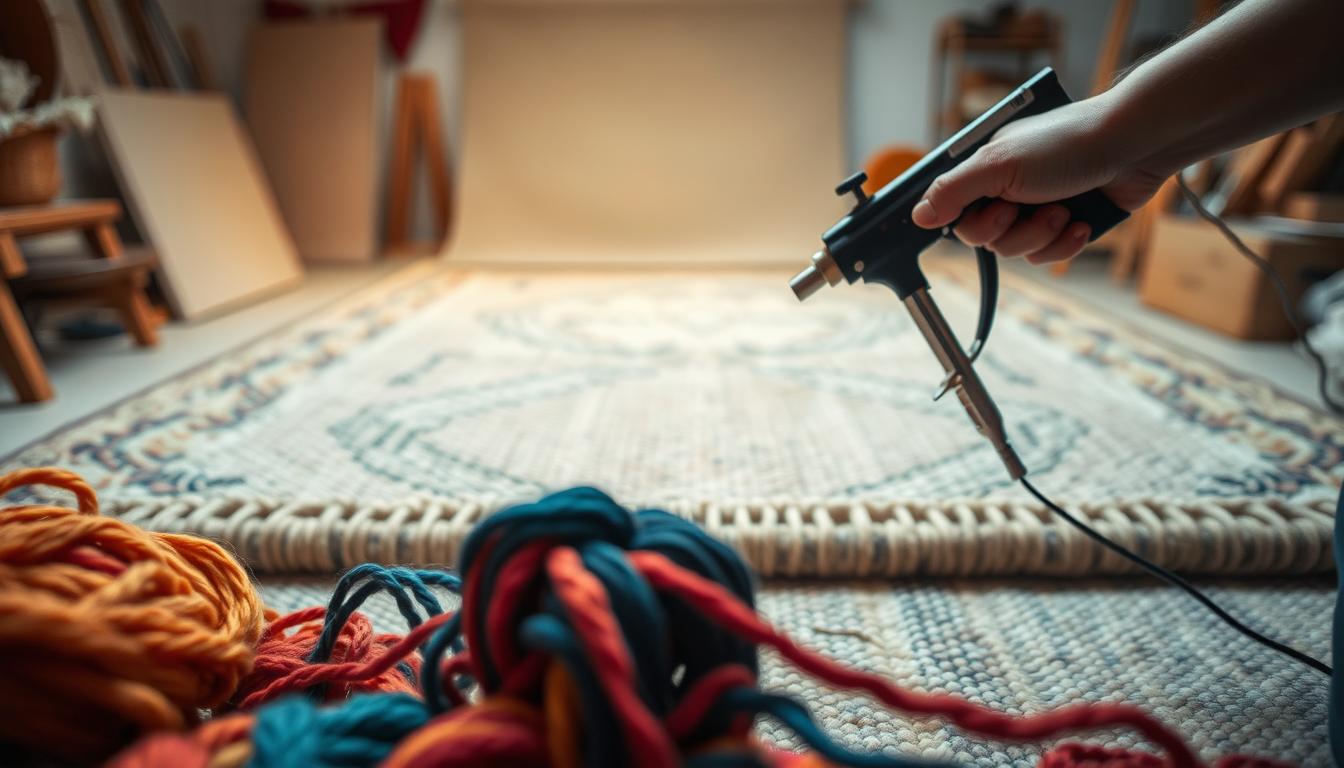
Understanding Tufting Guns and Tools
Ever wondered how crafters achieve those perfect, plush textures in modern floor art? The secret lies in mastering specialized equipment designed for precision. Let’s explore the mechanics and must-have additions for smooth project execution.

How a Tufting Gun Works
This electric tool drives yarn through fabric using rapid needle punches. The foot plate stays pressed against your backing material as you move forward – backward motions won’t work. Threading requires feeding multiple strands through a top-mounted guide before threading the needle.
Most projects use 2-4 yarn strands for balanced density. Thicker materials like wool need fewer strands, while thin acrylics benefit from four. Test combinations on scrap fabric first to find your ideal setup.
Essential Tool Accessories
Beyond the main device, keep these items nearby:
- Bent-nose pliers for extracting misplaced yarn
- Sharp scissors with angled blades for clean trimming
- All-purpose oil for monthly gear maintenance
| Tool | Purpose | Usage Tip |
|---|---|---|
| Speed dial | Controls stitch rate | Start at 50% speed for intricate patterns |
| Palette knife | Applies adhesive | Use zigzag motions for even coverage |
| Lint brush | Cleans machinery | Wipe after each 30-minute session |
Regular cleaning prevents yarn buildup in moving parts. A quick oil application every 10 hours keeps mechanisms quiet and efficient. Store your gun in a dry case between projects to avoid dust contamination.
Building Your Rug Frame
The foundation of every great textile project starts with proper structural support. Your frame determines how smoothly your yarn flows and how evenly your fabric stretches. Let’s explore how to create a workspace that balances durability with practicality.
Woodworking Tips for a Sturdy Frame
Start with straight wooden beams measuring 3 cm x 5.5 cm – this thickness provides stability without bulk. Pre-drill holes before screwing pieces together to prevent splitting. Advanced builders might opt for angled joints, but simple butt connections work perfectly for most projects.
Size matters when planning your workspace. An internal dimension of 90 cm leaves enough fabric around the edges for secure clamping. This measurement aligns with standard material widths, minimizing waste when using store-bought textiles.
Attach triangular feet to your frame’s base for enhanced stability. These prevent tipping when applying pressure during intense crafting sessions. For optimal comfort, clamp your frame to a table at elbow height. This positioning reduces back strain and improves control over your tools.
Swap traditional staples for carpet gripper rods when securing your base material. These reusable strips maintain consistent tension and allow quick fabric changes. Add eye hooks along the frame’s top edge to guide yarn smoothly from spools to your working area.
Remember: A well-built frame becomes a long-term companion for multiple projects. Invest time in precise construction now, and you’ll reap the benefits through countless hours of comfortable, efficient crafting.
Selecting the Perfect Backing Fabric
What determines whether your textile art stays intact for years or frays after months? The answer lies beneath your yarn – your backing fabric acts as both canvas and structural support. This critical layer impacts everything from stitch precision to long-term durability.

Monks Cloth vs. Burlap: Pros and Cons
Monks cloth reigns supreme for detailed work. Its uniform grid pattern lets your tools glide smoothly, creating crisp lines that hold shape. Though costing $12-$18 per yard versus burlap's $4-$7 price tag, professionals favor it for complex designs requiring exact tension control.
Burlap works well for experimental pieces. The loose weave forgives minor errors but struggles with intricate patterns. Many crafters start with this budget-friendly option before upgrading materials. One maker noted: "My first three projects used burlap – it taught me tension control without panic over wasting expensive cloth."
Test any new primary backing fabric with scrap yarn before full commitment. Some monks cloth variants snag threads despite looking suitable. Stretch your material drum-tight across the frame, but watch for telltale creaking sounds that signal over-tightening.
Consider these factors when choosing:
- Project complexity (detailed designs demand monks cloth)
- Skill level (beginners benefit from burlap's forgiveness)
- Long-term goals (frequent creators save buying monks cloth in bulk)
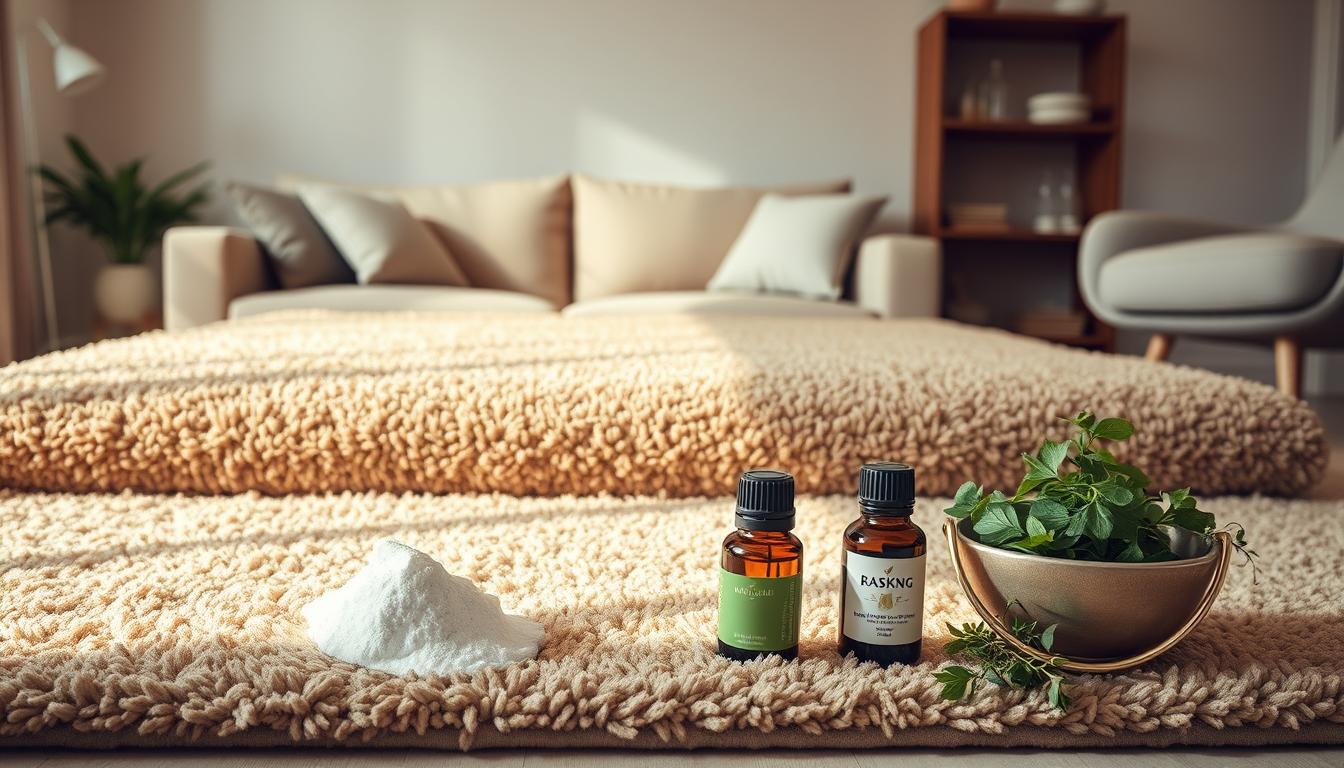
Secondary Backing and Finishing Techniques
The final touches transform your creation from a craft project to professional-grade home decor. Secure your folded primary fabric edges using hot glue or stitching, then apply carpet binding tape for reinforced borders. This step ensures raw edges stay hidden while adding structural integrity.
Protective Layer Options
Felt backing creates a plush foundation that muffles footsteps and insulates floors. Its dense fibers withstand frequent vacuuming without fraying. For spaces needing extra grip, rubberized mats bond directly to your piece using spray adhesive.
| Feature | Felt Backing | Non-Slip Backing |
|---|---|---|
| Installation Method | Spray adhesive | Pressure-sensitive adhesive |
| Best Use Cases | Bedrooms, living rooms | Hallways, kitchens |
| Maintenance Needs | Spot cleaning | Wipe with damp cloth |
| Durability | 5+ years | 3-5 years |
Measure your secondary fabric 2 cm larger than the rug's back for full coverage. Trim excess after securing edges. Work in a ventilated area when applying adhesives – open windows and use a respirator mask.
Carpet binding tape gives edges a polished look while preventing unraveling. Press it firmly along the perimeter before attaching your final backing layer. Let all adhesives cure 24 hours before floor placement.
Choosing the Right Yarn for Your Rug
Your material selection shapes both the visual appeal and lasting performance of handmade floor art. The ideal choice balances texture, durability, and maintenance needs while reflecting your style.
Fiber Showdown: Four Top Contenders
Acrylic offers budget-friendly versatility with bold colors that resist fading. While prone to fuzziness, its stain resistance makes it ideal for vibrant accent pieces. Beginners often start here to experiment without high costs.
For heirloom-quality results, wool's natural durability outperforms synthetics. Its crush-resistant fibers maintain structure for decades, though the price reflects this premium performance.
Cotton provides unmatched softness underfoot but demands careful placement. Use it in low-traffic zones where comfort outweighs wear concerns. Pair with stain-resistant treatments for added protection.
Nylon excels in entryways and playrooms. Its industrial-strength fibers withstand heavy use but limit color options. Synthetic treatments enhance stain resistance, though textures feel less plush than natural alternatives.
When selecting hues, consider light exposure. Synthetic fibers generally retain colors better in sunny rooms. Multiple strands compensate for thin yarns, letting you achieve lush textures regardless of individual thread weight.
FAQ
What’s the difference between manual tufting and using a tufting gun?
Manual tufting involves pushing yarn through backing fabric by hand, which is slower but offers precise control. A tufting gun automates the process by punching yarn through the fabric at high speed, ideal for larger projects or intricate designs.
How do I decide between cut pile and loop pile for my project?
Cut pile creates a plush, soft surface by trimming yarn loops, while loop pile leaves loops intact for a textured, durable finish. Choose based on desired aesthetics and how the piece will be used—cut pile works well for cozy rugs, while loop pile suits high-traffic areas.
What tools are essential besides a tufting gun?
You’ll need a sturdy frame, primary backing fabric (like monks cloth), scissors, a projector for tracing designs, and finishing materials such as spray adhesive or non-slip mats. A handheld clipper helps trim excess yarn for clean edges.
How do I build a frame that won’t warp during tufting?
Use thick, kiln-dried lumber and reinforce corners with brackets or wood glue. Stretch the backing fabric tightly and secure it with staples or nails—this prevents sagging and ensures even tension while working.
Is monks cloth better than burlap for backing fabric?
Monks cloth is stretchy and durable, making it ideal for detailed designs. Burlap is cheaper but less flexible and prone to tearing. For long-lasting results, monks cloth is recommended, especially with tufting guns.
What are the best materials for secondary backing?
Felt adds cushioning and hides knots, while non-slip mats prevent shifting on floors. Use hot glue or spray adhesive to attach these layers securely after trimming excess fabric from the primary backing.
Which yarn type holds up best for high-traffic areas?
Nylon and wool are durable and stain-resistant, perfect for busy spaces. Acrylic is affordable and comes in vibrant colors, while cotton offers a soft feel but may wear faster over time.
Can I use multiple yarn colors in one design?
Yes! Plan your design with a projector to map color placements. Switch yarn strands as needed, securing ends with knots or glue. Layer contrasting hues to add depth and visual interest to patterns.