


5 Fun DIY Steps for a Braided Rag Rug

Imagine transforming forgotten t-shirts and worn-out linens into something both beautiful and practical. This creative project lets you breathe new life into fabric scraps while crafting a unique piece that adds warmth to any room. Best part? You don't need sewing skills or expensive supplies.
Our method uses simple braiding techniques to create durable floor coverings. Whether you prefer bold colors or subtle patterns, your creation will reflect personal style. The process works with various materials - from cotton sheets to jersey knits - letting you control the size and thickness.
Follow along to discover how basic fabric strips become cozy home accents. You'll learn to prepare materials efficiently and master the spiral braiding method that professionals use. Want to keep your finished piece looking fresh? Explore proper care techniques to maintain its vibrant appearance.
Key Takeaways
- Convert unused textiles into custom home accessories without special skills
- Choose from multiple sizes and shapes to match your space requirements
- Create durable floor coverings using basic household tools
- Reduce waste through creative fabric upcycling
- Develop transferable skills for future craft projects
- Preserve clothing memories in functional designs
Gathering Materials and Prepping Your Fabrics
Transforming unused textiles into home decor starts with smart material selection. The right combination of fabrics and tools determines your project's durability and visual appeal. Let's explore how to source materials effectively and prepare them for crafting.

Choosing the Right Materials and Tools
Cotton t-shirts and bed linens work best for their flexibility and soft texture. For a 2x3 ft piece, gather 10 adult-sized shirts or two queen sheets. Heavier materials like denim require 30% more fabric due to thickness.
Keep fabric weights consistent – pair jersey knits with fleece rather than stiff canvas. Essential tools include:
- Rotary cutter (3x faster than scissors)
- Tapestry needles size 18-22
- Strong cotton twine for joining
| Fabric Type | Average Strips per Unit | Tools Needed | Best Use |
|---|---|---|---|
| Cotton T-shirts | 12-15 strips/shirt | Rotary cutter | Small projects |
| Queen Sheets | 80-100 strips/sheet | Tearing method | Large floor pieces |
| Denim Jeans | 8-10 strips/pair | Heavy scissors | Accent borders |
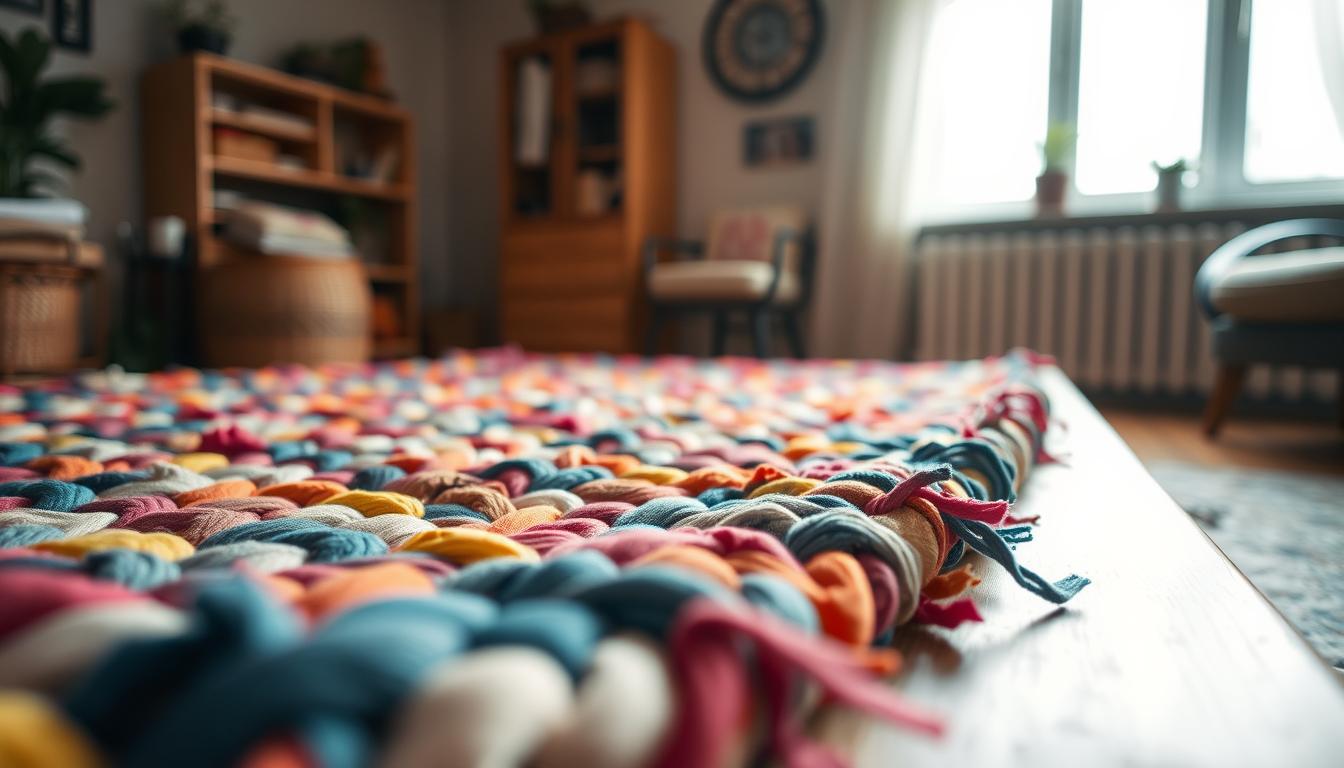
Cutting and Preparing Fabric Strips
Create strips 1-3 inches wide using these methods:
- Fold t-shirts vertically and slice with rotary cutter
- Make 2" cuts along sheet edges, then tear horizontally
- Cut denim parallel to seams for straight edges
Varying strip widths add character – aim for 80% consistency. Prevent fraying by:
- Using pinking shears for lightweight materials
- Applying fabric glue to jersey edges
- Twisting strips tightly before braiding
Step-by-Step DIY Braided Rag Rug Construction
Unlock the secrets of textile craftsmanship through these proven assembly techniques. Whether working with stretchy knits or sturdy cottons, your approach determines the final product's durability and visual harmony.

Starting the Braid with Three Strips
Anchor your creation by knotting three fabric strips at one end. Hold them taut between fingers while crossing outer strands over the center. Consistent tension prevents loose gaps as you work. Rotate the braid periodically to check symmetry.
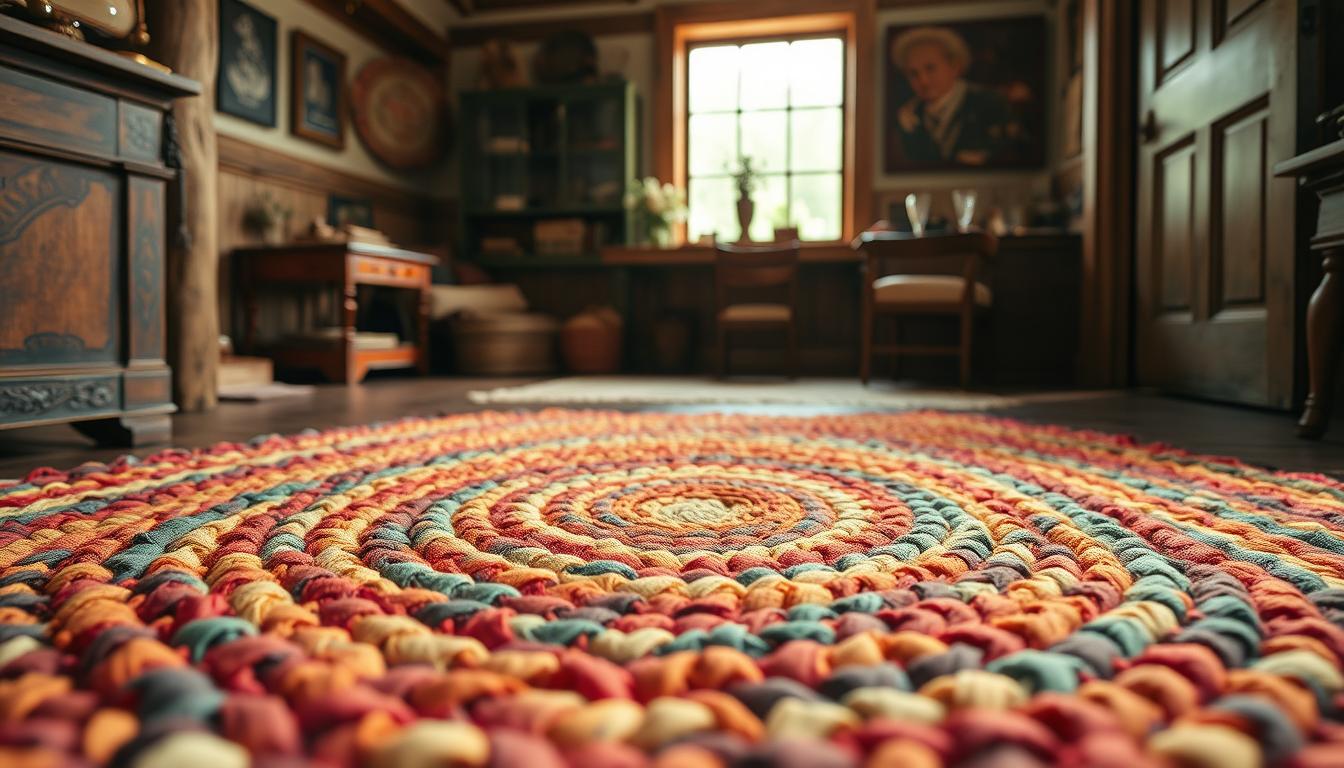
Coiling and Attaching New Fabric Strips
Choose your method based on material stretch:
- Coil-as-you-go: Form a 2-inch starter braid. Curve strands around this core, threading the inner piece through existing loops every half-inch
- Braid-first: Create 6-foot sections, then spiral them outward. Secure coils with twine using a blunt needle
Connect new strips by overlapping ends 3 inches. Fold raw edges inward for smooth transitions. Alternate colors strategically to highlight patterns.
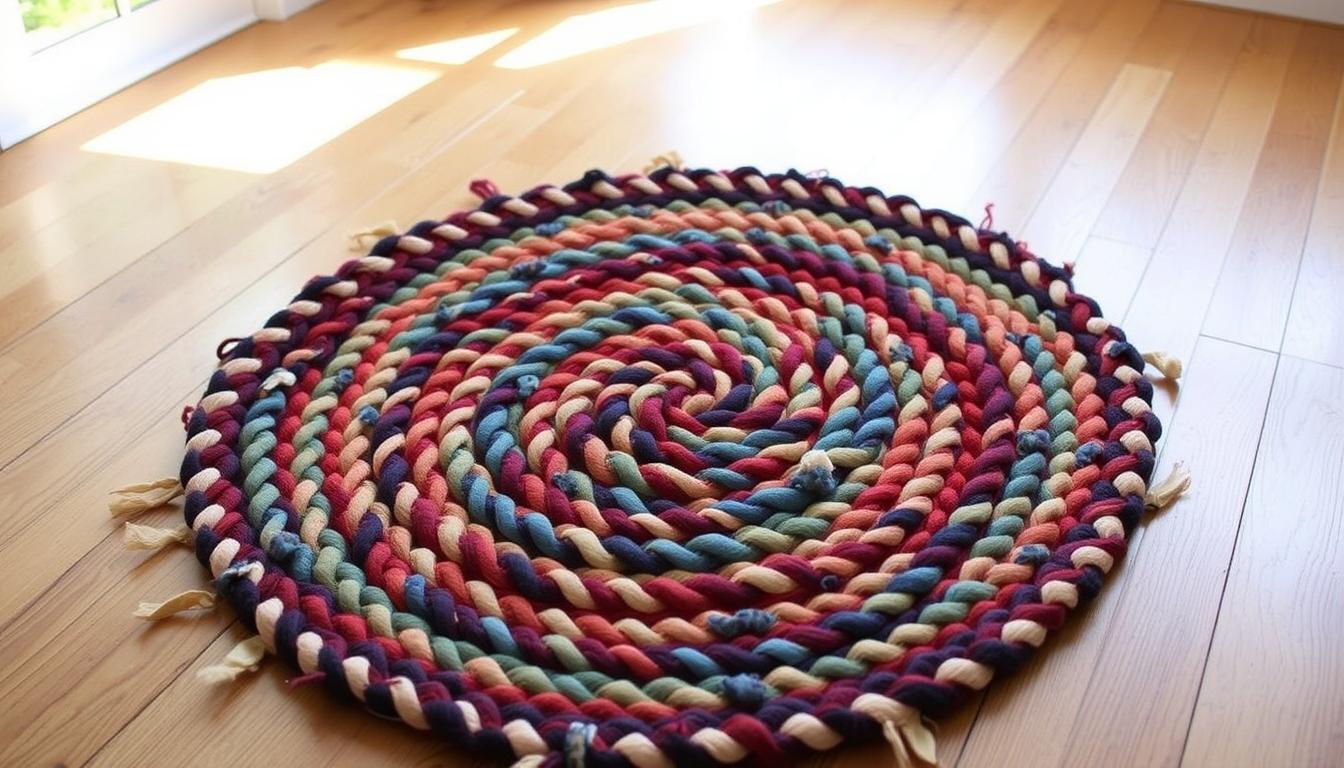
Securing the Ends for a Neat Finish
Trim final strips to tapered points. Tuck them under previous rows using a crochet hook. Stitch through hidden loops with matching thread. For oval shapes, flatten the last coil slightly before anchoring.
Essential Tips for Professional Braiding and Sewing
Mastering textile artistry requires precision in handling materials and techniques. Small adjustments in your workflow can transform uneven projects into polished pieces worthy of display. Let's explore methods professionals use to achieve flawless results.
Maintaining Consistent Tension and Even Strips
Anchor your work against your thigh while braiding to stabilize the process. Apply steady pressure as you cross strands – too loose creates gaps, too tight causes puckering. Check progress every 6 inches by laying the piece flat on a table.
Rotate strips inward as you work to conceal raw edges. When joining new fabric pieces, stagger connections by 8-12 inches to prevent bulk. For stretchy materials, try the hole-and-loop method demonstrated in this heirloom wool techniques guide.
Managing Frayed Edges and Rough Seams
Twist strips clockwise before braiding to minimize unraveling. Use a size 20 tapestry needle for tight weaves – thread it through the center braid's loops for seamless integration. If edges persist in fraying:
- Apply clear nail polish to jersey ends
- Fold denim strips with wrong sides together
- Secure stubborn threads with fabric adhesive
Finish by tucking final ends under adjacent rows. Run your hand across the surface to detect raised areas, then adjust tension with strategic stitches. These refinements create smooth transitions between colors and patterns.
Creative Techniques and Customization Options
Personalize your textile creations through innovative design choices and material experiments. These methods let you showcase personality while improving functionality.
Mixing Colors and Upcycling Alternative Fabrics
Combine faded denim with floral curtains for rustic charm. Try gradient effects by transitioning from navy to sky blue across five rows. Old sweaters create cozy winter textures when cut into 2-inch strips.
Consider these material combinations:
| Fabric Type | Visual Effect | Best Pairings |
|---|---|---|
| Denim | Textured contrast | Linen, cotton |
| Fleece | Plush surface | Canvas, burlap |
| Silk scraps | Subtle sheen | Muslin, jersey |
Change colors seamlessly by overlapping strips 4 inches before transitions. Secure joins with hidden stitches for clean lines.
Exploring Different Braiding and Sewing Methods
Try the four-strand basket weave for geometric patterns. Cross outer strips under two center strands instead of one. This creates tighter loops ideal for high-traffic areas.
For curved edges:
- Angle strips 45 degrees when braiding
- Use safety pins to hold temporary shapes
- Stitch through folded edges with waxed thread
Reinforce the backside with fusible interfacing cut 1 inch smaller than your piece. This prevents curling while maintaining flexibility.
Conclusion
Breathing new life into old textiles creates lasting home treasures while reducing waste. Your completed project represents hours of careful work—typically eight or more—but delivers durable beauty that withstands daily use. Each twist and stitch transforms forgotten fabrics into functional art that tells your unique story.
You’ve gained skills to convert unused materials into custom decor, blending creativity with eco-conscious practices. The techniques learned here apply to future endeavors, from seasonal designs to coordinating room sets. For those seeking guidance, this step-by-step fabric transformation guide offers practical insights for larger projects.
Though time-intensive, the process brings meditative satisfaction and tangible results. Your handmade piece serves as both decor and conversation starter, proving sustainability can be stylish. Now equipped with essential methods, you’re ready to craft pieces that merge tradition with modern eco-values—one strip at a time.
FAQ
What’s the best way to prevent frayed edges on fabric strips?
Use pinking shears or a rotary cutter with a zigzag blade when cutting strips. For extra durability, lightly fuse edges with fabric glue or iron-on hem tape before braiding.
How do you attach new fabric strips while braiding?
Overlap the end of the old strip with the new one by 1–2 inches. Secure them with a tight knot or sew a diagonal seam using a Singer Heavy Duty needle for thicker materials.
Can you mix different fabric types in one project?
Yes! Cotton, denim, and linen work well together. Avoid stiff fabrics like upholstery materials for smaller rugs, as they may create uneven tension. Pre-wash fabrics to prevent shrinkage.
What’s the trick to maintaining consistent tension?
Hold the braid firmly but avoid pulling too tightly. Use binder clips or safety pins to anchor the work to a table while coiling. Adjust every 3–4 loops for uniformity.
How do you finish the rug neatly?
Taper the last 6 inches of strips by trimming them diagonally. Fold the ends under the final coil and hand-sew using a Dritz upholstery needle and waxed thread for a hidden closure.
Can you use old clothes for this project?
Absolutely! Upcycle cotton T-shirts, bed sheets, or jeans. Cut them into 1.5–2-inch-wide strips and remove thick seams to ensure smooth braiding.
What sewing method works best for joining coils?
A ladder stitch creates nearly invisible seams. For speed, use a zigzag stitch on a Janome HD3000 machine with heavy-duty thread, spacing stitches ¼ inch apart.