


5 Clever DIY Steps for a Runner Rug

Staircases often become forgotten spaces in homes, yet they’re one of the first areas guests notice. Professional installations can drain your budget, with quotes averaging $1,500. But what if you could achieve the same polished look for just $200-$500? This guide reveals how to revitalize your home’s vertical pathways without breaking the bank.
You’ll master measuring techniques that ensure perfect alignment and learn why choosing the right underlay matters more than you think. We’ll explore affordable material options, including vintage finds that add character for under $100. The process isn’t just about aesthetics – proper installation reduces noise and prevents slips.
Many assume intricate patterns require expert hands, but strategic planning simplifies even bold designs. With basic tools like a staple gun and knee kicker, you’ll create results rivaling high-end services. We’ve condensed years of interior design experience into five manageable steps anyone can follow.
Key Takeaways
- Save $1,000+ compared to professional stair covering services
- Enhance home safety and noise control through proper installation
- Customize designs using affordable vintage or mixed-material options
- Complete the transformation in one weekend with basic tools
- Protect wooden steps from wear while boosting visual appeal
Getting Started: Preparing Your Stairs
Proper preparation transforms your staircase from overlooked to outstanding. This phase ensures your project stays on track and avoids costly missteps. Let’s break down the critical first moves.
Assessing Your Staircase and Layout
Grab a tape measure and notebook. Record each step’s width and depth, noting variations between stairs. Most standard designs measure 36 inches across, but older homes often have quirks. Leave 3-6 inches of exposed wood on both sides for visual harmony.
Check for loose boards or squeaky spots needing repair. A wobbly tread could shift your stair runner over time. Identify turns or landings requiring special cutting techniques. These details determine whether you’ll use one continuous piece or multiple sections.
Gathering Preliminary Supplies
Start with essential tools: measuring tape, chalk line, and safety gloves. A sturdy utility knife handles precise cuts, while carpet tape keeps edges secure during test fits. Mark stair nosings with painter’s tape to visualize alignment before final placement.
Calculate material needs using your measurements. Add 10% extra length for pattern matching or errors. Pro tip: Test cleaning methods on carpet samples first. This prevents permanent stains from adhesive residues later.
Essential Materials and Tools for Your Project
Successful transformations begin with the right equipment. Your toolkit determines whether your staircase upgrade lasts months or decades. Let’s explore the must-have items that turn vision into reality.
Staple Gun, Carpet Tape, and Utility Knife
A heavy-duty staple gun anchors your material to wooden surfaces. Choose one that accepts 1/2-inch staples – these penetrate deep enough for secure holds without damaging treads. Pair it with carpet tape for double protection against shifting edges.
Your utility knife becomes an extension of your hand during this project. Keep multiple blades handy for crisp cuts through thick padding. For intricate patterns, consider professional carpet scissors. They slice through loops and piles like butter.
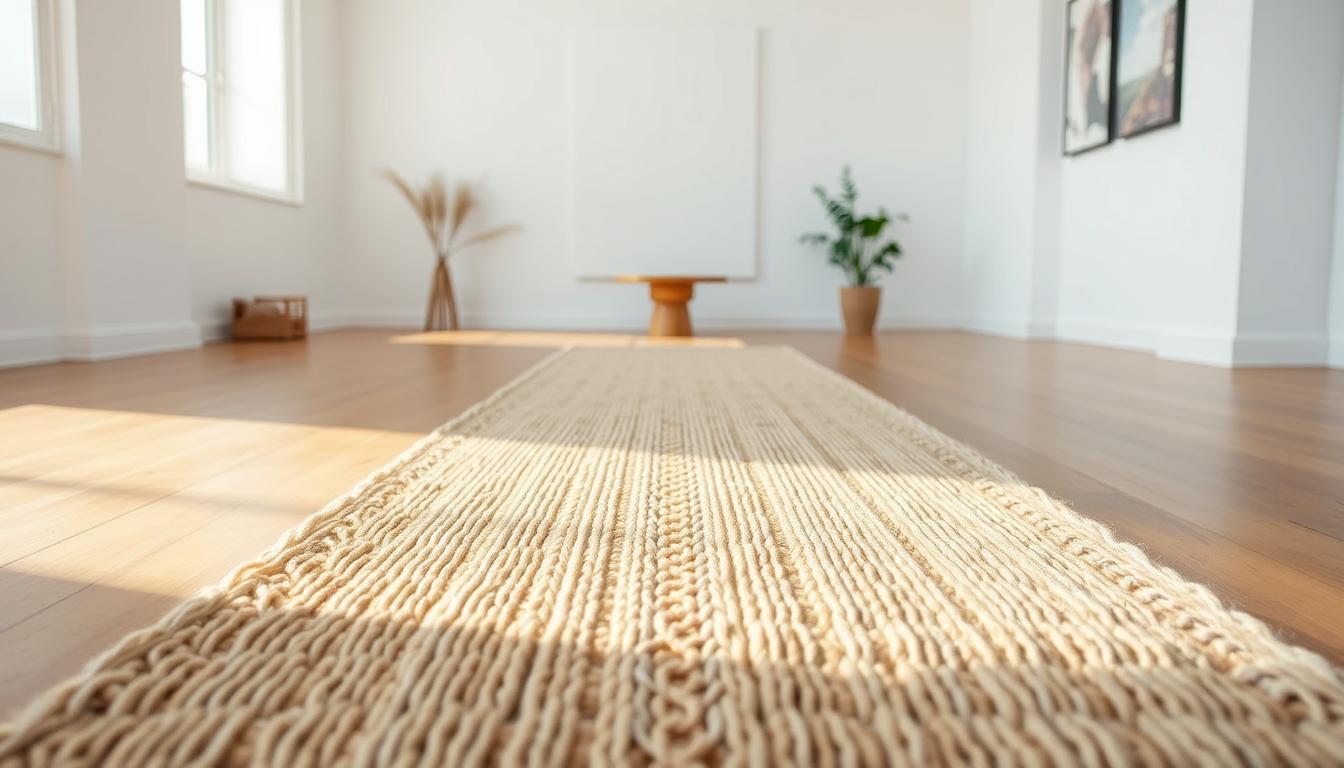
Material Choices and Surface Prep Essentials
Natural fiber options like jute blends offer durability with subtle texture. Always measure twice: add 10% extra length for adjustments. Quality rug pad material cushions footsteps and reduces noise by 40% compared to bare installations.
Don’t skip the cleaning supplies. Vacuum stairs thoroughly before applying carpet tape. A tack cloth removes hidden dust that weakens adhesion. Keep a carpet tack remover nearby – even pros occasionally misplace staples.
Designing Your Look: Style and Runner Choices
Your staircase’s transformation hinges on choices that balance visual appeal with everyday wear. Smart selections here protect your investment while elevating your home’s character – no interior designer required.

Selecting the Right Runner Rug
Foot traffic dictates material needs. Polypropylene handles muddy boots better than delicate sisal, while wool blends cushion steps quietly. For patterned stair runners, buy 15% extra length to align motifs perfectly across steps.
Standard widths between 27" and 31" keep proportions balanced. Retailers like B&Q offer herringbone designs (£34 each) that simplify matching. Pro tip: Test samples under different lights – some grays appear blue in north-facing halls.
Integrating Staircase Aesthetics with Your Decor
Match metal finishes on railings and door handles. Brass hardware pops against navy stair runners, while black iron suits earthy jute textures. Vintage finds from Etsy add patina that new rugs can’t replicate.
Low-pile options maintain sightlines in compact spaces. For open floor plans, continue your hallway’s look upward with matching tones. This creates flow without overwhelming the eye.
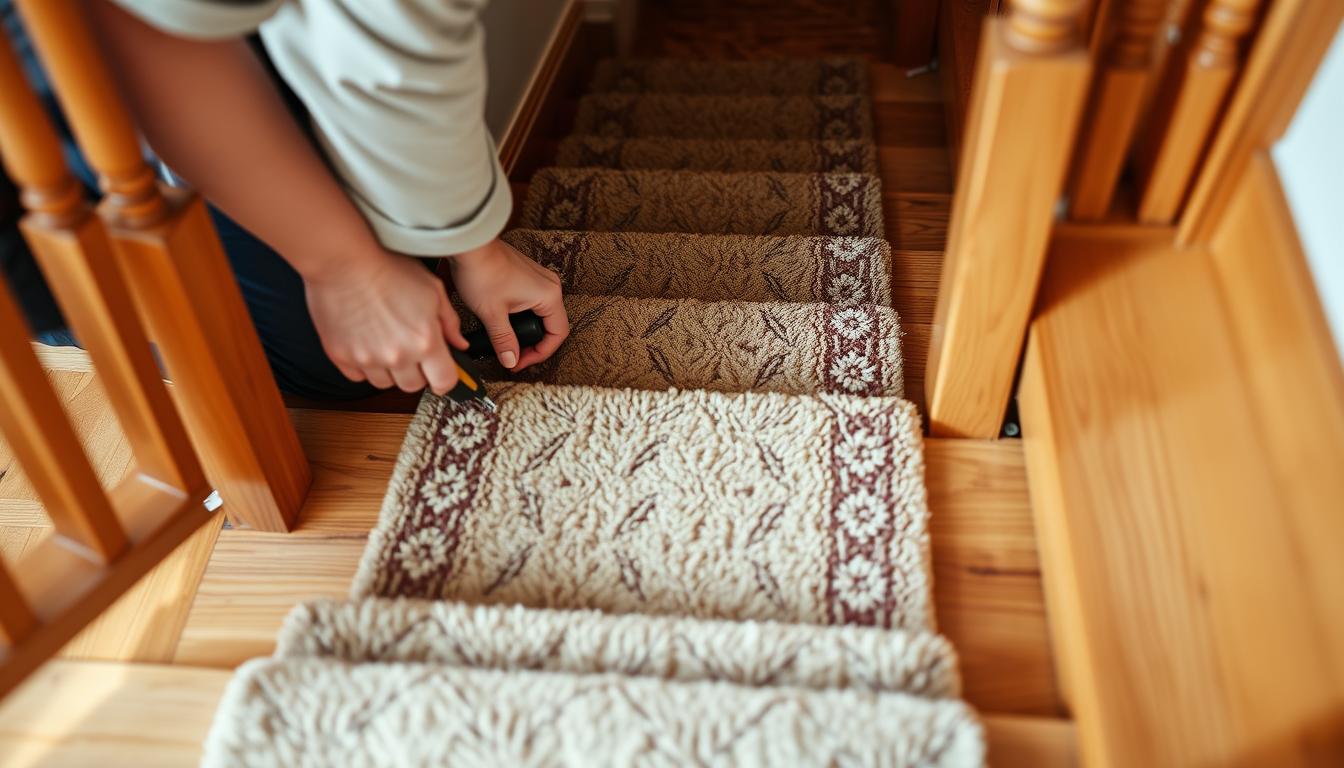
Step-by-Step Preparation of Your Staircase
A flawless installation begins with meticulous groundwork. This phase transforms worn steps into a pristine canvas ready for new materials. Follow these critical tasks to create the ideal base for your staircase upgrade.
Cleaning Up: Removing Old Carpet and Staples
Start at the top stair. Use pliers to grip carpet edges and pull downward. Remove gripper rods along each tread – these metal strips often hide sharp tacks. Inspect every stair tread for stubborn staples left from previous installations.
Flathead screwdrivers work best for prying up embedded hardware. Check risers for adhesive residue. A heat gun softens stubborn glue patches for easy scraping. Vacuum thoroughly after clearing debris.
Repairing Treads and Risers for a Smooth Finish
Fill cracks in stair treads with flexible wood filler using a putty knife. Let it cure overnight. Secure loose boards with 2-inch finish nails driven at 45-degree angles. Sand repaired areas with 120-grit paper until surfaces feel uniform.
Paint visible stair edges with semi-gloss enamel. Use painter’s tape to protect the center area where your material will lay. Two thin coats prevent drips and ensure quick drying.
| Step | Tools Needed | Key Purpose |
|---|---|---|
| Debris Removal | Pliers, Pry Bar | Eliminate trip hazards |
| Surface Repair | Wood Filler, Sander | Create even base layer |
| Final Prep | Paintbrush, Vacuum | Ensure proper adhesion |
diy Runner rug Installation Process
Transforming your staircase becomes reality through careful execution. This phase demands attention to detail to achieve professional-grade outcomes that withstand daily use.
Strategic Adhesive Application
Position carpet tape vertically along each tread and riser, covering 80% of the surface. Keep the protective paper intact until final placement. Use painter’s tape to mark parallel guidelines along both staircase edges – these ensure your material stays centered during installation.
Material Customization Techniques
Measure total stair length using a flexible tape measure that follows each step’s contour. Add 4 inches per stair for wrap-around coverage. Cut sections using a sharp utility knife, angling edges slightly inward for seamless joins.
Common mistakes to avoid:
- Rushing the dry-fit stage
- Cutting pieces before completing measurements
- Overstretching materials during placement
Work upward from the bottom step, peeling tape backing only as you progress. Tuck excess fabric beneath tread overhangs using a putty knife. This creates invisible transitions between sections while preventing frayed edges.
Allow 24 hours before heavy use. The adhesive reaches full strength gradually, ensuring your staircase upgrade remains securely in place for years.
Tips for a Seamless Fit and Secure Attachment
Precision placement separates amateur attempts from polished installations. Consistent margins and tension control determine whether your staircase upgrade looks store-bought or custom-designed. Master these professional techniques to lock materials in place while maintaining visual flow.

Aligning the Runner with the Tread and Riser
Snap chalk lines along both sides of your staircase before unrolling materials. These guides keep edges parallel to exposed wood. Maintain 4-inch margins on each side for balanced proportions – anything narrower risks looking squeezed.
Check alignment at every third step. Stand at the base and verify patterns follow a straight path upward. Minor adjustments now prevent visible skewing later. Secure the center first, working outward to eliminate wrinkles.
Using a Staple Gun or Carpet Tacks Effectively
Target hidden zones for hardware placement. Drive staples ¼-inch below the tread’s front edge where shadows naturally hide them. At riser bases, angle fasteners upward to grip materials securely.
Color metal staples with a black permanent marker to match dark threads in patterned materials. Alternate between staples and tacks on curved stairs – the combination prevents puckering. Pull fabric taut, but avoid overstretching natural fibers that might tear.
Pro tip: Test tension by pressing your palm flat against installed sections. Properly secured areas should resist shifting without feeling drum-tight. This balance prevents premature wear while ensuring safety.
Creative Alternatives: Vintage and Mixed Material Options
Your staircase becomes a storytelling canvas when blending textures and eras. Combining materials adds depth while showcasing personal style – a design choice that sparks conversations and reflects your journey through patterns.
Mix and Match Techniques for a Unique Statement
Source materials with shared color tones but contrasting patterns. A Persian-inspired piece might pair with geometric designs if both feature terracotta accents. This creates rhythm without overwhelming the eye.
Online marketplaces like Etsy offer ready-to-ship options under $75. Look for sellers providing multiple swatches – natural light reveals true hues better than product photos. Mix wool and cotton blends for varied textures that age gracefully.
| Approach | Cost Range | Installation Complexity |
|---|---|---|
| Single Continuous Piece | $200-$500 | Moderate |
| Mixed Vintage Sections | $90-$300 | High |
| Material Combination | $120-$400 | Variable |
Transition between pieces at riser bases where edges naturally hide. Fold raw edges under adjacent treads, securing with double-sided tape. This technique works best with low-pile options under 0.5 inches thick.
Incorporate heirloom textiles by cutting them into stair-width segments. Preserve intricate borders as focal points on landings. Rotate pieces seasonally – lighter jute for summer, plush wool for winter – without damaging stairs.
Time Management and Budget Considerations
Financial foresight ensures your staircase makeover doesn’t derail other priorities. Balancing expenses and effort requires understanding where to invest time versus money. Let’s explore how to maximize value without compromising quality.
Balancing Costs With Expert Services
Homeowners typically spend $200-$500 on materials versus $1,500+ for professional installations. This 67% savings comes with flexibility – complete the project in one focused weekend or spread tasks across evenings. Key expenses include your chosen material (60% of total cost) and reusable tools like staple guns.
| Factor | DIY Approach | Professional Service |
|---|---|---|
| Material Costs | $200-$500 | $800+ |
| Labor Time | 6-12 hours | 3-5 hours |
| Long-Term Value | Custom repairs | Warranty included |
Big-box retailers now offer affordable options under $35 per piece. Buying 10-15% extra material prevents mismatched patterns if repairs become necessary. Schedule installations during sales periods – many stores discount flooring in spring and fall.
Break the work into manageable phases if needed. Measure steps on Friday evening, cut materials Saturday morning, and install Sunday afternoon. This staggered approach maintains momentum while accommodating busy schedules.
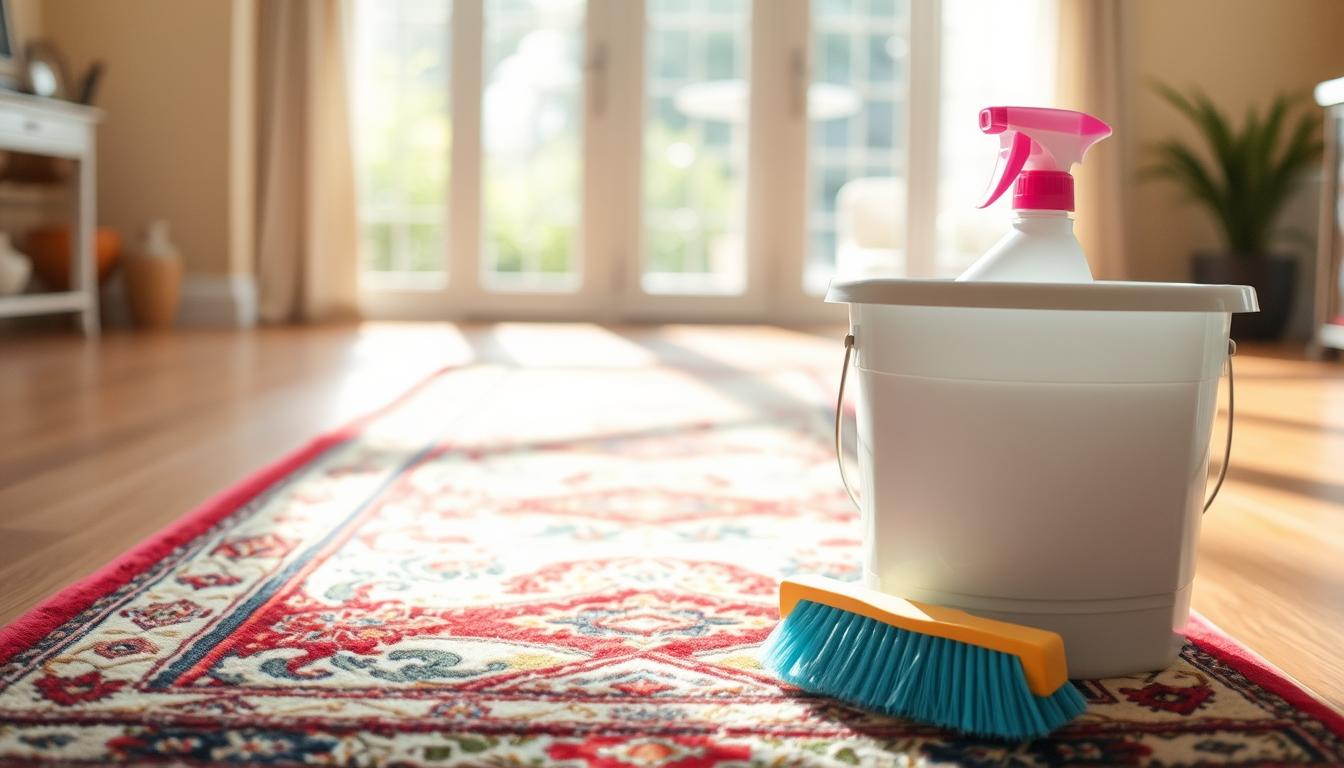
Maintenance and Care for Long-Lasting Results
Protecting your staircase investment requires simple but consistent care. A quality installation can serve your home for 3-15 years when maintained properly. Follow these proven methods to preserve both appearance and safety.
Regular Cleaning and Upkeep Techniques
Vacuum your stairs weekly using a brush attachment. This removes grit that grinds down fibers over time. For spills, blot immediately with a microfiber cloth – rubbing spreads stains. Check manufacturer guidelines for deep cleaning; some materials need specialized solutions.
Repairing Wear and Maintaining a Neat Finish
Inspect edges monthly for loose staples or fraying. Secure small lifts with clear carpet tape before they worsen. Rotate patterned sections every 2-3 years to distribute foot traffic evenly across steps. For severe wear spots, replace individual stair sections instead of the entire piece.
Address fading by flipping reversible designs annually. Use fabric protectors on high-traffic stairs to repel dirt. With timely attention, your staircase will maintain its polished look while avoiding costly replacements.
FAQ
How do I measure stairs accurately for a stair runner?
Measure the tread (horizontal surface) and riser (vertical face) of each step. Multiply the total number of steps by the tread length and add 2–3 inches for trimming. Use a utility knife for precise cuts.
What tools are essential for securing a stair runner?
A heavy-duty staple gun, carpet tacks, and double-sided carpet tape work best. For durability, pair these with a non-slip rug pad to prevent shifting and reduce wear.
Can I mix materials like vintage rugs with modern designs?
Yes! Layering bold patterns or combining textures adds character. Ensure each piece is trimmed to fit the tread and secured with staples or tacks for a cohesive yet eclectic look.
How do I align the runner evenly on each step?
Start at the top landing and center the runner. Use chalk or painter’s tape to mark guidelines. Check alignment after attaching each tread and riser to avoid gaps or bunching.
Is professional installation cheaper than a DIY approach?
Labor costs for professionals average $8–$12 per step, while DIY materials cost $3–$7 per step. Budget-friendly brands like Mohawk or Flor offer durable options for self-installation.
How do I maintain a stair runner’s appearance over time?
Vacuum weekly and spot-clean stains immediately. Rotate high-traffic sections if possible. For frayed edges, use fabric glue or trim with sharp scissors to keep the finish neat.
Should I remove old carpet before installing a new runner?
Yes. Clear debris, extract old staples, and sand uneven treads. A smooth surface ensures the rug pad lies flat, preventing tripping hazards and uneven wear.
Can carpet tape replace staples for securing the runner?
Carpet tape works for lightweight rugs but may loosen over time. For heavy materials like wool or jute, combine tape with staples along the tread’s edge for maximum hold.