


6 Fun DIY Steps for a Woven Rug
What if you could transform ordinary household items into a stunning textile masterpiece that lasts decades? While store-bought floor coverings often lack personality, handmade creations carry stories in every thread. This guide reveals how to craft functional art that bridges modern creativity with timeless traditions.

You’ll explore methods ranging from simple braiding with recycled fabrics to intricate loom patterns. Repurpose old t-shirts, sheets, or natural fibers like linen into cozy floor accents. Learn how wool materials and techniques enhance durability while connecting you to generations of artisans.
Mastering basic weaving principles unlocks endless design possibilities. Discover which tools streamline the process and how to troubleshoot common challenges. Whether you seek a weekend project or deeper textile artistry, each stitch becomes a meditation on craftsmanship.
Key Takeaways
- Convert everyday materials into personalized home decor
- Choose between quick braiding or detailed loom methods
- Enhance durability with professional finishing techniques
- Adapt designs to match your space’s aesthetic needs
- Preserve handmade creations through proper maintenance
Introduction: Embrace Your DIY Adventure
Imagine transforming spare moments into creative energy that reshapes your living space. This hands-on journey blends practical upgrades with artistic discovery, letting you design floor art that tells your story. Whether you’re refreshing a cozy corner or anchoring a larger room, your creation becomes a conversation starter infused with meaning.
Project Inspiration and Goals
Start by envisioning how colors and textures interact in your space. Old bedsheets gain new life as vibrant stripes, while linen scraps evolve into earthy patterns. The process teaches time-honored techniques passed through generations of textile artists. You’ll reduce household waste while crafting pieces that outlast mass-produced alternatives.
What You Can Achieve with Your Creation
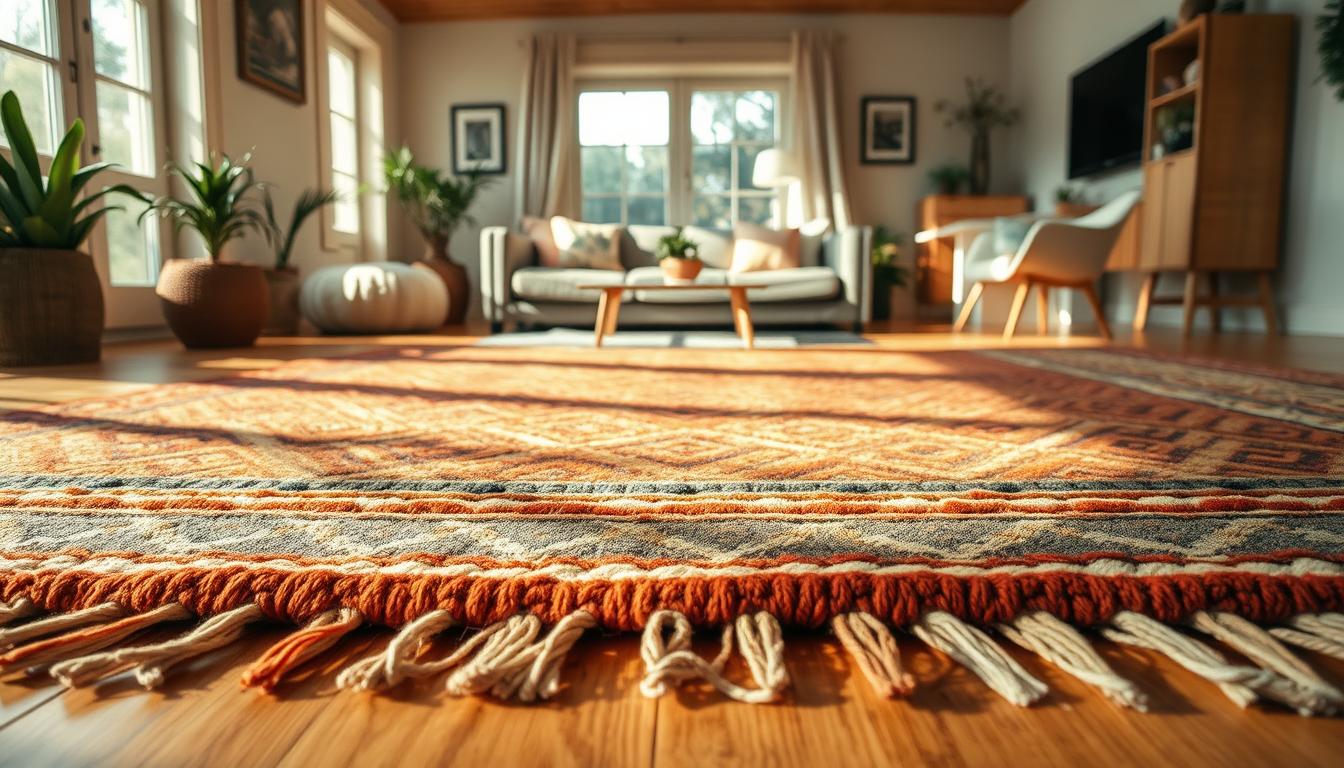
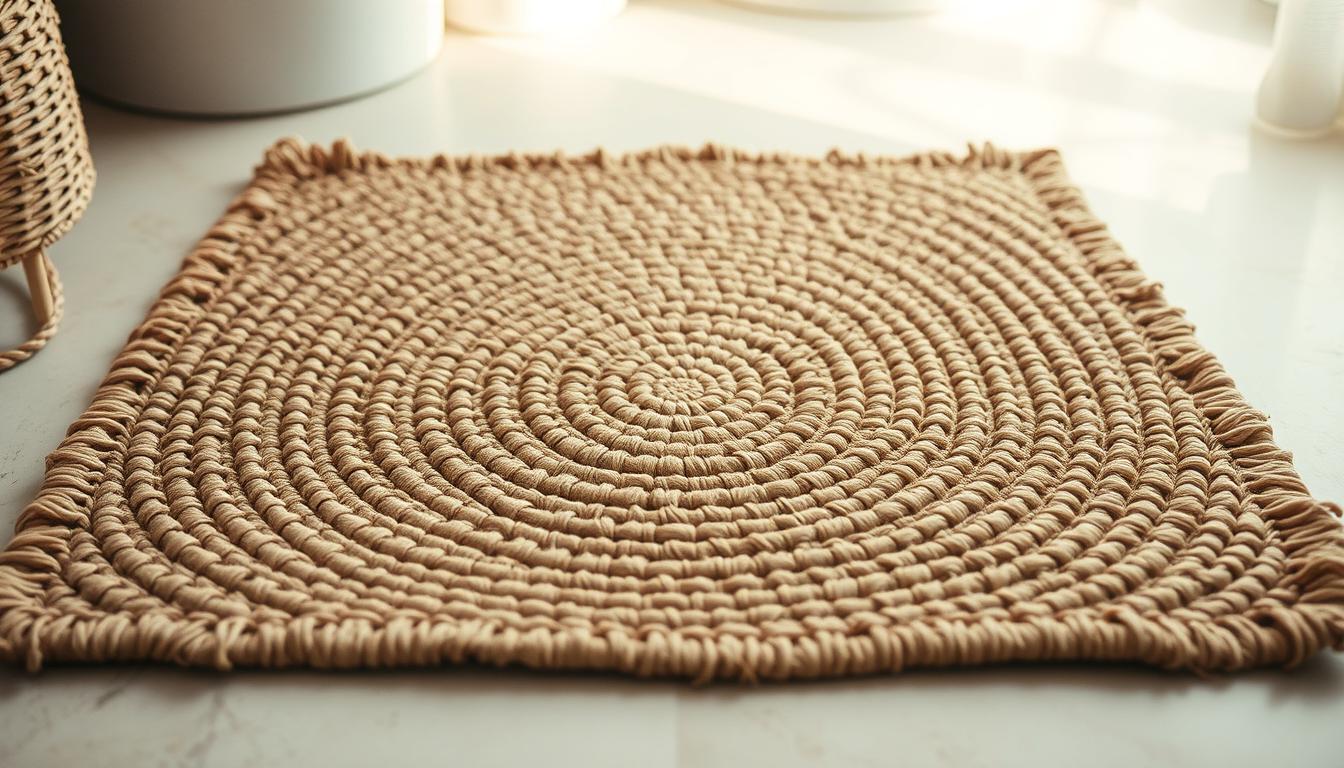
Customize sizes and shapes to fit awkward spaces store-bought options ignore. A circular piece softens angular rooms, while rectangular designs define zones in open layouts. As your skills grow, so will your confidence to tackle complex patterns. Many crafters report the rhythmic work becomes a calming ritual, melting stress with every stitch.
Pro tip: Photograph your space before starting. Notice how light changes throughout the day to choose complementary hues. This simple step ensures your finished work harmonizes with existing décor effortlessly.
Essential Materials and Tools for Your Project
Selecting proper supplies transforms your creative vision into a lasting textile piece. The right combination of fabrics and implements determines both the crafting experience and your creation's longevity.
Choosing the Right Fabric Options
Cotton t-shirts work well for soft, flexible results—10 shirts create a 2x3 ft piece. Bed sheets offer larger continuous fabric pieces, with 3-4 sheets forming a 4-foot base. For structured designs, cotton piping in ½" or 11/16" widths maintains shape during weaving.
Tools and Supplies Checklist
Gather these essentials before starting:
- Sharp fabric scissors or rotary cutter
- Tapestry needles (size 18 works for most cotton materials)
- Warp thread for anchoring strips
- Measuring tape for consistent widths
Heavier fabrics like denim require durable needles, while stretchy materials benefit from rubber bands during assembly. Proper maintenance extends your work's lifespan—explore cleaning methods for different fabric types once completed.
Invest in ergonomic tools if planning multiple projects. Quality implements reduce hand fatigue and help achieve uniform strips—the foundation of professional-looking results.
Preparing Your Fabric: Cutting and Stripping Techniques
The foundation of any great textile project lies in precise preparation. Proper cutting methods ensure uniform strips that lay flat and interlock smoothly during assembly. Let’s explore how different materials demand unique approaches for optimal results.

Effective Techniques for Cutting Strips
Rotary cutters slice through multiple t-shirt layers like butter, creating 1-3" strips in seconds. For sheets, make a small snip with scissors along one edge, then tear lengthwise—the fabric naturally follows the grain. This method produces straight edges faster than measuring each strip.
| Material | Tool | Width | Best For |
|---|---|---|---|
| T-shirts | Rotary cutter | 1-3 inches | Stretchy, casual projects |
| Sheets | Scissors + tear | 2-4 inches | Structured, heavy-use areas |
| Cotton piping | Sharp shears | 3-4 inches | Defined edges & texture |
T-shirts, Sheets, and Other Fabrics Compared
Stretchy jersey from old tears forgives uneven tension—perfect for first attempts. Crisp cotton sheets hold their shape, ideal for geometric patterns. When cutting piping, shorter pieces reduce bulk in curved sections. Always trim away seams and hems before stripping to prevent lumps.
Pro tip: Mark measurements on your cutting mat with washable tape for consistent widths. This simple hack eliminates guesswork while accommodating different fabric stretch rates.
Step One: Gathering and Organizing Materials
Successful projects begin before the first stitch. Start by measuring your floor space to determine the exact size needed. A 3x5 ft piece requires roughly 25-30 t-shirts or 4 bedsheets—always add 10% extra for adjustments.
Sort fabric strips into labeled bins by color and texture. Use clear containers for quick visual access. Keep similar thicknesses together—thick denim strips behave differently than lightweight cotton during assembly.
Create a dedicated workspace with task lighting and a cushioned seat. Position scissors, needles, and measuring tools within arm’s reach. Disorganized setups waste time and increase frustration during long sessions.
Prepare backup pieces matching your primary materials. Store them in a separate container marked "repairs." This foresight lets you fix uneven sections without disrupting your workflow later.
Calculate strip quantities using this simple formula: (length x width) ÷ 6 = approximate number needed. Adjust based on fabric stretch—jersey materials require 15% more strips than stiff cotton.
Step Two: Creating Fabric Strips for Weaving
Precision meets creativity in this foundational phase of textile craftsmanship. Your cutting technique directly impacts the final piece's visual harmony and structural integrity. Let's explore how to transform raw materials into perfect weaving components.
Tips for Consistent Strip Width
Develop a steady cutting rhythm using your dominant hand as the guide. Place non-dominant fingers ½" behind the blade edge for safety. Rotary cutters excel for straight lines, while scissors handle curved edges better.
| Tool | Best For | Width Range |
|---|---|---|
| Rotary Cutter | Bulk cutting flat fabrics | 1-4 inches |
| Fabric Scissors | Detailed adjustments | Any width |
Test strip thickness by folding it twice—if the layers stack neatly without buckling, you've achieved optimal sizing. Minor variations below ¼" create subtle texture without compromising structure.
Rotary Cutter Versus Scissors
Electric rotary tools slice through six fabric layers in one pass, ideal for large projects. Traditional scissors offer better control for delicate materials like silk blends. Always cut away from your body, rotating the material instead of the tool.
Thicker fabrics demand sharper blades—replace them after every 3-4 projects. "The right tool halves the work," as seasoned crafters say. Store cutting implements in dry conditions to prevent rust stains on materials.
Your prepared strips form the building blocks of textile artistry. Properly sized pieces ensure smooth interlacing and reduce adjustments during assembly. This preparation phase sets the stage for enjoyable, frustration-free weaving.
Step Three: Starting Your Braid
Your first connection sets the stage for success. Secure three fabric strips using one of three methods: machine stitching for speed, hand knots for thick materials, or loops for invisible starts. Proper alignment here prevents unraveling and ensures even tension across your entire piece.
- Sewing: Ideal for stretchy jersey or lightweight cotton
- Knotting: Works best with bulky denim or layered materials
- Looping: Creates seamless transitions for patterned designs
Position strips at slight angles to reduce bulk. Overlap ends by 1-2 inches, then test the connection by gently pulling. If the join slips or twists, reinforce it with an extra stitch. Uneven starts create tension imbalances that amplify as you work, leading to warped edges.
Hide raw edges by folding them into the braid’s natural twist. As you cross the left strip over the center, tuck the joined section underneath. This technique masks the connection while locking it in place. Pro tip: Use contrasting thread for practice runs—it helps spot alignment issues before committing.
Your initial strips determine the piece’s structural integrity. Take time to perfect this step, adjusting methods until the base lies flat without puckering. A stable foundation lets the creative process flow smoothly in later stages.
Step Four: Mastering the Braiding Process
Transform loose fabric strips into interlocked artistry through two distinct braiding approaches. Each method adapts to material properties and personal workflow preferences, ensuring professional results whether you’re using stretchy jersey or structured cotton.
Coil-As-You-Go Technique
This real-time method works wonders with stretchy fabrics like t-shirts. Start with a 3-inch braid base, then loop the inner strand through existing coils as you work. Immediate visual feedback lets you adjust tension instantly—crucial for materials that shift during handling.
| Method | Best Fabrics | Key Benefit | Difficulty |
|---|---|---|---|
| Coil-As-You-Go | T-shirts, jersey | Prevents bulk buildup | Beginner-friendly |
| Braid First | Flannel, cotton sheets | Pattern precision | Intermediate |
Braid First, Coil Later Method
Ideal for stiff materials, this approach lets you pre-plan intricate color sequences. Create a continuous braid measuring 1.5x your desired final size. Use a ladder stitch to secure coils tightly, minimizing gaps between loops. This way suits complex designs needing precise alignment.
Maintain even pressure across all strands to avoid puckering. For stretch-prone fabrics, dampen strips lightly before braiding—they’ll hold shape better. Always rotate your work periodically to check for consistency in loop sizes and coil density.
Step Five: Adding New Fabric Strips Seamlessly
Smooth transitions between fabric pieces elevate your project from homemade to professional. Mastering strip connections prevents weak spots and maintains visual flow. This step determines whether your work appears meticulously crafted or hastily patched together.
Overlap Method: Quick & Sturdy
When 6-8 inches remain on your current strip, lay a new one over its end. Fold both pieces inward by half an inch, then twist them together like interlocking fingers. This works best with stretchy jersey or cotton blends that grip each other naturally.
Hole Method: Invisible Transitions
Create discreet joins by folding strip ends lengthwise. Cut a small slit at the folded edge, then thread the new strip through both holes. Pull gently until the connection sits flush—ideal for stiff materials needing smooth surfaces.
| Method | Best For | Visibility | Speed |
|---|---|---|---|
| Overlap | Stretchy fabrics | Moderate | Fast |
| Hole | Stiff materials | Low | Moderate |
Time your joins to avoid clustering multiple connections in one area. "Aim to stagger additions like brickwork," advises textile artist Mara Lin. "This distributes bulk evenly across your piece."
Check remaining strip length frequently—12 inches allows comfortable handling. Trim excess material after securing each join. With practice, you’ll develop muscle memory for flawless transitions that enhance durability and style.
Step Six: Finishing and Securing the Braid
The final stage transforms your project from work-in-progress to polished masterpiece. Proper termination ensures your creation withstands daily use while maintaining visual harmony. Let's explore techniques that elevate functional craftsmanship to gallery-worthy artistry.

Tapering Strips to a Neat End
Begin trimming your last three fabric strands when 10 inches remain. Cut each strip at a 30-degree angle, narrowing them to sharp points. Align all tapered ends precisely—this symmetry prevents lumps and ensures smooth integration.
| Taper Angle | Strip Length | Best For |
|---|---|---|
| 15° | 12 inches | Delicate materials |
| 30° | 10 inches | Standard cotton |
| 45° | 8 inches | Heavy fabrics |
Secure the narrowed strands using a ladder stitch. Pull threads tight enough to eliminate gaps, but avoid distorting the braid pattern. Textile expert Clara Voss notes: "The perfect finish disappears into the design—test your work by running fingers across the join."
Hide raw edges by folding them under adjacent loops. Rotate your piece frequently to check for visible ends. This attention to detail creates professional results that rival store-bought options.
Assess remaining materials before starting the final 18 inches. Running short forces awkward joins, while excess bulk creates stiff sections. With practice, you'll develop an instinct for timing this crucial step.
Incorporating Creative Weaving Methods
Break free from size constraints with tools that redefine textile possibilities. Specialized equipment lets you craft expansive pieces once limited to industrial workshops. A wooden frame loom with detachable warping bars becomes your gateway to oversized projects.
Mastering Modular Warping
Begin with strong cotton or linen warp thread—its durability prevents snapping under tension. Thread one strand through each notch on the heddle bar, using only half the grooves. This spacing maintains structural integrity while allowing fabric flexibility.
Insert cardboard strips between alternating warp threads during setup. This simple hack stops slippage while establishing your foundation. Complete three initial passes with your warp thread to lock everything in place.
Textile expert Lena Cortez advises: "Your first inch determines the entire piece's quality. Check thread alignment like a carpenter levels a foundation." Consistent tension prevents draw-in—the gradual narrowing that plagues handmade textiles.
| Thread Type | Projects | Tension Tip |
|---|---|---|
| Cotton | Indoor décor | Medium tightness |
| Linen | High-traffic areas | Firm even pulls |
Coordinate the heddle bar’s movements with your beating rhythm. Smooth upward strokes separate warp threads, while firm downward pushes compact weft rows. This dance creates selvage edges that lie flat without curling.
diy Woven rug: Troubleshooting and Tips
Every handmade textile journey encounters bumps—but these become stepping stones to mastery. Address common challenges with targeted solutions that preserve your work’s beauty and function. Small adjustments yield dramatic improvements in both process and results.
Fixing Tangles and Uneven Weaves
Stop immediately if threads knot. Gently tease apart crossed strands using a blunt tapestry needle. For persistent snarls, apply diluted fabric starch to stiffen fibers temporarily.
Correct uneven sections by reweaving problem areas. Insert a crochet hook under adjacent threads to lift and realign loops. Consistent tension prevents future irregularities—check every 6 inches as you work.
Preventing Wrinkles and Maintaining Integrity
Rotate your piece 180 degrees weekly if placed in high-traffic zones. This distributes wear evenly across the entire surface. Use rug pads with breathable backings to minimize creases.
For storage, roll tightly around a cardboard tube wrapped in acid-free paper. Avoid folding—sharp creases weaken fibers over time. Spot-clean spills promptly using cold water and mild detergent to preserve colors.
FAQ
How long does it take to complete this project?
The time depends on the size and complexity of your design. Smaller pieces might take a couple of hours, while larger ones could span days. Organizing materials upfront speeds up the process.
Can I use old cotton sheets instead of buying fabric?
Yes! Cotton sheets are ideal for creating soft, durable strips. Just ensure they’re washed and ironed first. T-shirts or lightweight materials work too but may require tighter weaving for structure.
What’s the best way to keep strips consistent in width?
Use a rotary cutter with a quilting ruler for precision. If using scissors, mark lines lightly with chalk. Consistent width ensures even tension and a polished result.
How do I prevent fraying at the edges of fabric strips?
Tightly rolled or braided edges minimize fraying. For materials like jersey knits, stretching strips slightly before weaving helps them hold shape without unraveling.
Which method works better for joining new strips: overlap or hole?
The overlap method hides seams seamlessly, while the hole technique adds durability. Test both on scrap pieces to see which suits your yarn or fabric type best.
How do I fix uneven tension while braiding?
Pause periodically to adjust the warp strands. If sections look loose, gently tug adjacent strands to redistribute tension. A detachable loom can also stabilize larger projects.
Can kids help with this activity?
Absolutely! Supervise cutting steps, but tasks like organizing strips or simple braiding are great for younger helpers. Opt for thicker, stretchy materials to make their work easier.
What’s the easiest way to finish the final edge neatly?
Taper the last few inches of each strip by trimming them diagonally. Secure with a hidden stitch or fabric glue, then tuck the end under the previous row for a clean look.
Will this hold up under heavy foot traffic?
Tightly woven cotton or denim strips create sturdy results. For high-use areas, reinforce the base with non-slip padding or a rug gripper to extend its lifespan.
